Installation Note 43650: Installing SAS® 9.3 Foundation from DVDs on the Windows platform
 |  |  |
Use this installation note to install a SAS 9.3 (TS1M0) Foundation (basic order) from DVDs, on a Windows platform.
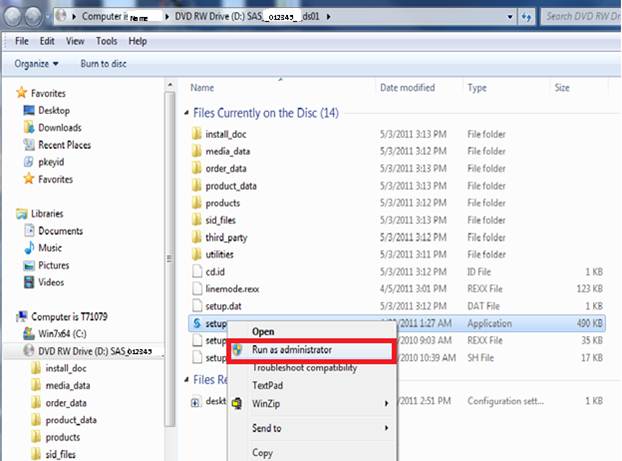
- Start Windows Explorer. In the left navigation bar (see screen capture, below), select the DVD drive and locate the setup.exe file at the root.
-
If you are on a Windows 7, Windows 2008, or Windows Vista operating system, right-click the setup.exe file and select Run as administrator.
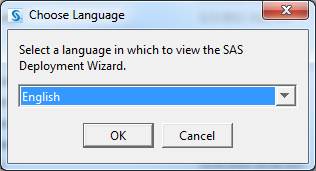
If you are on any other system, double-click setup.exe. - Choose the language in which you want to view the SAS Deployment Wizard (install) and click OK. The default is English.
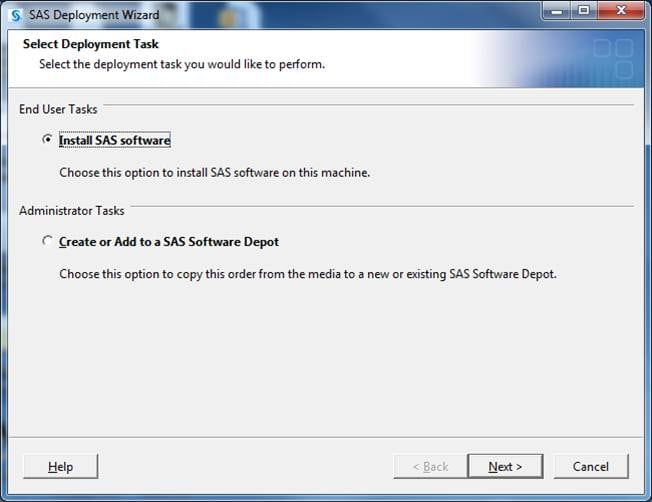
- The Select Deployment Task dialog box appears. The DVD Basic installation defaults to Install SAS Software. Click Next.
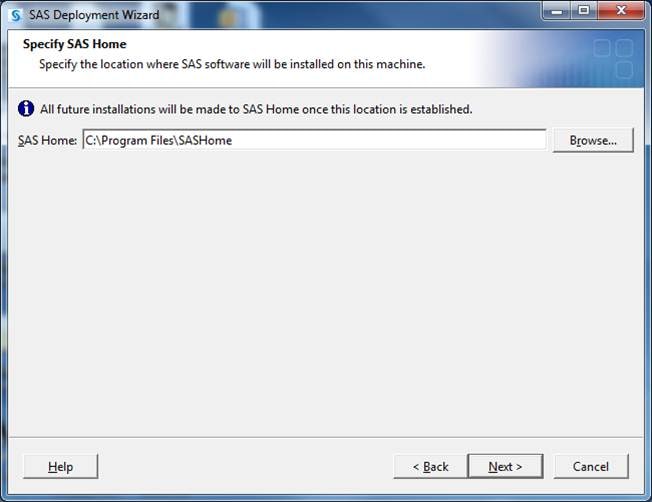
- In the Specify SAS Home dialog box, keep the default SASHOME location (C:\Program Files\SASHome) and click Next. The SASHome location is new in SAS 9.3.
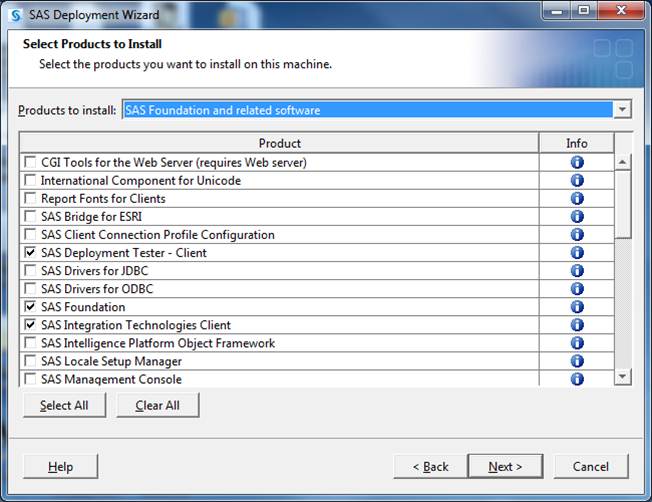
- In the Select Products to Install dialog box, click Next to install the most common software. Or, if you know what additional functionality you need, select the additional options before you click Next.
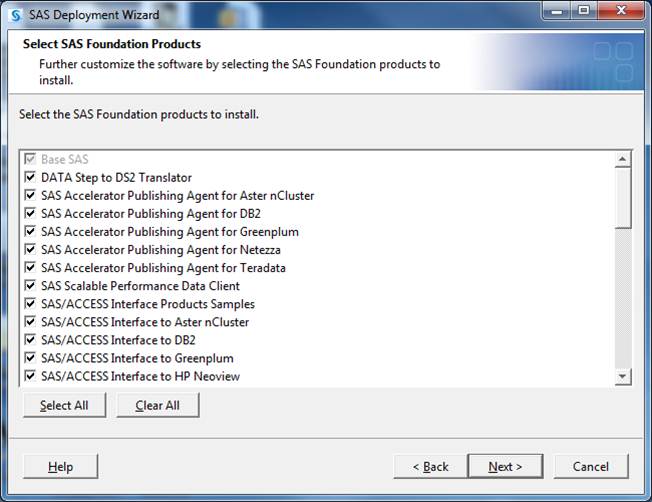
- In the Select SAS Foundation Products dialog box, leave the defaults that are checked or select the SAS Foundation products that you want to install. Click Next to continue.
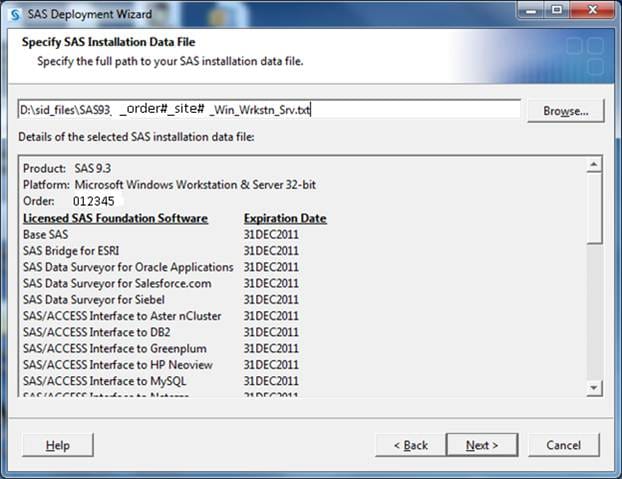
- Select the appropriate SAS installation data file (SID file) and click Next (the default is usually correct).
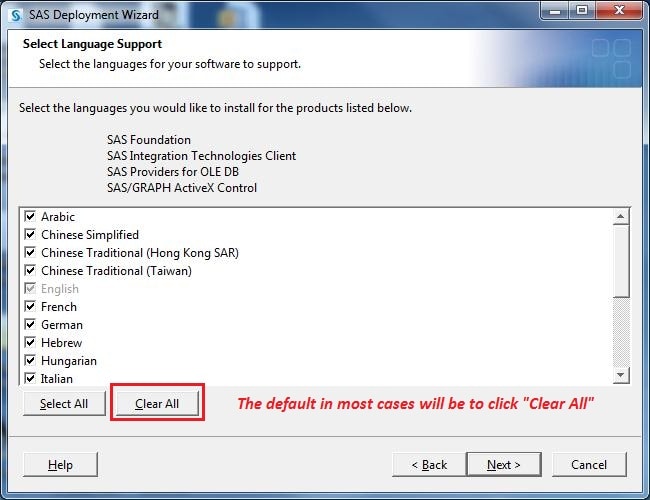
- In the Select Language Support dialog box, all of the languages are selected by default. For English only, click Clear All and Next.
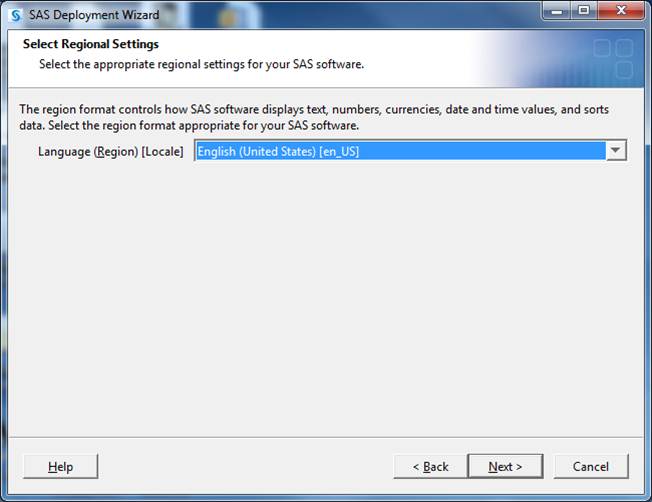
- In the Select Regional Settings dialog box, either leave the default (English (United States) [en_US]) or select a different regional setting from the drop-down list box. Click Next to continue. This is a new dialog box in the SAS 9.3 installation.
Note:If you have a Planned Deployment type, you will also see the selection for Configure as a Unicode Server. You will not see this selection for a Basic Deployment type. For more information, click the Help button. In either case, click Next to continue.
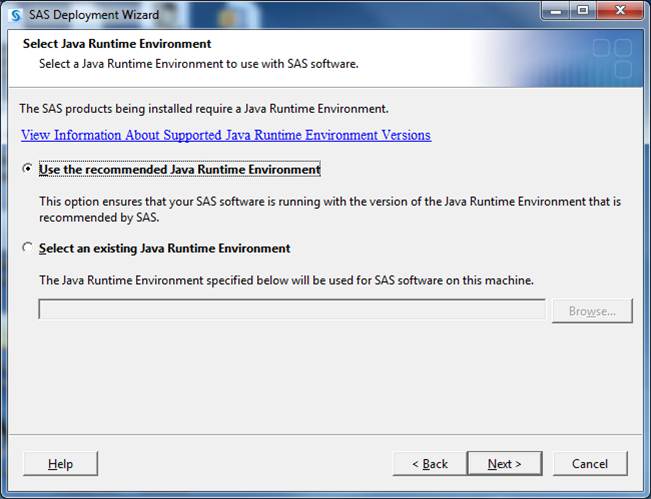
- In the Select Java Runtime Environment dialog box, either accept the default or select the other option button. In most cases, Use the recommended Java Runtime
Environment is the right option. Click Next. For SAS 9.3 (TS1M0) on the
Windows operating systems (even Windows 7 and Windows Server 2008 R2), the
necessary JRE is installed; Java Runtime Environment 1.6.0_24 32bit.
See Installation Note 43491
for more details.
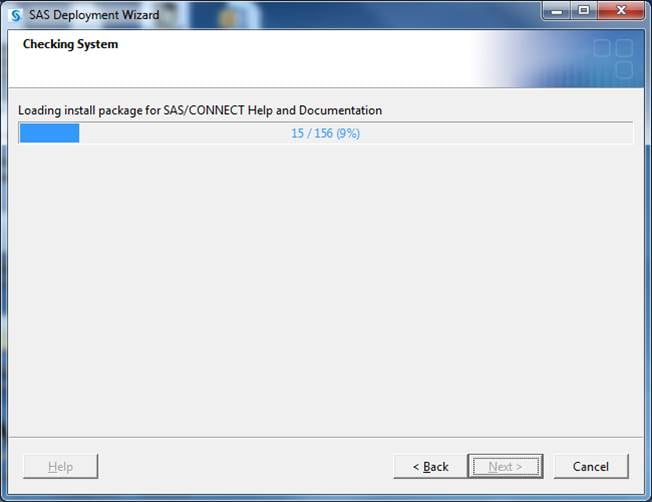
- In the Checking System dialog box, you do not click Next. Once the installation runs through the loading installation package, it proceeds to the next Checking System dialog box automatically.
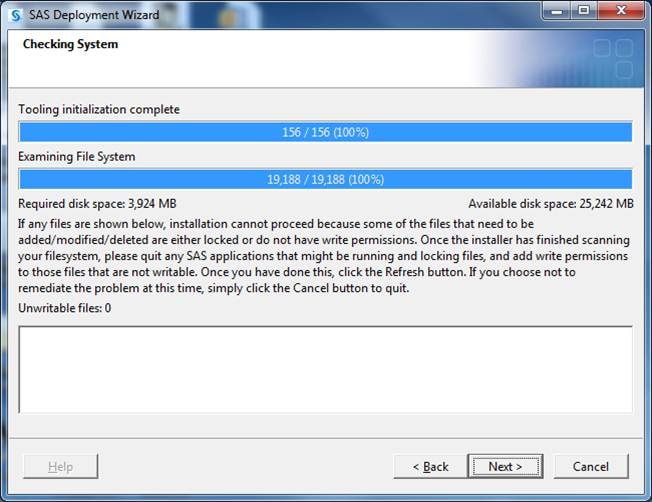
- Here, the system verifies the amount of free disk space and verifies that the files and directories can be written to. Click Next. See Installation Note 43610 for additional details.
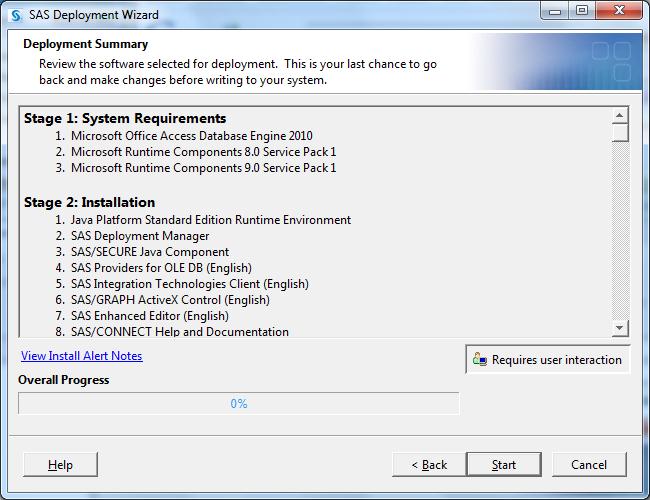
- In the Deployment Summary dialog box, click Start to begin the installation process.
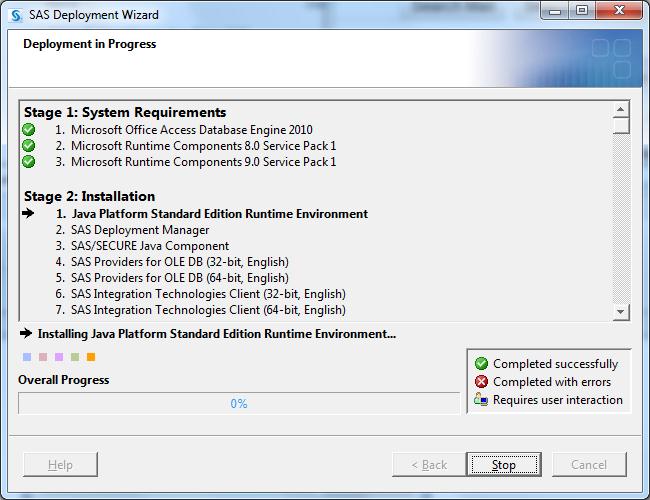
- The Deployment in Progress dialog box appears.
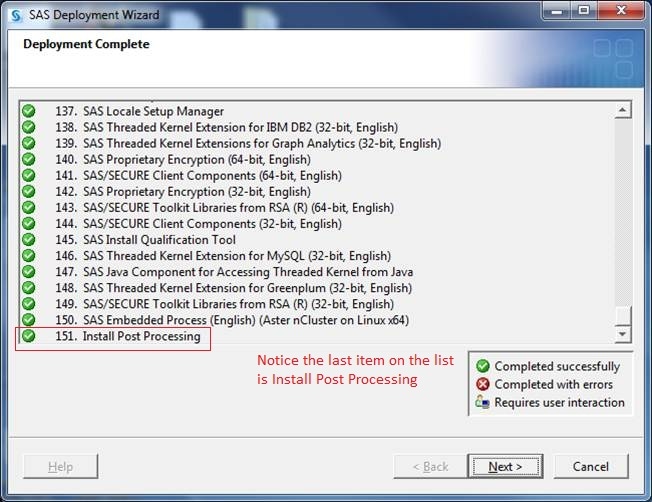
- When the Install Post Processing step is reached, you are getting close to the end of the installation.
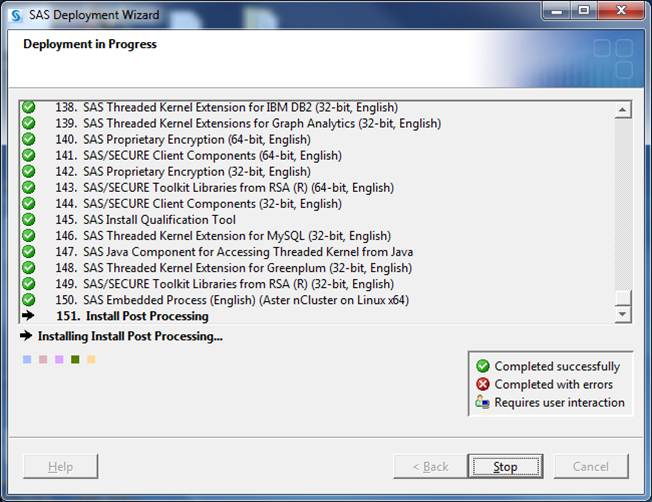
You might also see the SAS batch icon(s) come and go from the task bar. This, too, is an indication that the installation is almost complete.

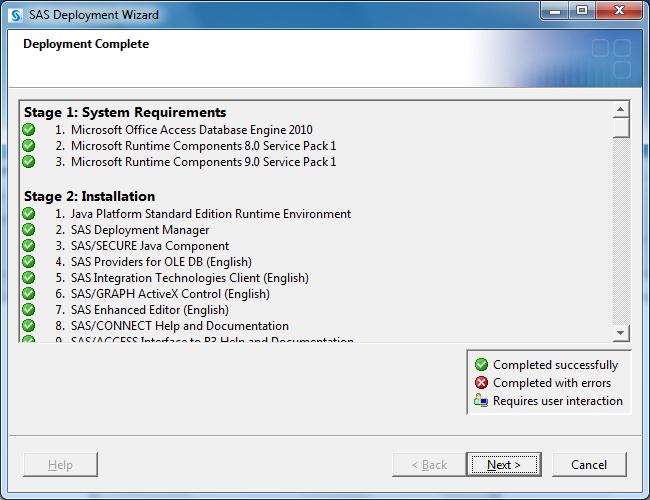
- In the Deployment Complete dialog box, click Next.
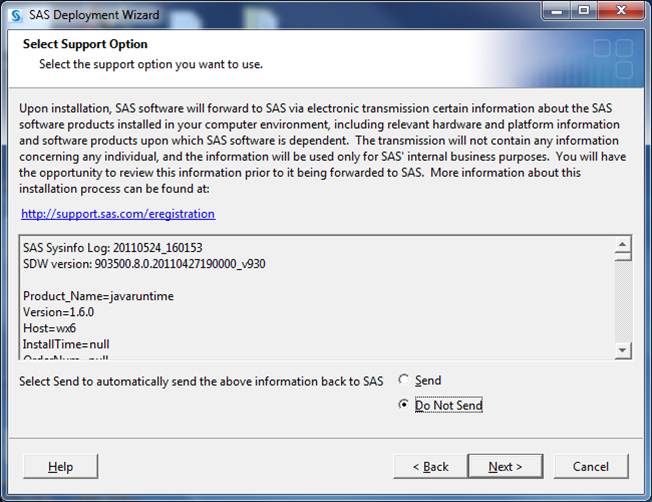
- In the Select Support Option dialog box, the default is Do Not Send. Either click Next to accept the default or else select the Send option button to provide the information to SAS and then click Next.
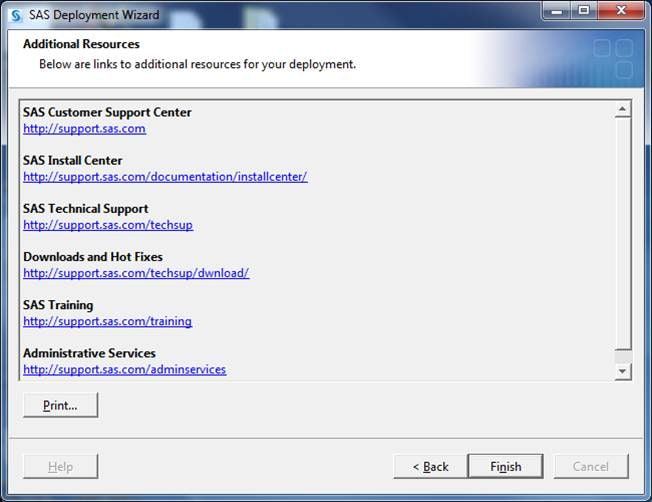
- In the Additional Resources dialog box, you can print this screen or click the links to see the pages. Click Finish when you are done.
The SAS® Deployment Wizard 9.3 appears.

ADDITIONAL DOCUMENTATION:
For more information about the SAS 9.3 Basic Deployments on the Windows Platform, see the following documentation:
- QuickStart Guide: SAS® 9.3 Installation Kit for Basic Deployments Using DVD(s): Windows and UNIX
- QuickStart Guide: SAS® 9.3 Basic Deployments using Electronic Software Delivery
For more information about the SAS 9.3 Planned Deployments on the Windows Platform, see the following documentation:
- QuickStart Guide: SAS® 9.3 Planned Deployments using Electronic Software Delivery
- QuickStart Guide: SAS® 9.3 Installation Kit for Planned Deployments Using DVD(s): Windows and UNIX
For System Requirements, see the following:
- System Requirements for SAS® 9.3 Foundation for Microsoft® Windows
- System Requirements for SAS® 9.3 Foundation for Microsoft® Windows for x64
Operating System and Release Information
| Product Family | Product | System | Product Release | SAS Release | ||
| Reported | Fixed* | Reported | Fixed* | |||
| SAS System | Base SAS | Microsoft® Windows® for x64 | 9.3 | 9.3 TS1M0 | ||
| Microsoft Windows Server 2003 Datacenter Edition | 9.3 | 9.3 TS1M0 | ||||
| Microsoft Windows Server 2003 Enterprise Edition | 9.3 | 9.3 TS1M0 | ||||
| Microsoft Windows Server 2003 Standard Edition | 9.3 | 9.3 TS1M0 | ||||
| Microsoft Windows Server 2003 for x64 | 9.3 | 9.3 TS1M0 | ||||
| Microsoft Windows Server 2008 | 9.3 | 9.3 TS1M0 | ||||
| Microsoft Windows Server 2008 for x64 | 9.3 | 9.3 TS1M0 | ||||
| Microsoft Windows XP Professional | 9.3 | 9.3 TS1M0 | ||||
| Windows 7 Enterprise 32 bit | 9.3 | 9.3 TS1M0 | ||||
| Windows 7 Enterprise x64 | 9.3 | 9.3 TS1M0 | ||||
| Windows 7 Home Premium 32 bit | 9.3 | 9.3 TS1M0 | ||||
| Windows 7 Home Premium x64 | 9.3 | 9.3 TS1M0 | ||||
| Windows 7 Professional 32 bit | 9.3 | 9.3 TS1M0 | ||||
| Windows 7 Professional x64 | 9.3 | 9.3 TS1M0 | ||||
| Windows 7 Ultimate 32 bit | 9.3 | 9.3 TS1M0 | ||||
| Windows 7 Ultimate x64 | 9.3 | 9.3 TS1M0 | ||||
| Windows Vista | 9.3 | 9.3 TS1M0 | ||||
| Windows Vista for x64 | 9.3 | 9.3 TS1M0 | ||||
| Type: | Installation Note |
| Priority: | high |
| Date Modified: | 2011-07-28 15:30:51 |
| Date Created: | 2011-07-05 10:29:39 |