|
|
Publishing Framework
Example: Creating a Subscriber
Creating an Individual Subscriber
The New Package Subscriber wizard and New Event Subscriber wizard in SAS
Management Console guide you
through the process of creating, respectively, a new package subscriber and a
new event subscriber. (See Managing Subscribers for
information about opening the New Package Subscriber wizard and the New Event
Subscriber wizard.) In this example, an individual
package subscriber is created using the New Package Subscriber wizard.
Note: The process of creating an individual event subscriber is
similar, except for the following:
- You cannot specify filters for an individual event subscriber.
- The available delivery transports for individual event subscribers
are HTTP and Queue.
To create an individual package subscriber, do the following:
Specify a name and a description for this subscriber. The name must be unique
within its parent folder.
The description is optional.
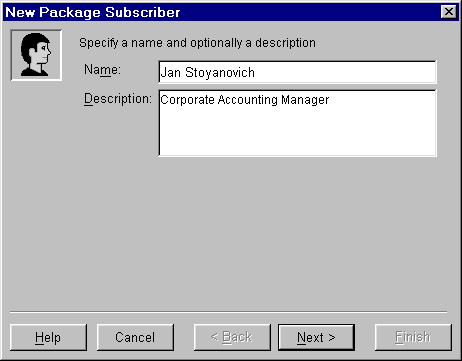
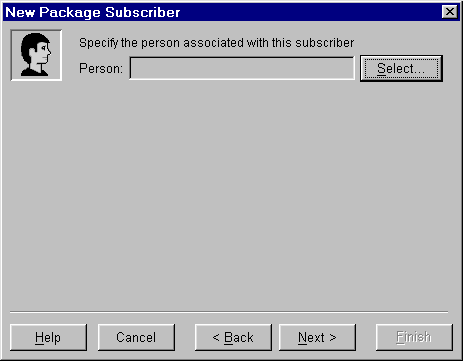
Click Next. Click Select to associate a person with this subscriber.
The Search Filter enables you to search the repository for users whose names
either contain or are equal to a string that you specify. Enter the string in the
text field, select either contains or equals from the drop-down list, and click Search. A list of
users whose names meet your search criteria appears in the Available People list.
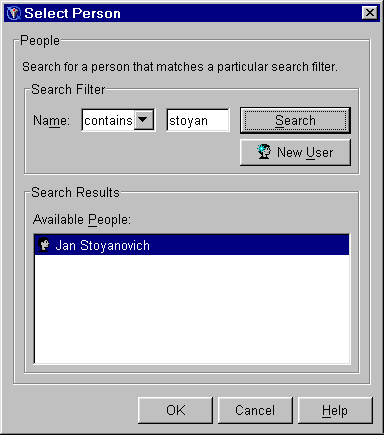
If the desired user does not exist in the repository, then click New User to
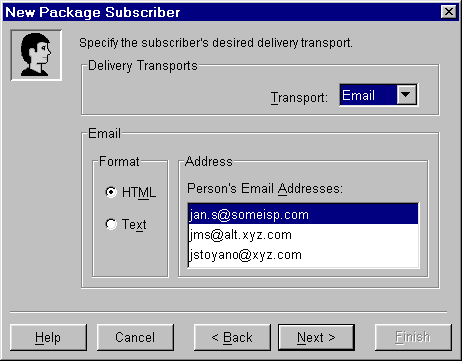
define that user. Then, select the desired user from the Available People list and click OK. Click Next. Select the subscriber's delivery transport. For this example, Email is selected
from the Transport drop-down list. Other options are
WebDAV, Queue, and None.
For more information about delivery transports,
see Delivery Transports. Specify the attributes for the selected delivery transport. For this example,
the e-mail format is selected to be HTML, and one of the user's e-mail addresses
is selected.
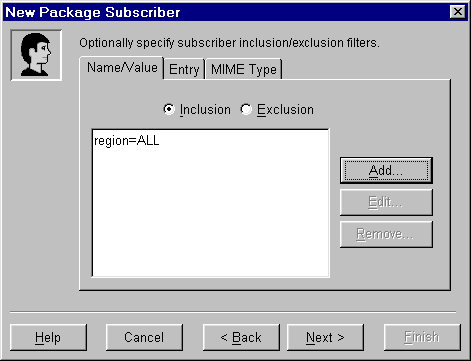
Click Next. Specify one or more filters to eliminate content that the subscriber does not want
to receive. To add a filter, select the tab that corresponds to the type of filter (Name/Value, Entry, or
MIME Type). Select Inclusion or Exclusion and then click Add
to specify the filter criteria. See Filters for
more information.
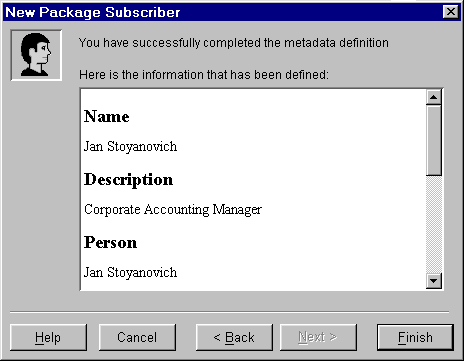
Click Next. Review the subscriber specifications. Click Back to make any corrections.
Click Finish when you are satisfied with your selections.
Creating a Group Subscriber
The New Subscriber Group wizard guides you through the process of creating a
subscriber group. (See Managing Subscribers for
information about opening the New Subscriber Group wizard.) In this example, a group
package subscriber is created. The process of creating a group event subscriber
is identical.
To create a group subscriber, do the following:
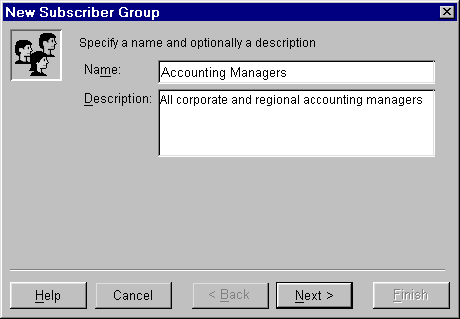
Specify a name and a description for this subscriber group. The name must be
unique within its parent folder. The description is optional.
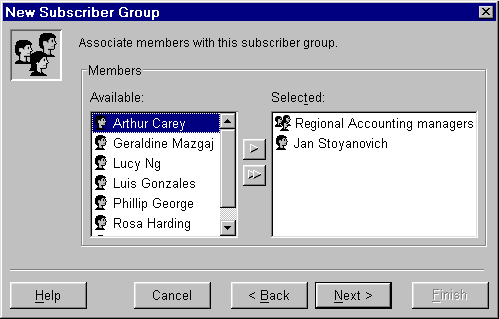
Click Next. Associate members with the subscriber group. The Available list comprises all
individual and group subscribers for this type of subscription (package or event).
Select one or more subscribers from the Available list and click the right
arrow to move them to the Selected list. To move all users to the
Selected list, click the double-right arrow.
Click Next. Optionally, assign an owner to this group. The Owner value is for information
purposes only and is not used by the software.
Click Select to open the Select Person dialog box. The owner is chosen from among
all known users and does not need to be a subscriber.
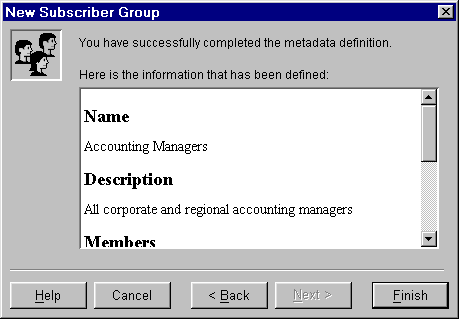
Click Next. Review your specifications. Click Back to make any corrections. Click
Finish when you are satisfied with your selections.
|