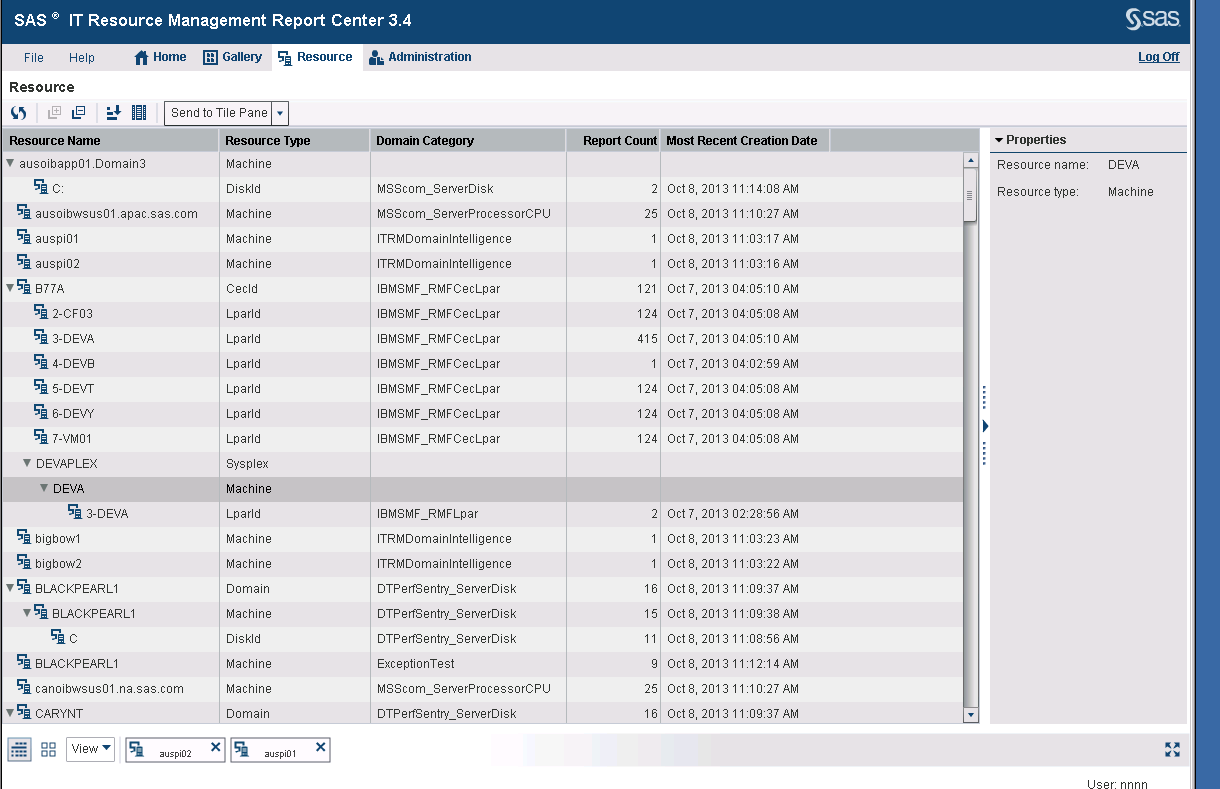
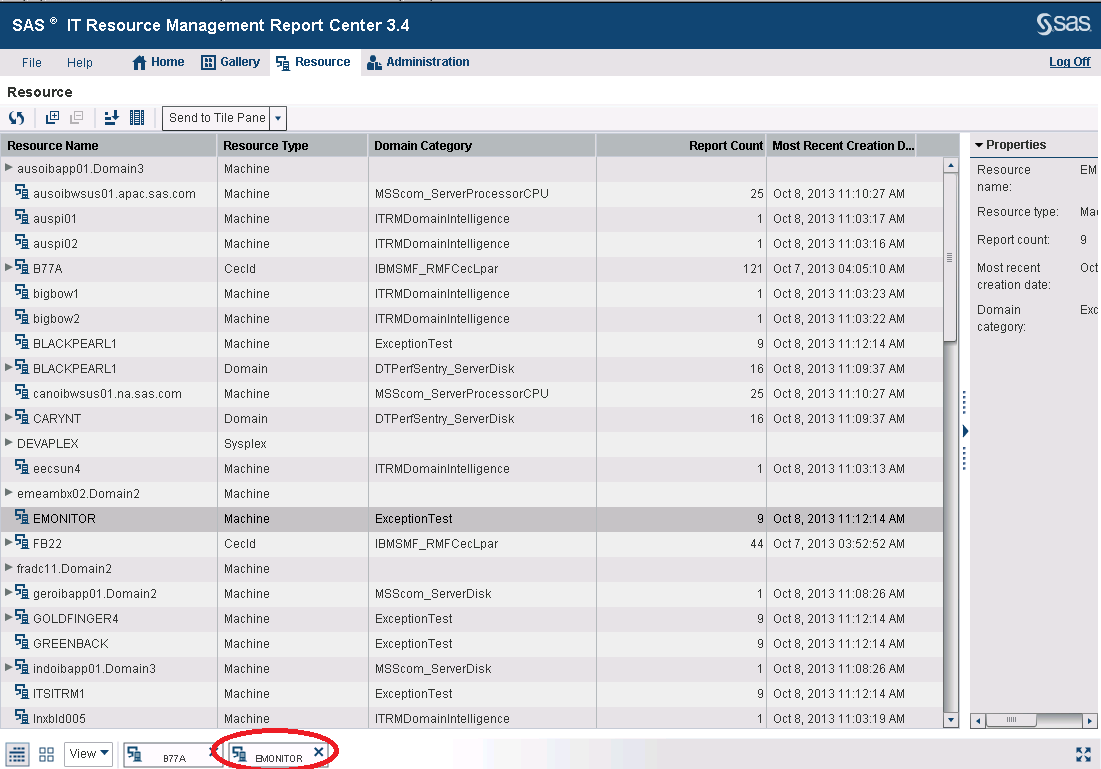
About the Resource Workspace
The main features of
the Resource workspace are accessed from
the workspace bar. The workspace bar of the Resource workspace
contains the following icons:
-
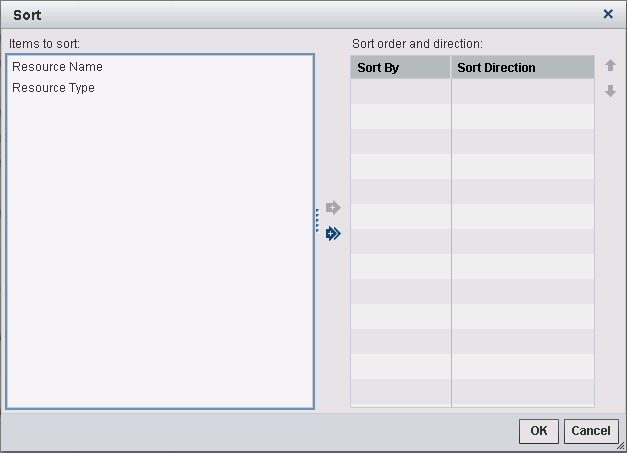
 sorts the content on this workspace by Resource
Name or Resource Type. The Sort dialog
box appears as shown in the following display.
You can sort in ascending or descending order by Resource Name or Resource Type. Use the right and left arrows to move a selected sort item to the Sort By column. The columns are sorted in ascending order by default. To change the sort order, click the Sort Direction field for the item that you want to sort. Then click the order that you want to sort by. Then click OK.
sorts the content on this workspace by Resource
Name or Resource Type. The Sort dialog
box appears as shown in the following display.
You can sort in ascending or descending order by Resource Name or Resource Type. Use the right and left arrows to move a selected sort item to the Sort By column. The columns are sorted in ascending order by default. To change the sort order, click the Sort Direction field for the item that you want to sort. Then click the order that you want to sort by. Then click OK. -
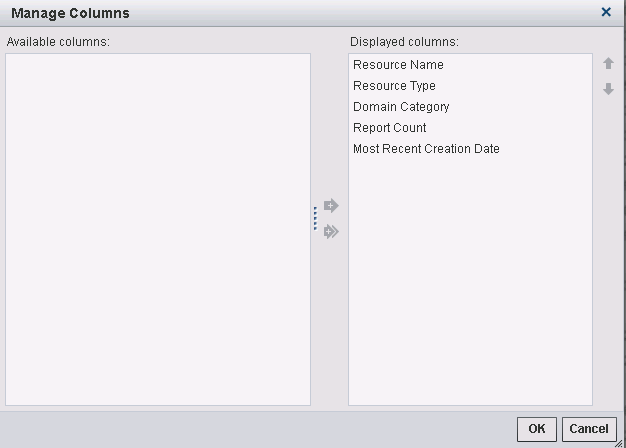
 changes the information that is displayed on the
window. The Manage Columns dialog box appears,
as shown in the following display.
The previous dialog box shows that the Resource workspace is displaying the Resource Name, Resource Type, Domain Category, Report Count, and Most recent Creation Date by default. To remove any of these columns from the workspace, select it and then use the arrows to move that column to the Available columns list.
changes the information that is displayed on the
window. The Manage Columns dialog box appears,
as shown in the following display.
The previous dialog box shows that the Resource workspace is displaying the Resource Name, Resource Type, Domain Category, Report Count, and Most recent Creation Date by default. To remove any of these columns from the workspace, select it and then use the arrows to move that column to the Available columns list. -
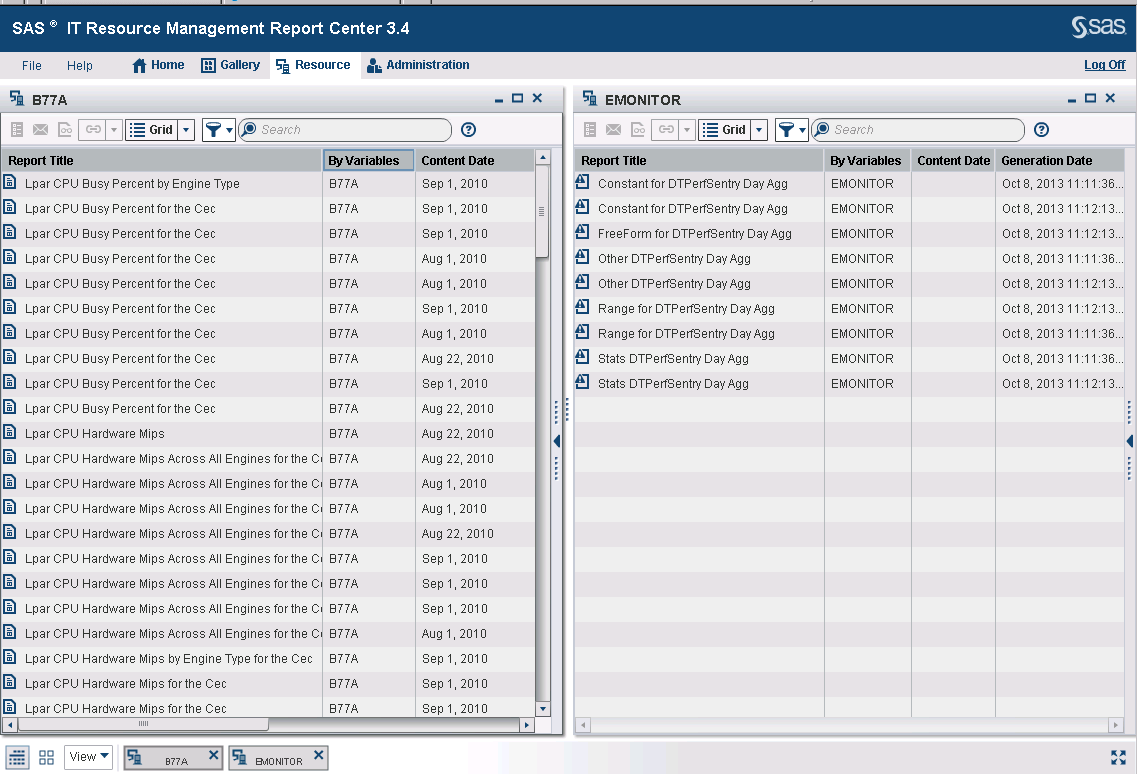
-
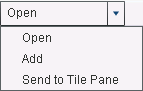
Click Open to display the reports for that resource. The reports appear as a gallery using the default grid view.Reports that pertain to a selected resource might exist in multiple root locations. If a user belongs to several root locations, all the reports (across all the root locations to which the user belongs) are displayed.Reports with partially matching nodes are merged when displayed. For example, suppose there are two sets of reports. One set of reports has only one variable. The other set has two variables. (One of these variables matches the variable of the first set of reports.) When displayed, the two resource hierarchies are merged into one hierarchy. That is, both sets of reports are displayed under the variable that was common to both sets of reports.Note: If the number of reports seems incorrect, refresh the cache for the root location. This can be done by a SAS administrator on the Administration workspace.
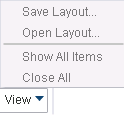
-


It contains these objects:
-
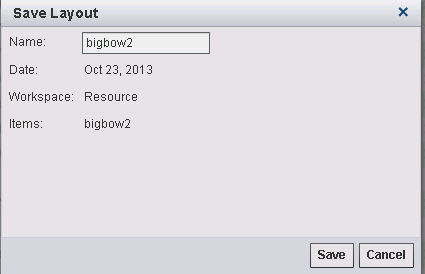
-
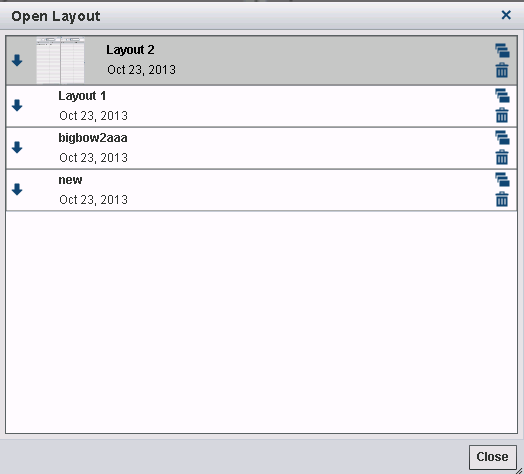
This dialog box displays identifying information about the layout: name, date of creation, workspace, and items contained in the layout. You can change the Name of the layout. The Name field can contain any type and number of characters. Click Save to save the layout and return to the workspace view.
-


Several features that
are described for the Gallery workspace are
also available for use in the Resource workspace.
The following features are available for both workspaces:
Similarly, workspace
navigation options that are described for the Resource workspace
are also available for use in the Gallery workspace.
These features are the Open, Add, Send
to Tile, and Workspace Tray that
are described in the “About the Resource Workspace”
topic in this chapter. For more information, see About the Resource Workspace.
Copyright © SAS Institute Inc. All rights reserved.