Adding a New Column to an Aggregation Table
CAUTION:
Do not
define a new staged table and use it as the source for an existing
aggregation transformation.
Doing so changes the
metadata identity of the columns of the source table so that the aggregation
transformation cannot process the source table correctly. If new columns
were added to the staged table and you want to include them in an
associated aggregation table, modify that aggregation table by using
the Edit function for that table. (To modify
or add a column to an existing staged table, modify the properties
of the table or use the Maintain Tables function. For information about
modifying a staged table, see Modify a Staged Table. For more information about the Maintain Staged
Tables wizard, see About the Maintain Staged Tables Wizard.)
-
Locate the Aggregation transformation that generates the aggregation table that you want to modify. To do so, from the IT Data Marts tree, navigate to the IT data mart that contains the job where the Aggregation transformation is located. Double-click the job to open it on the Diagram tab of the Job Editor window.
-
Right-click the aggregation table that you want to modify. From the list that displays, select Edit table type Aggregation Table.Note: If the table is a simple aggregation table, the list displays Edit Simple Aggregation Table. If the table is a summarized aggregation table, the list displays Edit Summarized Aggregation Table. However, if the aggregation table is not associated with an Aggregation transformation, then the Edit table type Aggregation Table option is not available.
-
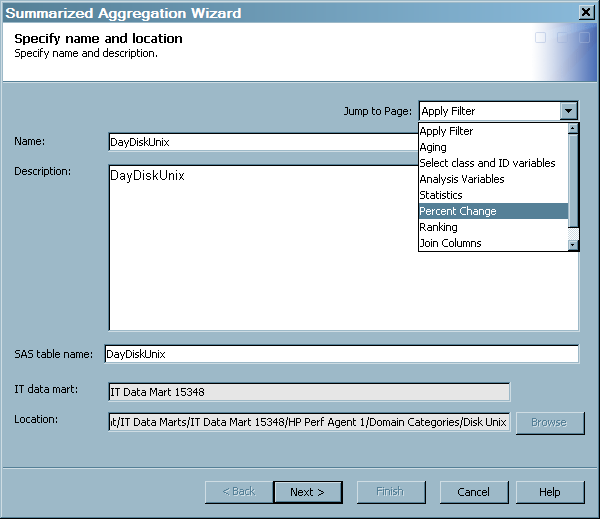
Modify the contents of the page that you selected. (For information about which fields can be changed, follow the instructions that apply to the creation of the type of table that you want to modify.)
-
For information about creating summarized aggregation tables, see Creating Aggregation Tables with the Summarized Aggregation Table Wizard.
-
For information about creating simple aggregation tables, see Creating an Aggregation Table with the Simple Aggregation Table Wizard.
Note: If you try to delete a column that is used to create a statistic, percentile, percent change, moving statistic, rank, or join column, a message appears that lists the column, where it is used, and its table name. If a column was deleted using the Columns tab of the Properties dialog box, then the next time the aggregation wizard is opened on that table, a message appears that identifies any columns whose source column is no longer available. Click Yes to delete the columns from the table and continue to edit the table. Click No to keep the columns. In that case, the wizard does not open. -
In order for your
changes to take effect, you must redeploy the job. For information about
redeploying jobs, see Redeploy All Jobs on the Server.