Configuring SAS Products
About Configuring SAS Products
Configure SAS Products
Follow these steps to
use the SAS Deployment Wizard to configure SAS products that you have
already installed.
-
Make sure that the machine where you want to add the new SAS 9.3 software contains the necessary user accounts, groups, and ports.For more information, see Setting Up Users, Groups, and Ports.
-
Back up your metadata repository and repository manager on the SAS Metadata Server machine. For more information, see Best Practices for Backing Up and Restoring Your SAS Content in SAS Intelligence Platform: System Administration Guide.
-
Make a backup copy of your SAS 9.3 configuration directories by using your site-approved method. Your SAS configuration directories are all the child directories beneath the configuration path that was specified during the initial SAS 9.3 deployment on the Specify Configuration Information wizard page.
-
If you are reconfiguring SAS Web Parts for Microsoft SharePoint that was deployed manually, read the following topic before proceeding: Reconfiguring SAS Web Parts for Microsoft SharePoint in SAS Intelligence Platform: Web Application Administration Guide.
-
Make sure that your SAS server and middle tiers are running. Your Web application server (JBoss, WebSphere Application Server, or WebLogic Server) should not be running.For more information, see Operating Your Servers in SAS Intelligence Platform: System Administration Guide.
-
Log on to the machine on which you want to add the new SAS 9.3 products as the SAS Installer user. This is the user with which your SAS deployment was installed. For more information, see Required External User Accounts for SAS.
-
Start the SAS Deployment Wizard from the highest-level directory in your SAS Software Depot using the command appropriate for your operating system.Note: If you want to use a different Java Runtime Environment, you must invoke the deployment wizard with a special start up option,
-forcejreprompt. For more information, see Specify a Different JRE.For more information, see Creating SAS Software Depots. -
If the wizard detects that there are SAS software products in your order that are more recent than what you have deployed on your machine, then the wizard automatically goes into Update mode.For more information, see Adding, Updating, and Upgrading SAS Software.
-
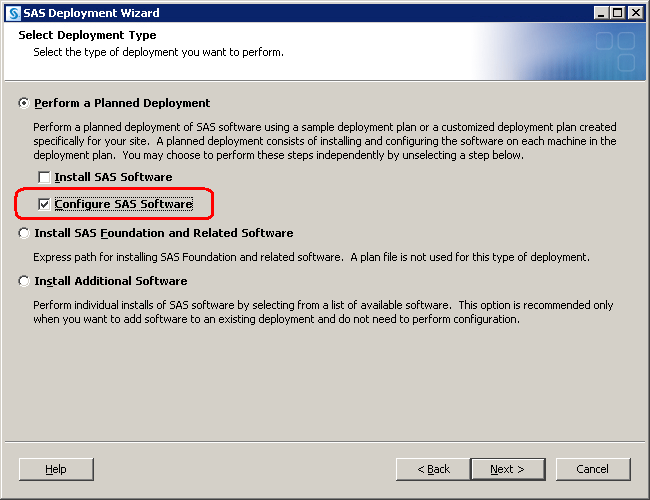
Choose either the Typical or the Custom configuration prompting level. You want to be able to access the configuration page where you can set the SAS Metadata Server. The Express prompt level does not allow you to access this SAS server configuration setting.Note: When adding SAS 9.3 products that require configuring, make sure that you specify the metadata repository name if the one that you are using has a name other than the default (Foundation). To access the deployment wizard page to specify a custom repository name, choose the Custom configuration prompting level.Refer to Overview of Configuration Options by Prompt Level for more information about the SAS Deployment Wizard prompting levels. -
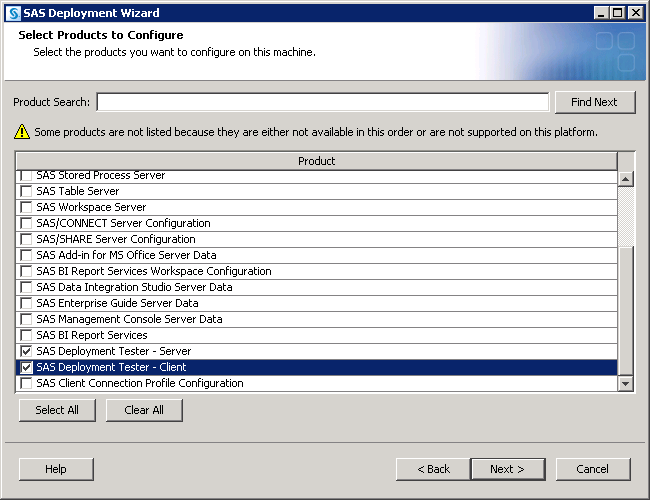
In the Select Products to Configure page, choose only those products that you want to configure on the machine.The SAS Deployment Wizard has queried the metadata about your current configuration and checked the appropriate products to be configured.Note: Any time you configure your deployment, you must also configure your Web application server, even if your configuration does not involve your SAS middle tier. If you manually configured the Web application server when you deployed SAS 9.3, then configure it again manually. If the deployment wizard automatically configured your Web application server, then choose the automatic configuration option.
-
Provide the remaining configuration information as the wizard prompts you for it. (The actual number of configuration pages that you must provide input for depends on the prompt level that you chose.) For more information, see Step 9 in the topic, “Install and Configure SAS Interactively.” -
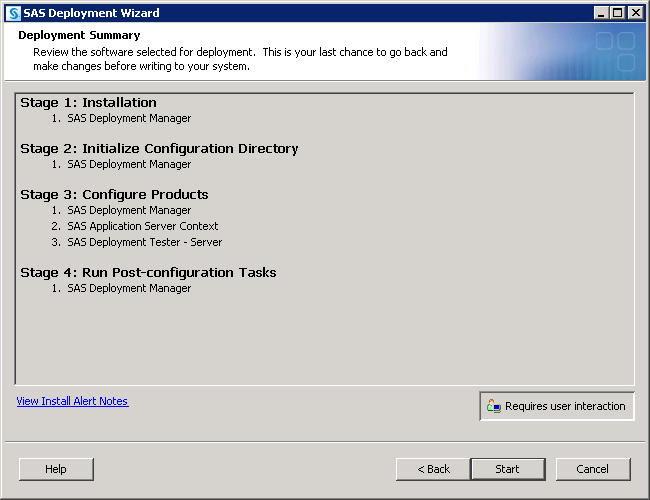
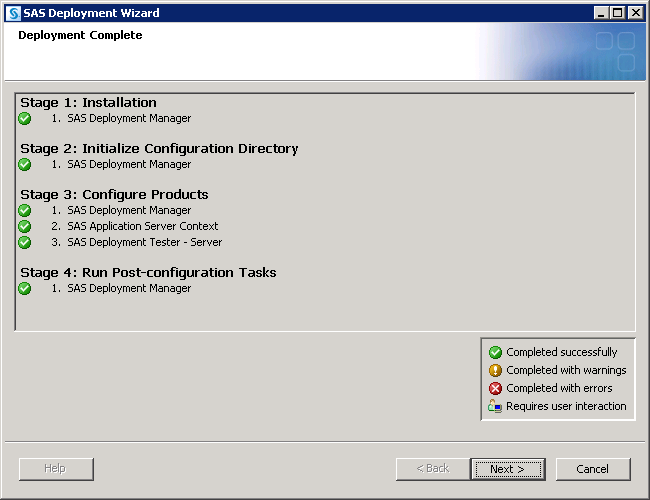
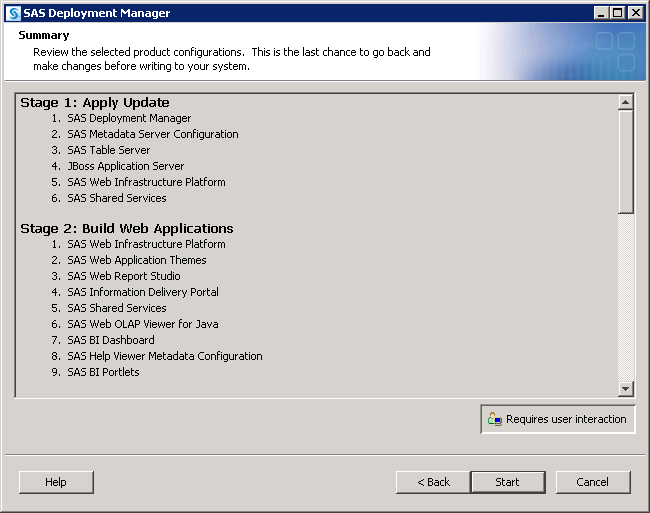
When you see the Deployment Summary page, the deployment wizard has finished collecting configuration input. This is the last opportunity to go back and change any information that you have provided in previous pages before the wizard begins writing to your system.
-
When you are configuring SAS Web applications, restart the SAS Services Application (Remote Services).On Windows, you must restart the SAS Services Application (Remote Services) from a Windows command line, using the RemoteServices.bat -start command. For more information, see Starting or Stopping the SAS Services Application (Remote Services) in SAS Intelligence Platform: System Administration Guide.
-
For multi-machine deployments, back up your metadata repository and your SAS configuration directory before you run the SAS Deployment Wizard on the next machine called for by your deployment plan.
-
Back up your metadata repository and repository manager on the SAS Metadata Server machine. For more information, see Best Practices for Backing Up and Restoring Your SAS Content in SAS Intelligence Platform: System Administration Guide.
-
If you have installed or upgraded a SAS Web application that offers online Help, you will have to rebuild the SAS Help Viewer for Midtier Applications. For more information, see Rebuilding the SAS Web Applications in SAS Intelligence Platform: Middle-Tier Administration Guide.
-
When you are finished installing and configuring SAS on each machine called for in your deployment plan, proceed to the section, Validate the SAS 9.3 Servers.Note: If you encounter error messages about your SAS license expiring, you might need to perform another procedure to correct this. For more information, see About Adding a SAS Solution to Your Deployment.
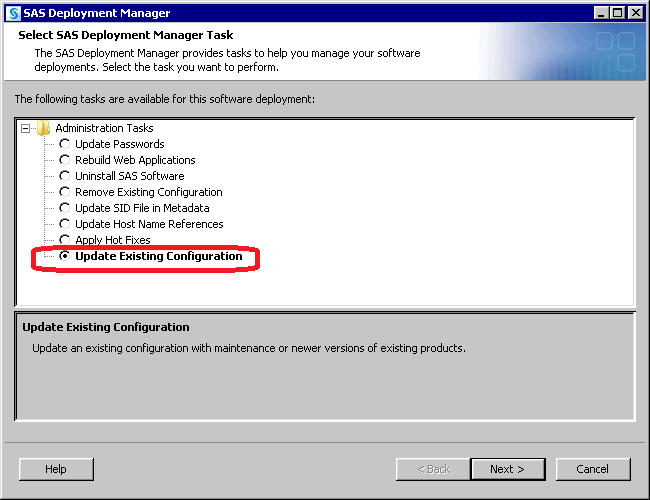
Configure Updated or Upgraded SAS Products
Follow these steps to
use the SAS Deployment Manager to configure SAS products for which
you have already installed updates or upgrades.
Note: Starting with the March 2012
release of SAS 9.3, the SAS deployment wizard and the download manager
can be run on operating systems that do not have windowing systems.
For more information, see the SAS Deployment Wizard and
SAS Deployment Manager User's Guide available at: http://support.sas.com/documentation/installcenter/en/ikdeploywizug/64204/PDF/default/user.pdf
-
Make a backup copy of your SAS 9.3 configuration directories by using your site-approved method. Your SAS configuration directories are all the child directories beneath the configuration path that was specified during the initial SAS 9.3 deployment on the Specify Configuration Information wizard page.
-
Back up your metadata repository and repository manager on the SAS Metadata Server machine. For more information, see Best Practices for Backing Up and Restoring Your SAS Content in SAS Intelligence Platform: System Administration Guide .
-
For more information, see Operating Your Servers in SAS Intelligence Platform: System Administration Guide .
-
If you are reconfiguring SAS Web Parts for Microsoft SharePoint that was deployed manually, read the following topic before proceeding: Reconfigure a Manual Deployment of SAS Web Parts for Microsoft SharePoint in SAS Intelligence Platform: Web Application Administration Guide .
-
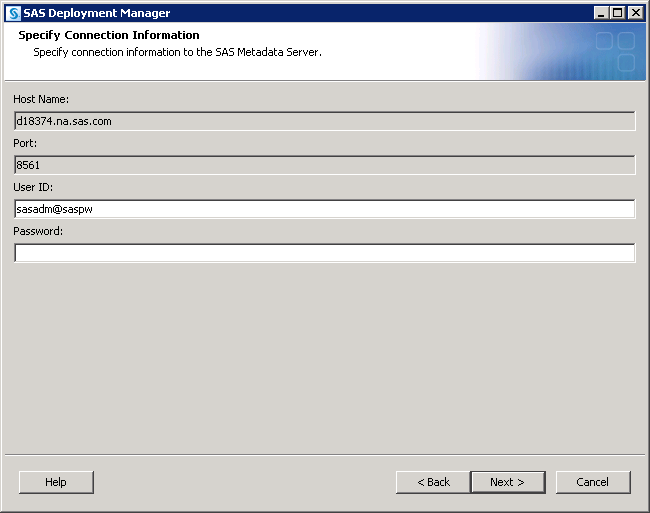
Log on to the machine on which you want to update the SAS product configuration as the SAS Installer user. This is the user with which your SAS deployment was installed and updated. For more information, see Required External User Accounts for SAS .
-
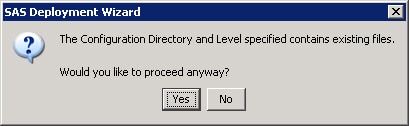
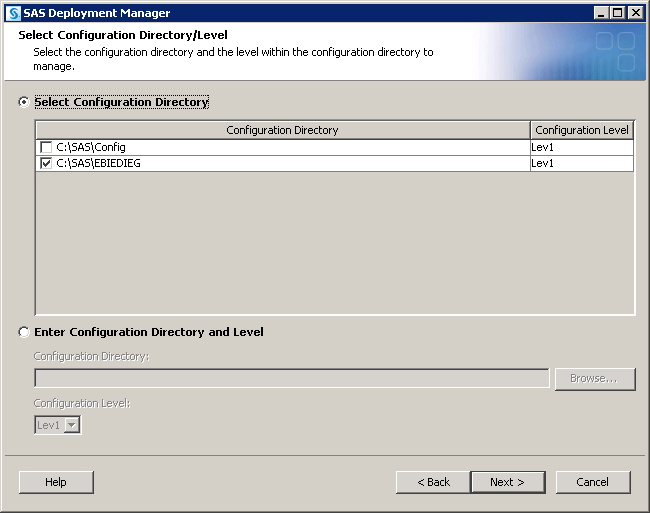
In the next page, specify the configuration directory and the level (for example, Lev1) that you want to update.Note: Any time that you configure your deployment, you must also configure your Web application server, even if your configuration does not involve your SAS middle tier. If you manually configured the Web application server when you deployed SAS 9.3, then configure it again manually. If the deployment wizard automatically configured your Web application server, then choose the automatic configuration option.
-
If your configuration:
-
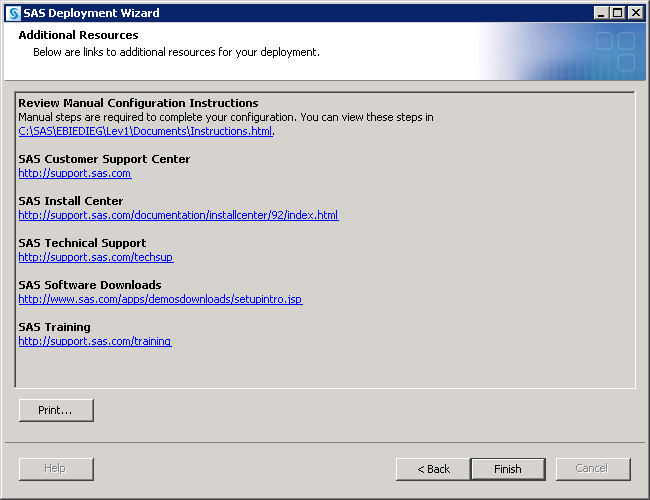
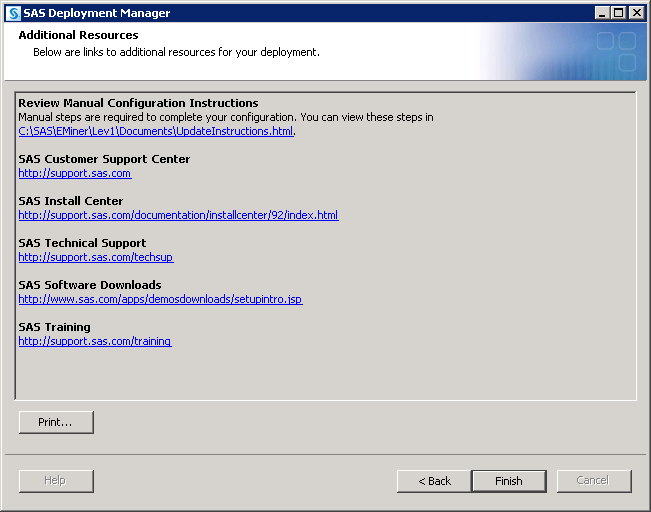
The first link on the Additional Resources page goes to the UpdateInstructions.html file. Click this link and follow the instructions to complete any manual steps necessary to complete your configuration.The SAS Deployment Manager writes its HTML pages to the Documents directory on the SAS configuration path. For example:
Copyright © SAS Institute Inc. All rights reserved.