Managing the Workflow Process
Overview
SAS Model Manager Workflow
Console can be used to manage instances of workflow process definitions.
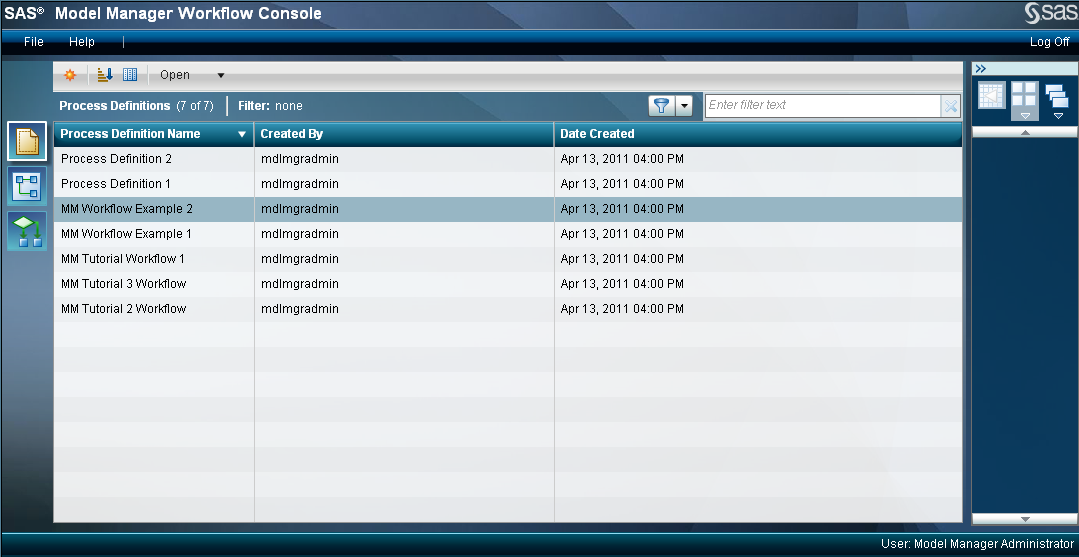
A SAS Model Manager administrator can create new workflow instances,
view workflow process definitions, and interact with activities that
are associated with a workflow instance. If the SAS Model Manager
administrator is assigned to the workflow role of business administrator,
the administrator can influence the progress of an activity by actions
such as assigning an activity, or releasing the activity that is claimed
by another user.
Prerequisites
The exercises in this
tutorial require that you have made the workflow process definitions
available to SAS Model Manager. For more information,
see Prepare for Using SAS Workflow.


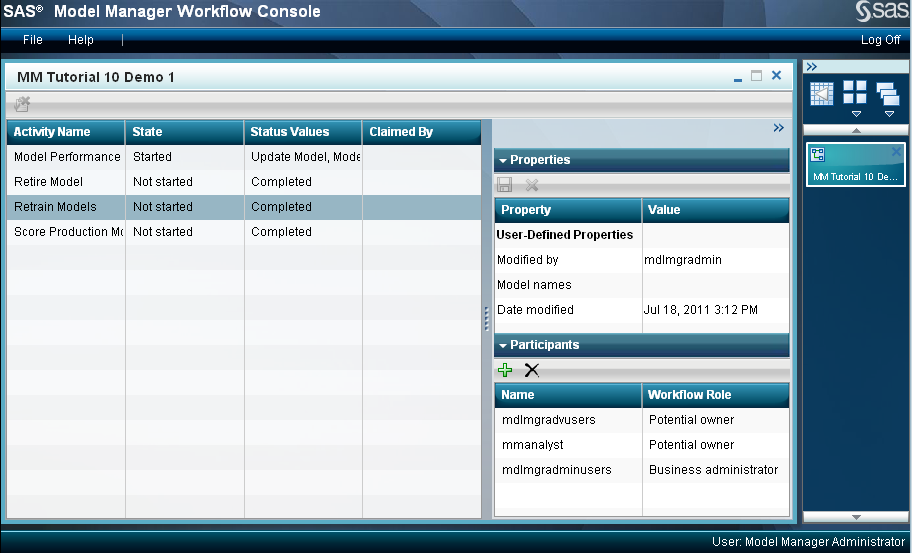
Modify a Workflow Instance
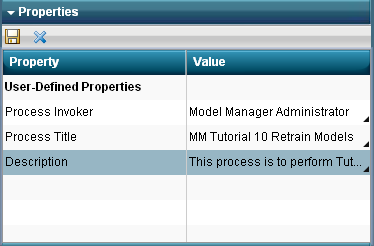

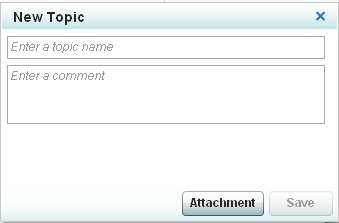
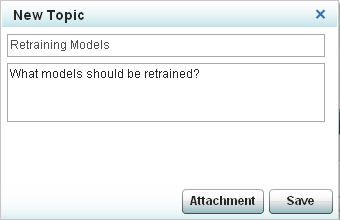
Add Comments
-
Note: For information about adding attachments, see Working with Comments in SAS Model Manager: User's Guide.

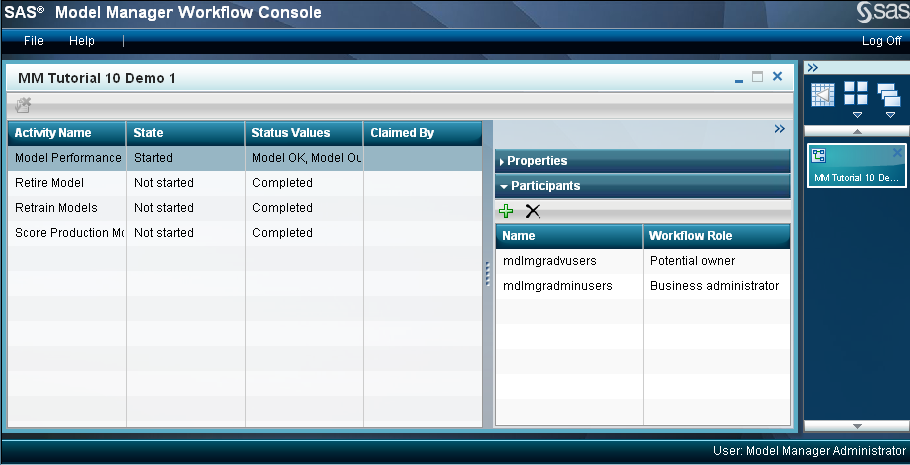
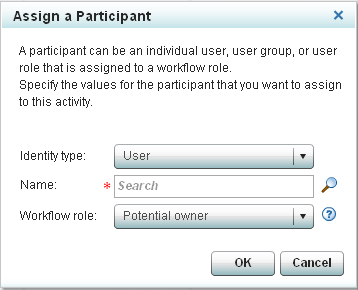
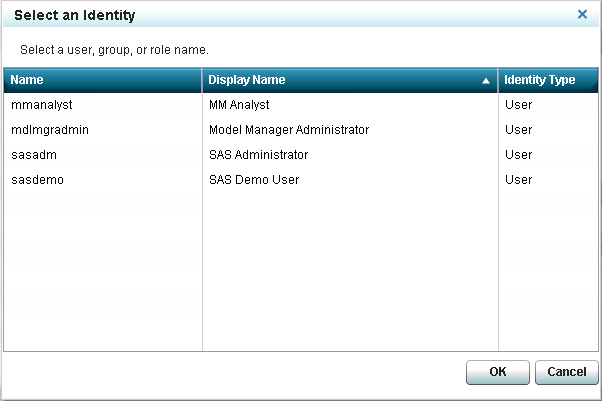
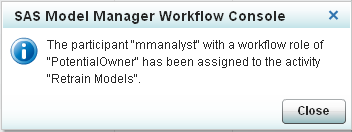
Assign Participants


Terminate Workflow Instances
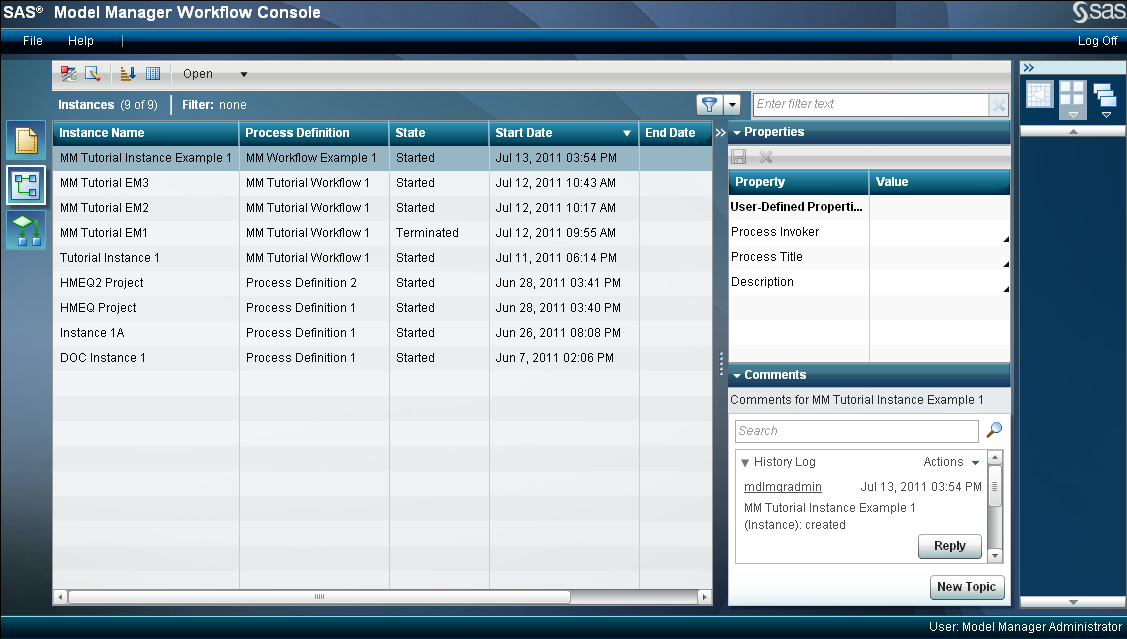
When you terminate a
workflow instance, all activities that have not yet been completed
in the workflow process are changed to a state of
Terminated. After you terminate a workflow process for an instance, the process
cannot be restarted.
-
From the Instances category view, select one of the additional instances that you created in the exercise Create Workflow Instances, and click
 .
.
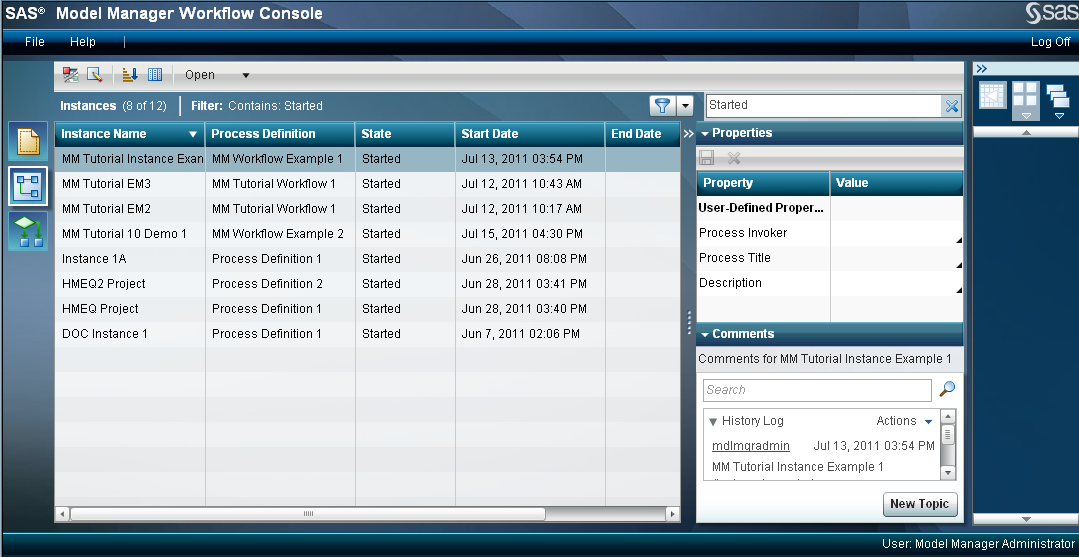
Filter List Content
You can filter the list
in a category view to display only particular process definitions,
instances, or activities. For example, suppose you want to see only
instances in the Instances category view that are in the state of
Started.
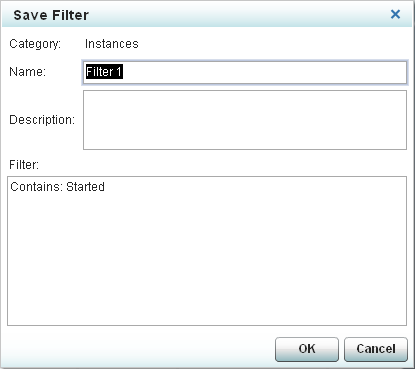
-
Note: The filter name can be modified in the Manage Filters window. The rule and description cannot be modified for an existing filter. If you want to change the rule or description, you must create a filter that has the same name to replace the existing filter. For more information, see Filtering List Content in SAS Model Manager: User's Guide.