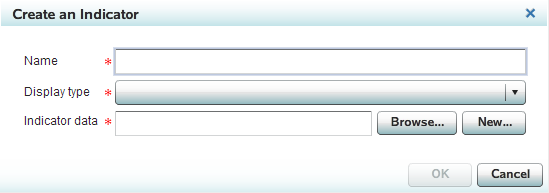
Create or Edit an Indicator
Start to Create or Edit an Indicator
-
-
For more information, see step 2 of the task Start to Create or Edit Indicator Data.
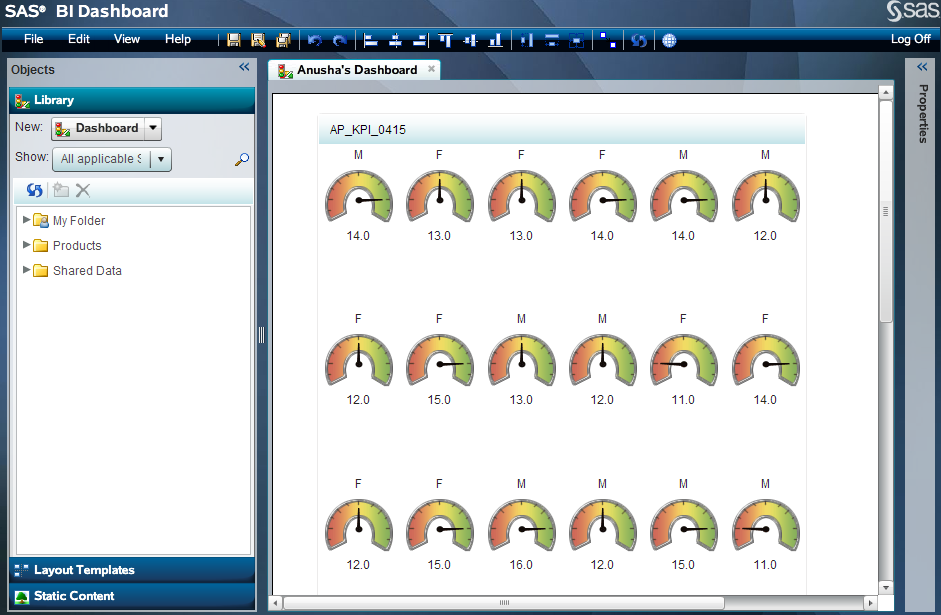
Define the General Properties
-
Change the height and width by specifying values in the controls or by clicking the indicator and dragging the resize handles.
-
For information about gauges, see Select a Gauge for an Indicator.
-
For more information, see step 2 of the task Start to Create or Edit Indicator Data.
-
For more information, see step 2 of the task Start to Create or Edit Indicator Data.
Define the Role-Mapping Properties
The role-mapping
properties determine which data is included in the display, how the
data is grouped, how the data is summarized, and so on.
For a
list of the role-mapping properties, see Indicator Role-Mapping Properties.