New SAP BW Wizard Example: Uploading External File Data to SAP Using InfoPackage Metadata
Overview
This example
describes how to use the New SAP BW wizard to complete a type of roundtrip
process for data by taking source data from SAP BW, manipulating it
in SAS, and returning it to SAP. The following steps provided a high-level
view:
-
Extract SAP BW metadata to SAS data sets, as described in Extract SAP BW Metadata Using the Extract from BW Wizard.
-
Use the SAP BW Register Tables wizard to select which data sources you want to use in SAS Data Integration Studio and write metadata about those data sources to your metadata repository.
-
Return the data to SAP BW using InfoPackage metadata, as described in this procedure.
SAP Server Page

InfoPackage Browser Page

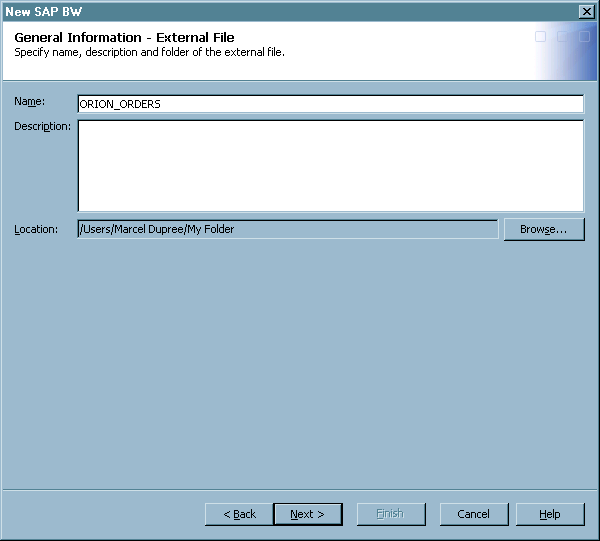
General Information - External File Page
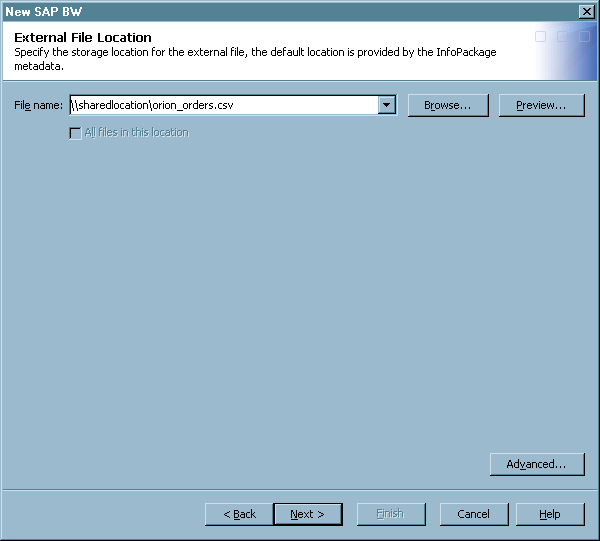
External File Location Page
Use the
External File Location page to specify the location for the external
file created with the wizard. For more information, see External File Location Page.
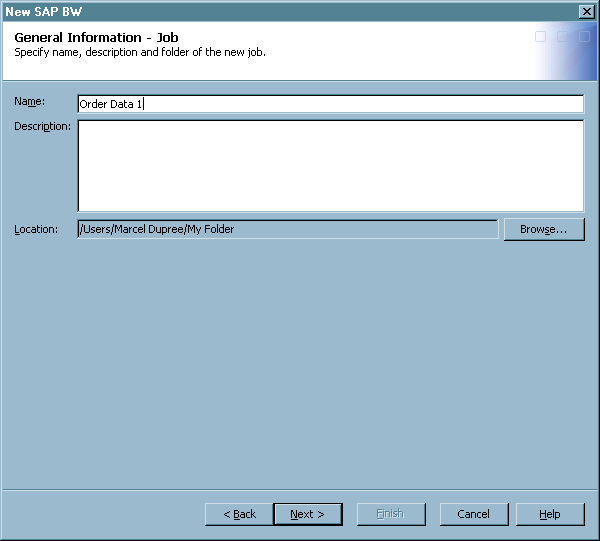
General Information - Job Page
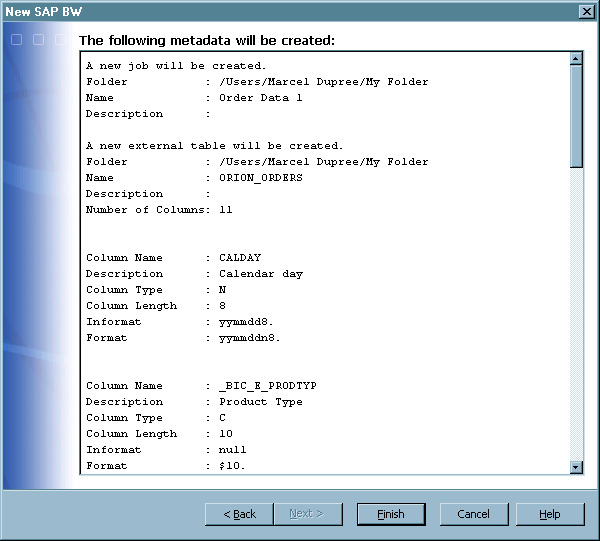
Review the Job
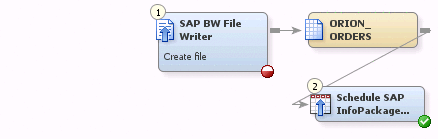
The process
flow diagram for the job that was created in the New SAP BW wizard
displays. The Schedule SAP InfoPackage transformation
is part of the job because the external file destination in the InfoPackage
is the SAP Application Server and the scheduling data in the InfoPackage
is Immediate Update.
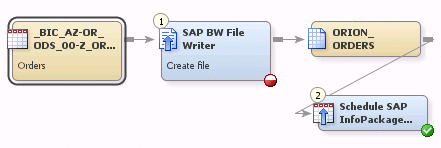
Verify Mappings and Settings
Verify
the mappings between the source and target tables by right-clicking
the SAP BW File Writer transformation and
selecting Properties. Then, select the Mappings tab in the Properties window, as shown in the
following figure.

Be sure
that each column in the source table is mapped to the corresponding
column in the target table. When you have finished, click OK. The icon in the bottom-right of the SAP BW File
Writer transformation icon becomes a green check mark. Then right-click
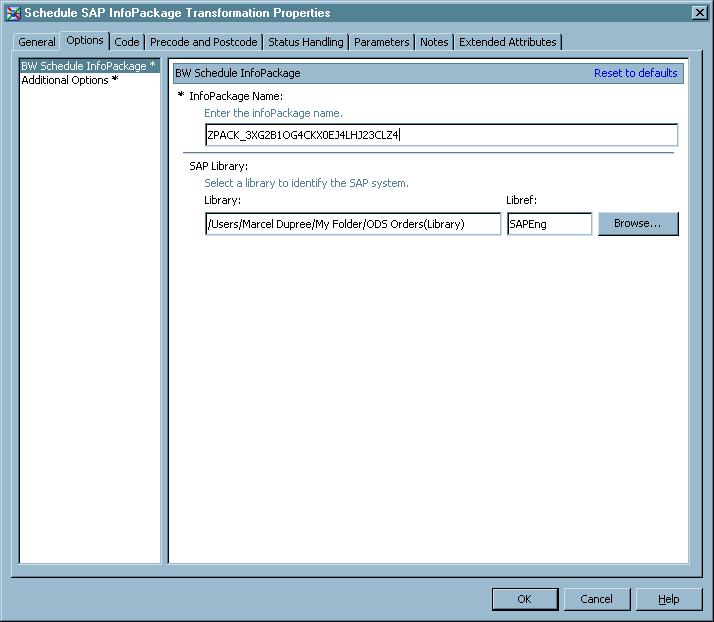
the Schedule SAP InfoPackage transformation
and select Properties. Last, select the Options
tab in the Properties window, as shown in the following figure:

Examine the Data and the Log
It is
a good practice to right-click the .csv target table and select Open to review the output of the job. Also, examine
the log generated by the job. If you were to schedule a job like this
with the Schedule SAP InfoPackage transformation, the next to last
entry in the log should confirm that a REQUESTID has been generated
for the load. In addition, the final entry in the log will suggest
that you check the status of the data load by passing the REQUESTID
to an SAP administrator. Of course, other scenarios generate
different log messages.