Creating a Domain

Overview

After you create a study or submission, you create domains within that study or submission. You can create a domain only in a folder that is the root folder of a study or submission, or in a subfolder within the root folder of a study or submission. The domain can be a standard domain or a custom domain.
Note: In a study folder, a domain that you create is marked with the SAS Clinical Data Integration icon SAS Clinical Data Integration icon. This icon helps you to distinguish domains from other non-clinical tables.

Standard Domain

A standard domain is created from a data standard that defines the domain template. When you create a standard domain, the new domain is a copy of the domain template that conforms to an existing data standard. You can use as many domain templates as you need. The domain templates that you use to create domains are copied into a folder. Associations in the domain template metadata associate the domain template copy in this folder to the data standard from which it originated. These associations enable you to customize the domain template copy without affecting the data standard. In addition, these associations enable you to validate the copy to determine whether any customizations in the copy do not conform to the data standard.
All standard domains within a folder must be associated with the same data standard. If you want to create a copy of the standard domain using a different version of the data standard, you must create the copy in a different folder. SAS Clinical Data Integration provides domain templates that conform to existing data standards.
After selecting the standard domain templates that you want to use, you can assign a library. The library is where the physical data is created when the job is run.

Custom Domain

During a study, there might not be an appropriate domain template for the domain that you want to create. In this case, you can create a custom domain. The custom domain uses the data model defined by the data standard to create the appropriate columns and metadata.
For example, SDTM defines a data model that is based on creating domains from groups of columns, specifically identifiers, interventions, events, findings, and timings. SAS Clinical Data Integration generalizes the concept of grouping columns with the term column group. A column group makes up a portion of a complete table.
Note: To create a custom domain, the data standard must have column groups.
The key criterion for creating a custom domain is whether it is meant to hold data for interventions, events, or findings. In SAS Clinical Data Integration, interventions, events, or findings are considered conditional column groups. You can select only one conditional column group per custom domain.
In addition to selecting a conditional column group, you must specify identifiers and timing. You must also select the individual columns that you want to include in the custom domain. Some column names must be prefixed with the identifier. If you select a column that has this requirement, SAS Clinical Data Integration automatically creates the correct column name with the prefix. You can define keys and set the column order before the domain is created.
You can also create a custom domain based on an existing domain. Select an existing domain that most closely satisfies your needs, duplicate it, and then modify it as needed.

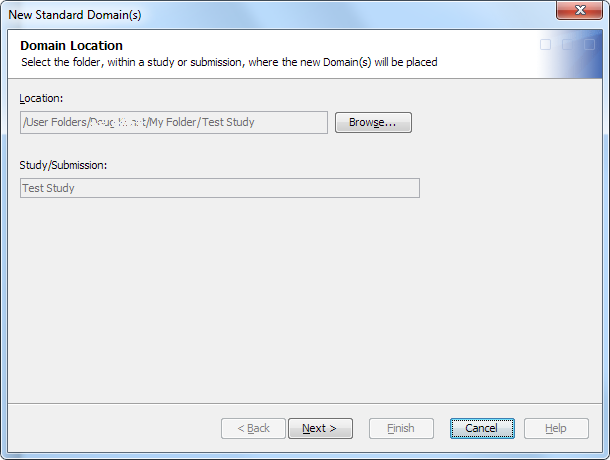
Create a Standard Domain

To create a domain using a standard domain template, perform the following steps:
  1. In the Folders tree, select a study or submission folder, right-click, and then select Newthen selectStandard Domain(s).
    The New Standard Domain(s) wizard appears.
    New Standard Domain(s) wizard
  2. To change the default location of the domain, click Browse, and then select a new location.
    By default, the location is set to the folder that you selected in step 1.
  3. Click Next.
    The Data Standard Selection page appears.
  4. Select a data standard.
    The data standards in the list are associated with the study or submission in which the domain is to be created.
  5. Click Next.
    The Domain Template Selection page appears.
  6. Select one or more domain templates to use to create the domain.
    If a domain already exists in the target folder with the same ID or with the same name as a selected domain template, then a warning message appears. You must specify a valid name or ID before you can proceed.
  7. Click Next.
    The Library Selection page appears.
  8. (Optional) Select a library to assign to the domain.
    The library can be any library in the study or submission. If no libraries exist within the study or submission root folder or within a subfolder of the study or submission root folder, a message appears.
    Note: You can create a domain without assigning a library. Later, you can create a library and assign it to the domain. However, if you use the domain in a job without first assigning a library, the job fails. The job generates errors that indicate you must assign a library. If you attempt to open the domain to view the contents and records, the open fails, and an error message appears.
  9. Click Finish.

Create a Custom Domain

To create a custom domain, perform the following steps:
  1. In the Folders tree, select a study or submission folder, right-click, and then select Newthen selectCustom Domain.
    The New Custom Domain wizard appears.
    New Custom Domain wizard
  2. To change the default location of the domain, click Browse, and then select a new location.
    By default, the location is set to the folder that you selected in step 1.
  3. Click Next.
    The Data Standard Selection page appears.
  4. Select a data standard.
    The data standards in this list are associated with the study or submission in which the domain is to be created.
  5. Click Next.
    The General Information page appears.
  6. Enter a name and an identifier, and then click Next.
    Note: The name and identifier cannot be the same as the name or identifier of a domain template in the data model.
    The Domain Information page appears.
  7. (Optional) Specify the property values for the new domain, and then click Next.
    The Library Selection page appears.
  8. (Optional) Select a library to assign to the domain.
    The library can be any library in the study or submission. If no libraries exist within the study or submission root folder or within a subfolder of the study or submission root folder, a message appears.
    Note: You can create a domain without assigning a library. Later, you can create a library and assign it to the domain. However, if you use the domain in a job without first assigning a library, the job fails. The job generates errors that indicate you must assign a library. If you attempt to open the domain to view the contents and records, the open fails, and an error message appears.
  9. Click Next.
    The Column Group Selection page appears.
  10. Select a conditional column group to use in the new domain.
    Column groups are groups of columns that are available to all new domains in a data standard. This page displays the core column groups that are available to all new domains in the data standard.
    Note: Column groups can differ depending on the selected data model.
  11. Click Next.
    The Column Selection page appears.
  12. Using Add and Remove, move columns between the list Available Columns and the Selected Columns list.
    You can add columns individually or as a group.
  13. (Optional) To customize column properties, perform the following steps:
    1. Click Next.
      The Column Elaboration page appears.
    2. Edit the properties for selected columns.
      The Selected Columns table displays all of the selected columns and their properties. Not all properties can be edited. The properties vary by data model.
    3. (Optional) To change the column order, select a column, and then click Move Up or Move Down.
    4. (Optional) If two or more columns are keys, change the key order by clicking Order Keys.
      The Order Domain Keys window appears. Select a key, and then click Move Up or Move Down to adjust its order. Click OK to save the key order.
  14. Click Finish.

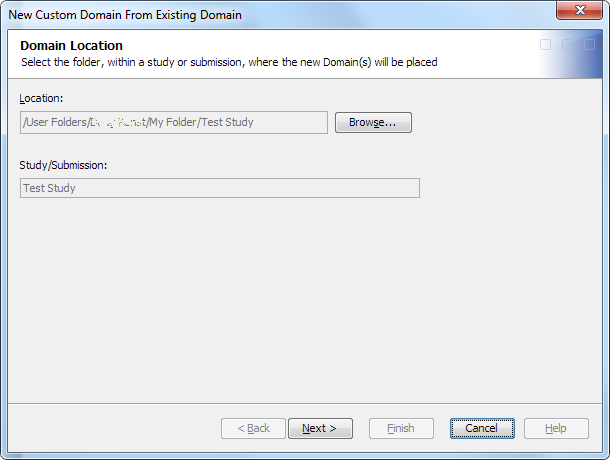
Create a Custom Domain from an Existing Domain

CAUTION:
Use this process to create a custom domain instead of using the standard SAS Data Integration Studio copy-and-paste method.
The copy-and-paste method does not copy important domain metadata.
To create a custom domain using an existing domain, perform the following steps:
  1. In the Folders tree, select a study or submission folder, right-click, and then select Newthen selectCustom Domain From Existing.
    The New Custom Domain From Existing Domain wizard appears.
    New Custom Domain From Existing Domain wizard
  2. To change the default location of the domain, click Browse, and then select a new location.
    By default, the location is set to the folder that you selected in step 1.
  3. Click Next.
    The Data Standard Selection page appears.
  4. Select a data standard.
    The data standards in this list are associated with the study or submission in which the domain is to be created.
  5. Click Next.
    The Domain Selection page appears.
  6. Select a domain.
    The Available Domains by Study/Submission list displays the studies and submissions and their domains for the selected data standard. Expanding a study or submission node displays all of the domains in the study or submission. Both standard and custom domains can be selected.
  7. Click Next.
    The General Information page appears.
  8. Enter the name and identifier for the new domain, and then click Next.
    The Domain Information page appears.
    Note: The name and identifier cannot be the same as the name or identifier of a domain template in the data model.
  9. Specify the property values for the new domain, and then click Next.
    The Library Selection page appears.
  10. (Optional) Select a library to assign to the domain.
    The library can be any library in the study or submission. If no libraries exist within the study or submission root folder or within a subfolder of the study or submission root folder, a message appears.
    Note: You can create a domain without assigning a library. Later, you can create a library and assign it to the domain. However, if you use the domain in a job without first assigning a library, the job fails. The job generates errors that indicate you must assign a library. If you attempt to open the domain to view the contents and records, the open fails, and an error message appears.
  11. Click Next.
    The Column Elaboration page appears.
  12. Specify the properties for selected columns.
    The Selected Columns table displays all of the selected columns and their properties. Not all properties can be edited. The properties vary by data model.
  13. (Optional) To change the column order, select a column, and then click Move Up or Move Down.
  14. (Optional) If two or more columns are keys, change the key order by clicking Order Keys.
    The Order Domain Keys window appears. Select a key, and then click Move Up or Move Down to adjust its order. Click OK to save the key order.
  15. Click Finish.