You can personalize some aspects of an indicator to
suit your needs. These changes affect only your view of the indicator,
not other users' views.
Note: You can personalize
an indicator only when it has been set to allow personalization. Further,
the following aspects appear only when they have been set to allow
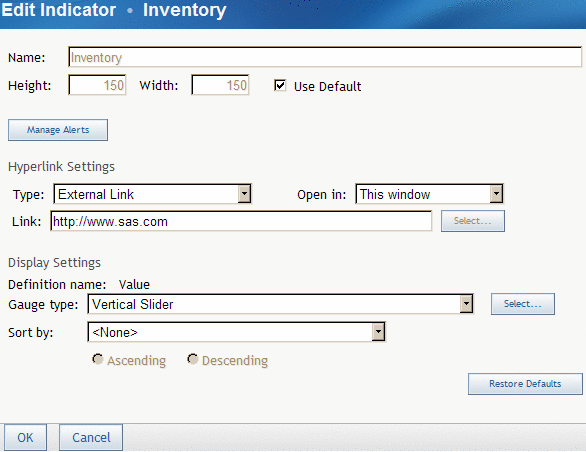
personalization: height and width, alerts settings, link settings,
gauge type, and sorting method.
For more information,
see Configure the Indicator.
To personalize
an indicator:
-
In the
SAS BI Dashboard portlet, if the indicators do not have borders around
them, move the mouse over an indicator.
-
Click
in the lower right corner of the border around the
indicator.
The Edit
Indicator page appears.
-
To use
the default height and width of the indicator, select the
Use Default check box.
-
To change
the height and width of the indicator from the default values, clear
the
Use Default check box, and type the height
and width.
-
To manage
alerts, click
Manage Alerts.
-
To change
the link settings:
-
From the
Type drop-down list, select the type of link.
-
From the
Open in drop-down list, select a window in which to
open the link target.
-
If you
selected an external link, type the URL of the link in the
Link field.
-
If you
selected a type other than an external link, click
Select next to the
Link field and
select an item.
The available
choices depend on the type of link.
-
To change
the display settings:
-
From the
Gauge type drop-down list, select a type of gauge.
-
From the
Sort by drop-down list, select a value to sort on, and
then select the sort method.
-
To restore
all settings to their states as defined for the indicator, click
Restore Defaults.
Note: Any personal
alerts that you have created are deleted.