You are here: Folders Riser Bar>Maintaining Business Rules and Tasks>Creating a Custom Metric That Performs a Calculation

DataFlux Data Management Studio 2.5: User Guide

Creating a Custom Metric That Performs a Calculation

Overview

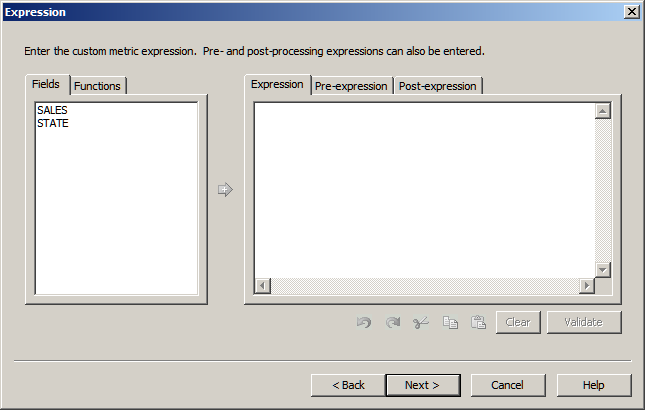
You can use a custom metric to perform a calculation for one or more fields when there is no predefined DataFlux expression for that operation. For example, you could create a metric that calculates the average value for a sales field in all records from a particular state. Perform the following steps:

Plan the New Custom Metric

A custom metric is a reusable object that specifies a user-defined DataFlux expression. You must have a detailed understanding of DataFlux Expression Language in order to create a custom metric. For more information, see the DataFlux Expression Language Reference Guide.

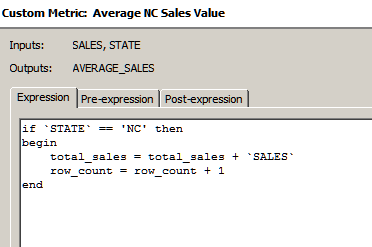
You can specify three blocks of code for a custom metric: a pre-expression, an expression, and a post-expression. The following DataFlux expression code will calculate the average value for a sales field in all records from a particular state, North Carolina (NC).

Pre-expression

public hidden integer total_sales
public hidden integer row_count
public integer `AVERAGE_SALES`

total_sales = 0
row_count = 0
`AVERAGE_SALES` = 0

Expression

if `STATE` == 'NC' then
begin
total_sales = total_sales + `SALES`
row_count = row_count + 1
end

Post-expression

`AVERAGE_SALES` = total_sales / row_count

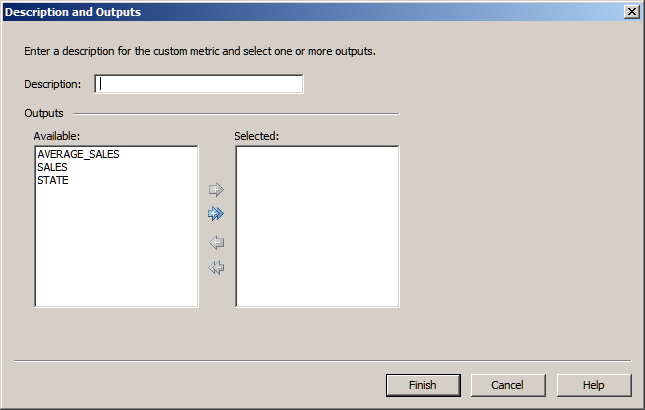
Note the input fields and output fields that are specified in your expression. You will need this information later. In the previous code, the input fields are SALES and STATE, and the output field is AVERAGE_SALES.

Create a Custom Metric That Performs a Calculation

  1. Display the Business Rule Manager if it is not already displayed. From the Folders tree, select Tools > Business Rule Manager > repository_name from the main menu.
  2. Right-click the Custom Metrics folder and select New Custom Metric. The Input dialog displays. You must add aliases for the input fields that are specified in the expression that you will add to this metric.
  3. Click Add, type a field name, and click OK. Repeat for all inputs. In the current example, you would add two inputs: SALES and STATE. Click Next when done. The Expression dialog displays:

  4. The right pane of the Expression dialog consists of three tabs: Pre-expression, Expression, and Post-expression. Copy and paste your DataFlux expression code into the appropriate tabs. Click Validate on each tab to validate your code.
  5. When finished, click Next. The Description and Outputs dialog displays.

  6. Enter a Description (name) for the custom metric, such as Average NC Sales Value.
  7. The Available pane lists all fields that are specified in the expression. Select only the output fields from your expression. Then click the right arrow to move any outputs to the Selected pane. In the current example, the output for the metric is AVERAGE_SALES.
  8. Click Finish. The new metric is saved, and the Business Rule Manager displays. The new metric will be selected in the tree on the left, and information about the new metric will be displayed on the right. For example, the information for the Average NC Sales Value metric would look similar to the next display.

You have created a new custom metric. You are now ready to use the metric in a profile or data job.

Apply the Custom Metric

For an example of how custom metrics can be used in a profile, see Apply Custom Metrics. For an example of how custom metrics can be used in a data job, see Using the Execute Custom Metric Node.

Documentation Feedback: yourturn@sas.com
Note: Always include the Doc ID when providing documentation feedback.

Doc ID: dfU_T_BusRule_CreateMetric.html