Selecting Data
Specifying Columns in the Output
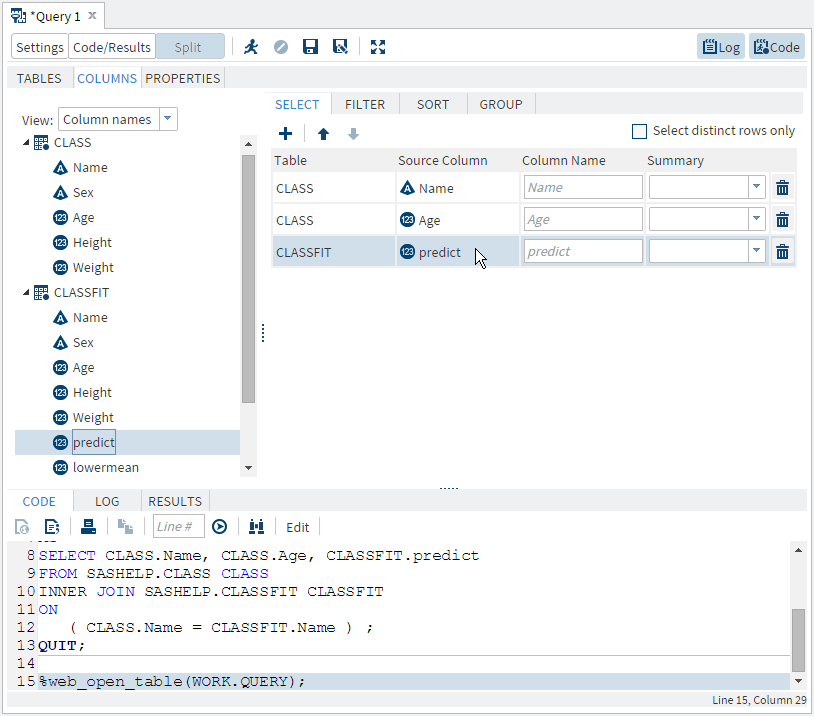
By default, no columns
are included in the output. You must specify the columns that you
want to appear in the output table. You can also specify an alias
to use in place of the column name in the output table.
The order in which the
columns are listed on the Select tab is the order in which they appear
in the output table.
To select columns for
the output table:

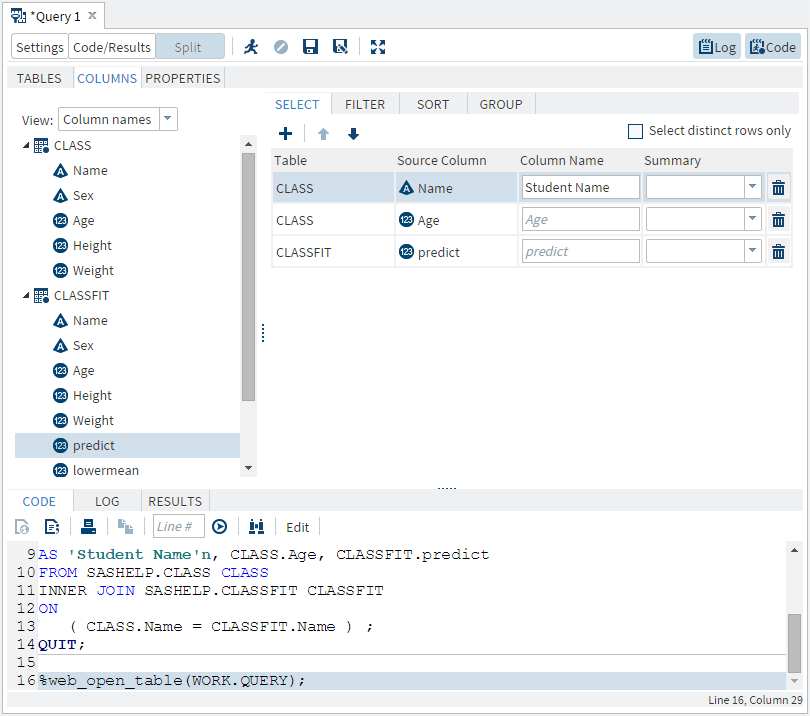
To specify an alias
for a column:
-
On the Select tab, enter the alias that you want to use for each column. The alias is used as the column heading for the output data.
Using Summary Functions
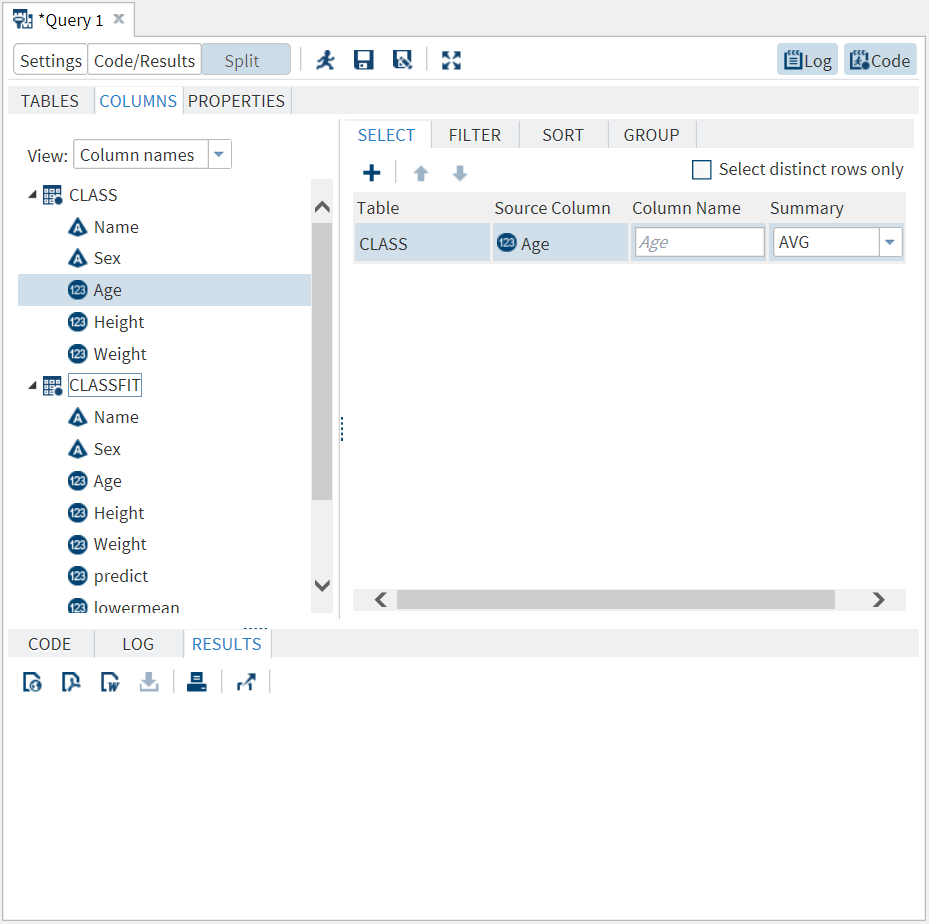
You can perform summary
functions on any of the columns in your query. To perform a summary
function, select the column on which you want to perform a summary
function. Use the drop-down list in the Summary column to select
the function that you want to use. By default, the query generates
an output data set. The following example shows you how to find the
average age of all of the students:
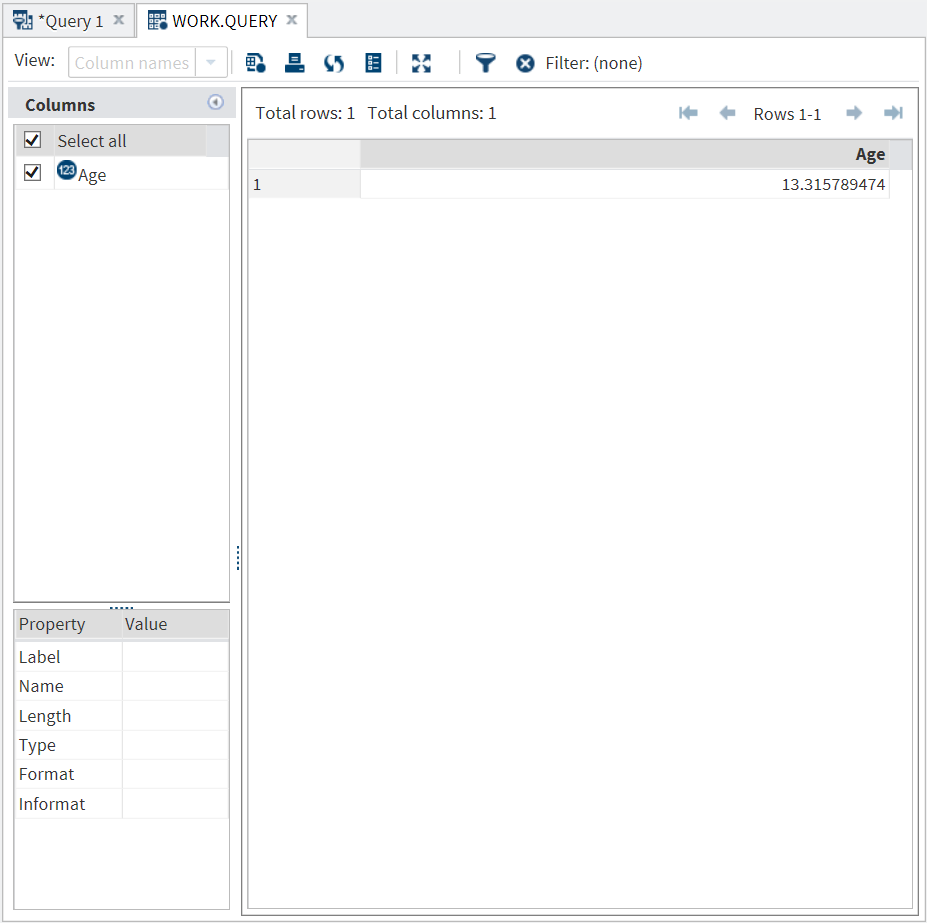
By default, when you
summarize a column, your output is grouped by all of the columns without
summaries. For more information,
see
Grouping Your Output.
Copyright © SAS Institute Inc. All rights reserved.