Using Model Management Components with a Workflow Activity
About Using Model Management Components in a Workflow Activity
SAS Model Manager enables
you to integrate SAS Workflow with some of the model management tasks
that are usually performed in the SAS Model Manager client. Workflow
definitions can be configured to use model management components with
the workflow activities. When the workflow definition is activated
for use, the model management components are available through the
object view for the associated activity in the SAS Model Manager Workflow
Console.
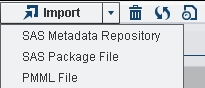
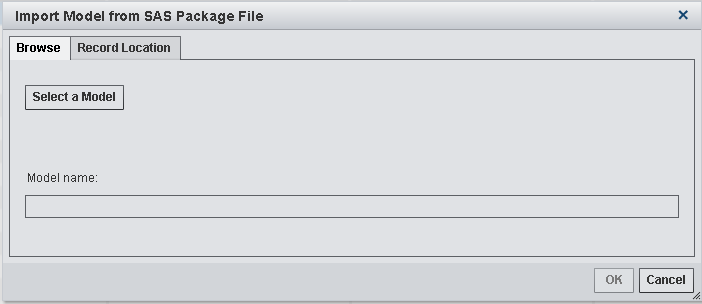
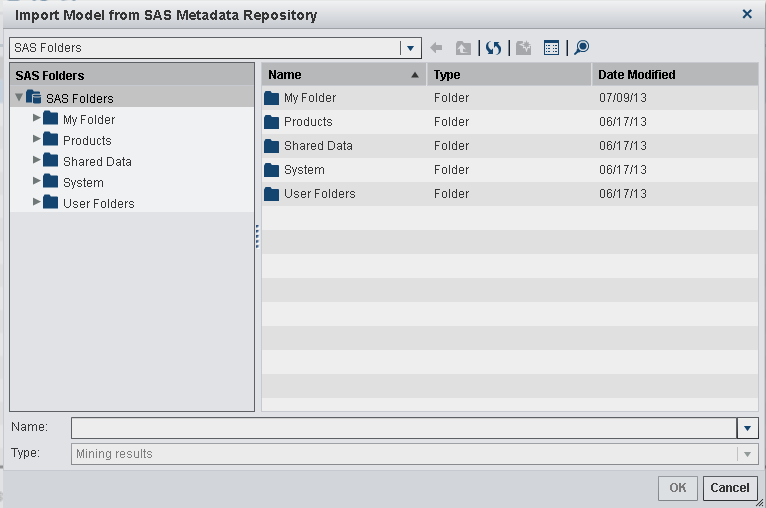
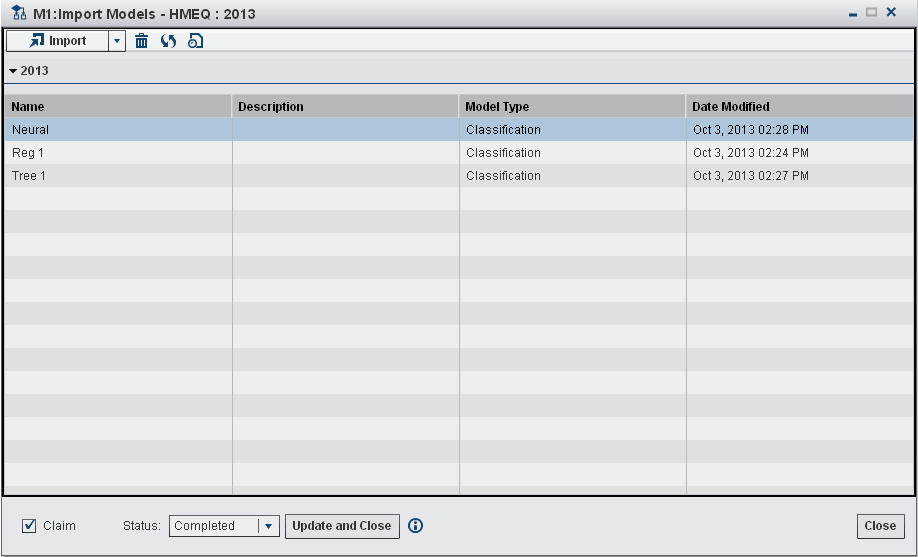
Import Models
If the Import Models
component is associated with an activity, you can import models into
the model repository. You can import models from the SAS Metadata
Repository, a SAS package file (.spk), or a PMML file (.xml) into
the version that is associated with the workflow. In this exercise
you import models from the SAS package files into the 2013 version.
Note: If you did not claim the
activity from the Activities category view, select the Claim check
box in the activity status bar.
To import a model:


For more information
about importing models using SAS Model Manager, see Importing Models in SAS Model Manager: User's Guide.
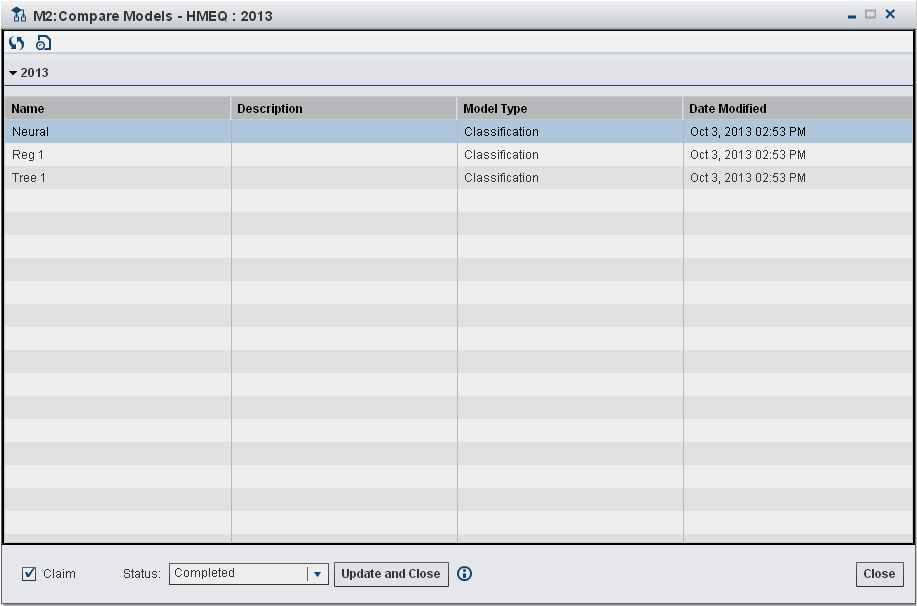
Compare Models
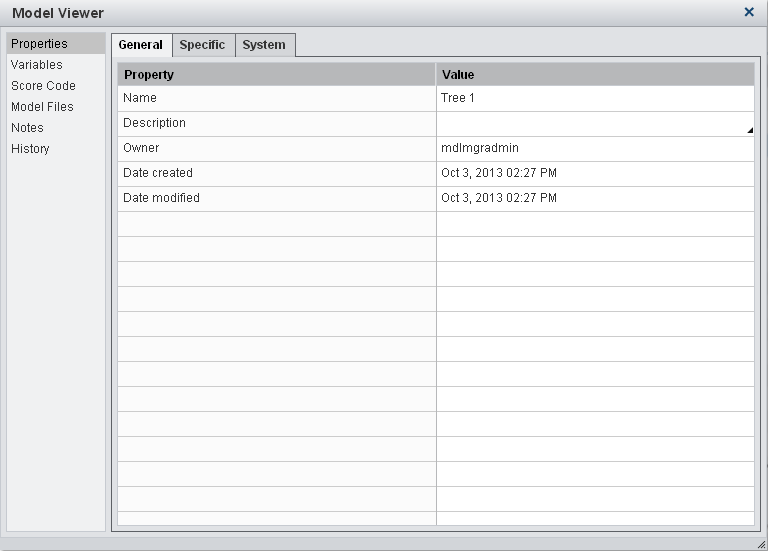
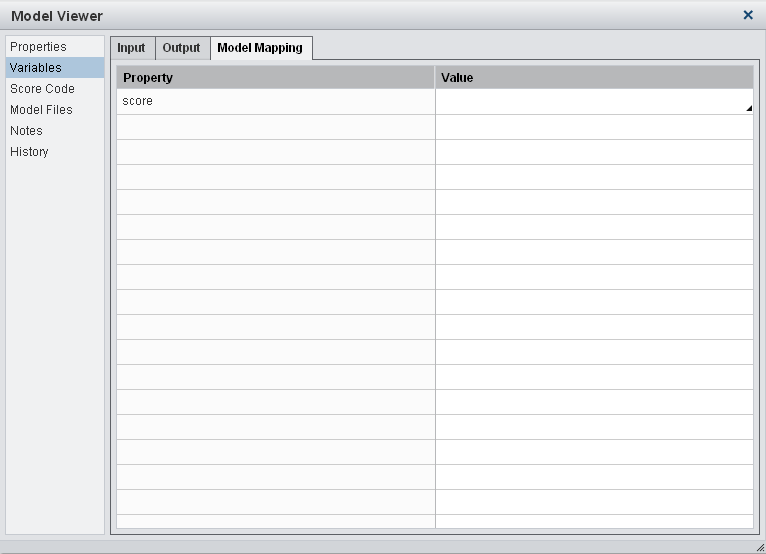
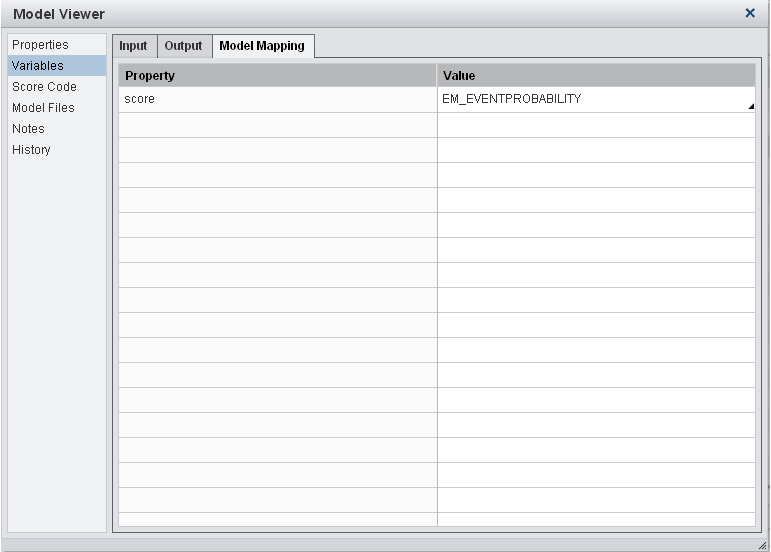
If the View Models component
is associated with an activity, you can view a list of the models.
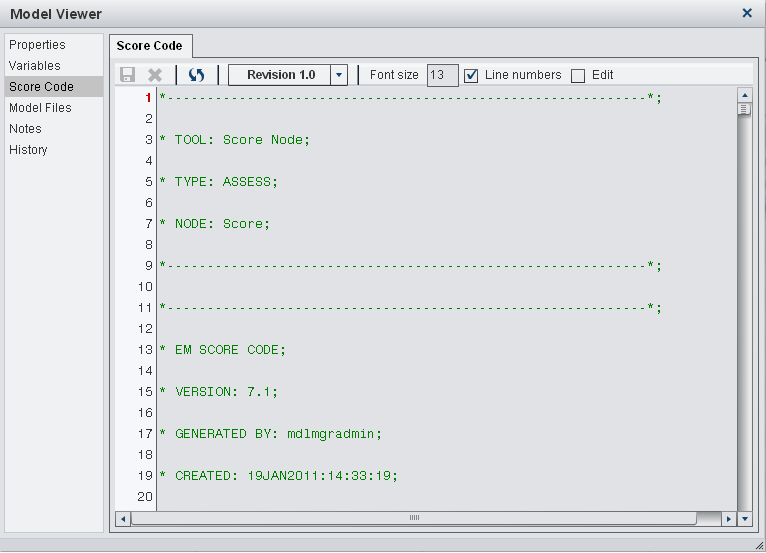
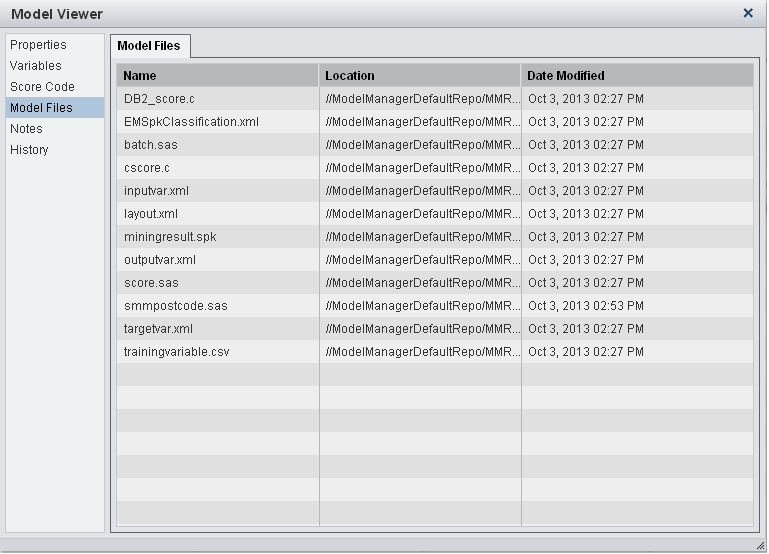
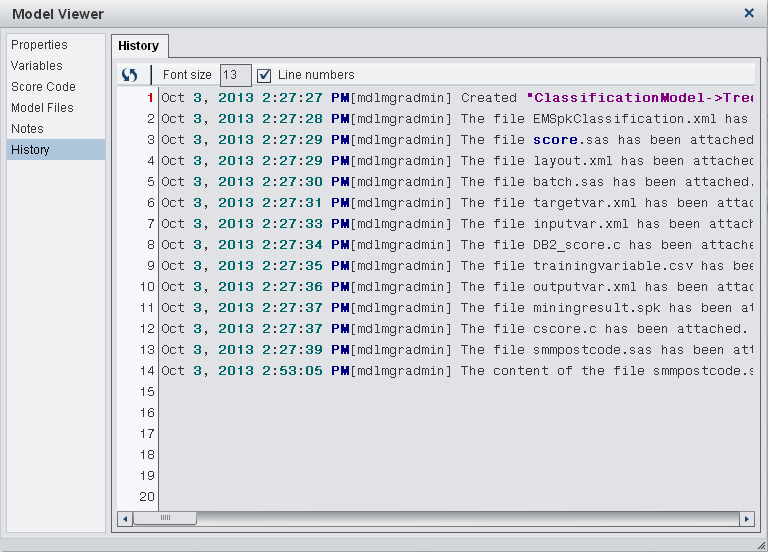
You can also view model information such as properties, model variables,
score code, model files, notes, and history. By default, the Model
Viewer component is available from both the Import Models and also
the Set Champion and Challenger components. The Model
Viewer enables you to modify properties, map model output
variables, edit score code, and add notes for the selected model.
You can also view the input variables, output variables, model files,
and history of actions for the selected model.
The generic model viewer
component can also be configured for an activity. This component displays
a list of the models in the model repository that are associated with
the version for which workflow process was created.
Note: If you did not claim the
activity from the Activities category view, select the Claim check
box in the activity status bar.
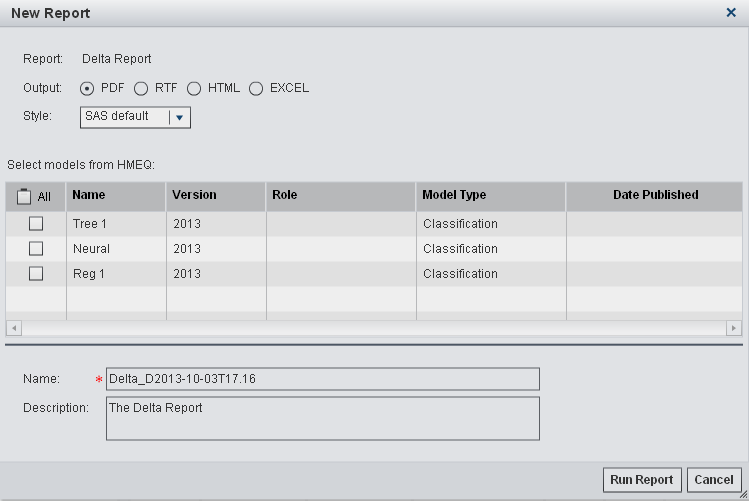
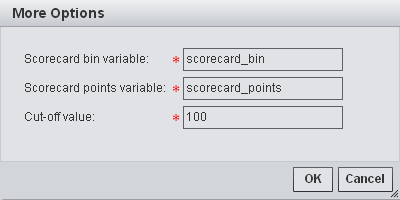
Create and View Reports
If the Create and View
Reports component is associated with an activity, you can create reports
and also view reports. The reports can be created by using the Workflow
Console as well as by using the New Report wizard
in the SAS Model Manager client application.
Note: If you did not claim the
activity from the Activities category view, select the Claim check
box in the activity status bar.
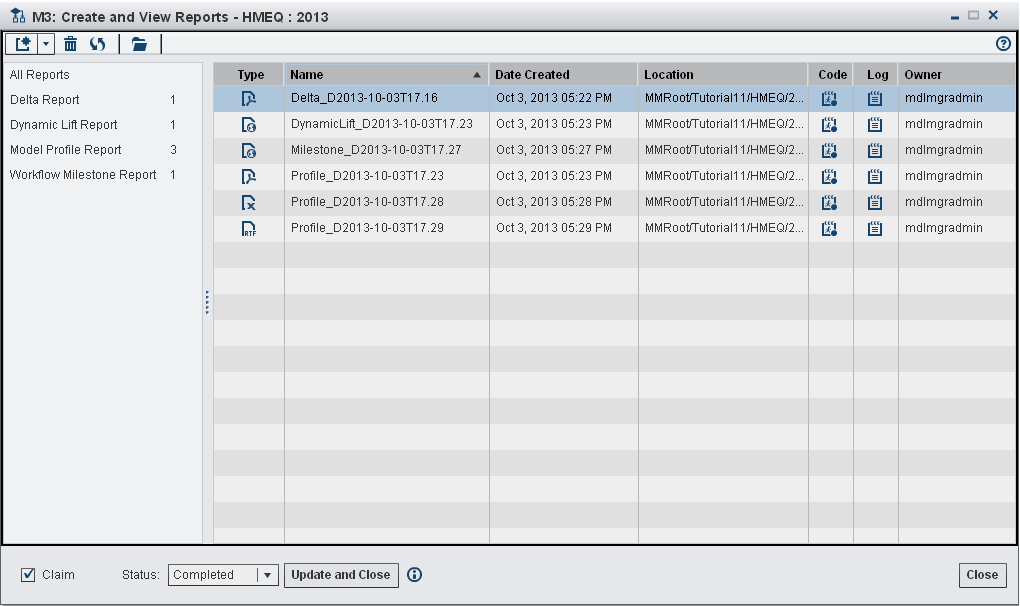
To create a report:

To view an existing
report:
To view the SAS code
or SAS log for a report, select a report from the list and click on
the icon in the Code or Log column.
For more information,
see Validating Models Using Reports in SAS Model Manager: User's Guide.
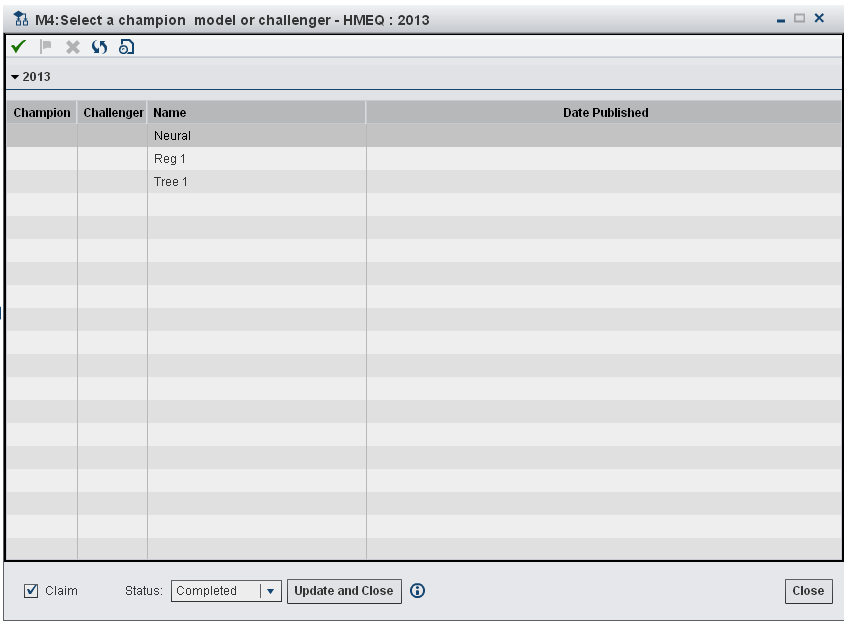
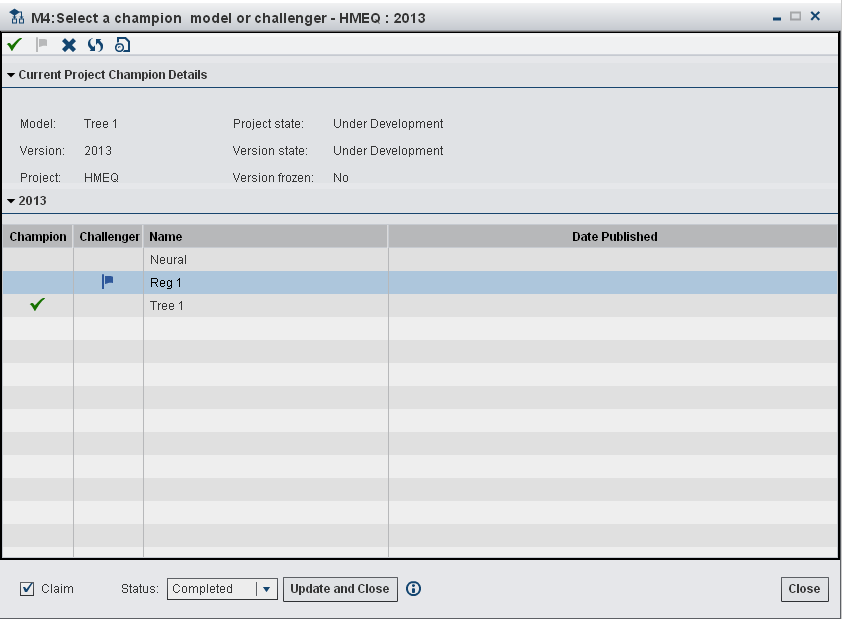
Select a Champion or Challenger Models
If the Set Champion
and Challenger component is associated with an activity, you can set
a project champion model or challenger models.
Note: If you did not claim the
activity from the Activities category view, select the Claim check
box in the activity status bar.


For more information
about champion and challenger models, see Deploying Models in SAS Model Manager: User's Guide.
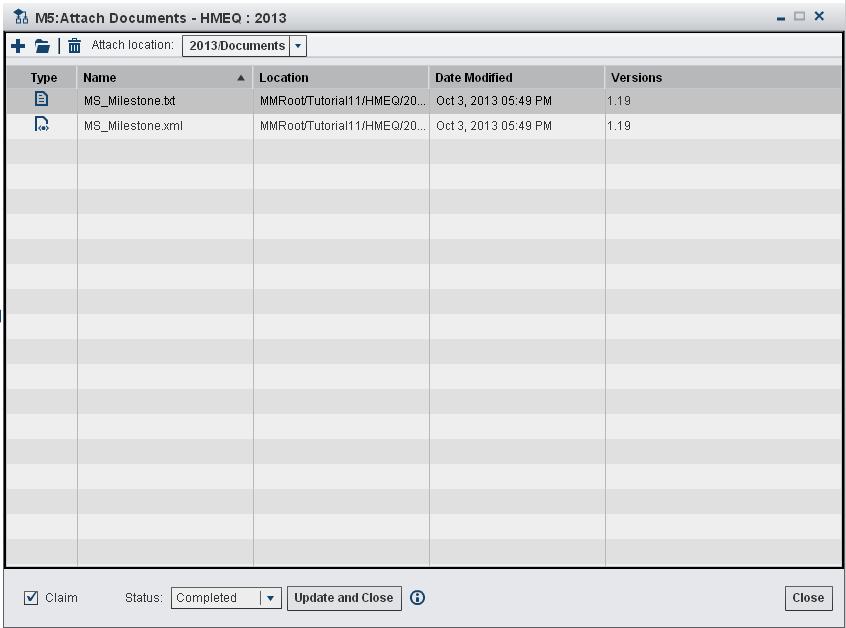
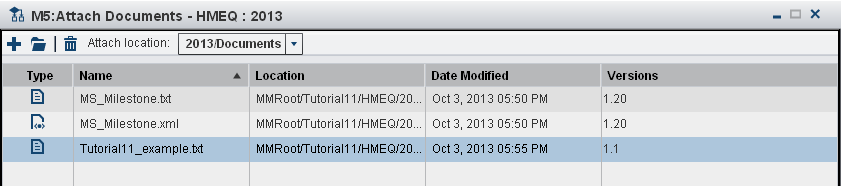
Attach Documents
If the Add Documents
component is associated with an activity, you can add, view, or delete
attachments. The attachments are stored in the Documents folder
that is located within a project or version in the model repository.
Note: If you did not claim the
activity from the Activities category view, select the Claim check
box in the activity status bar.
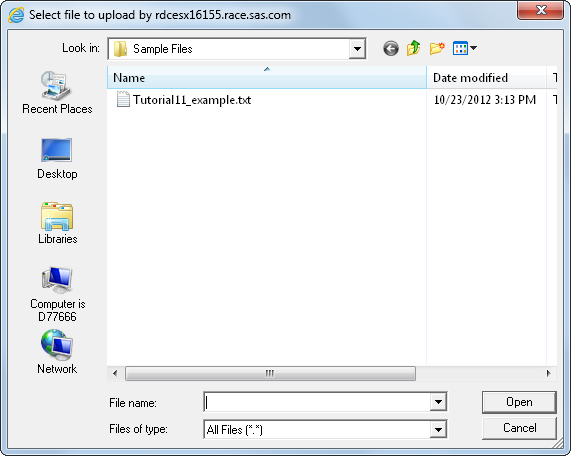
To add an attachment:


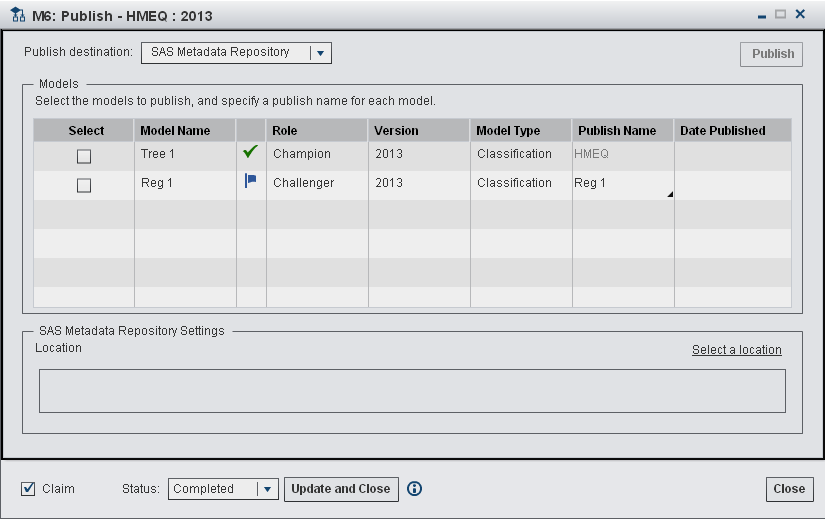
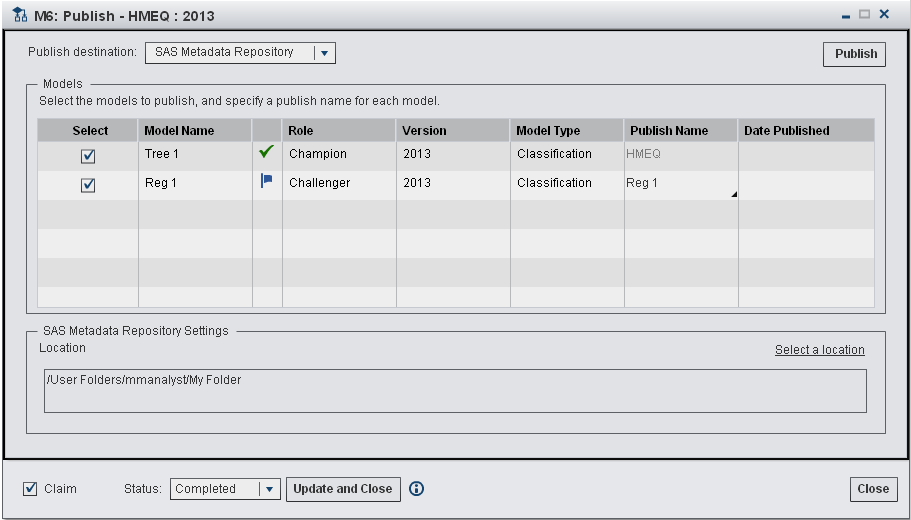
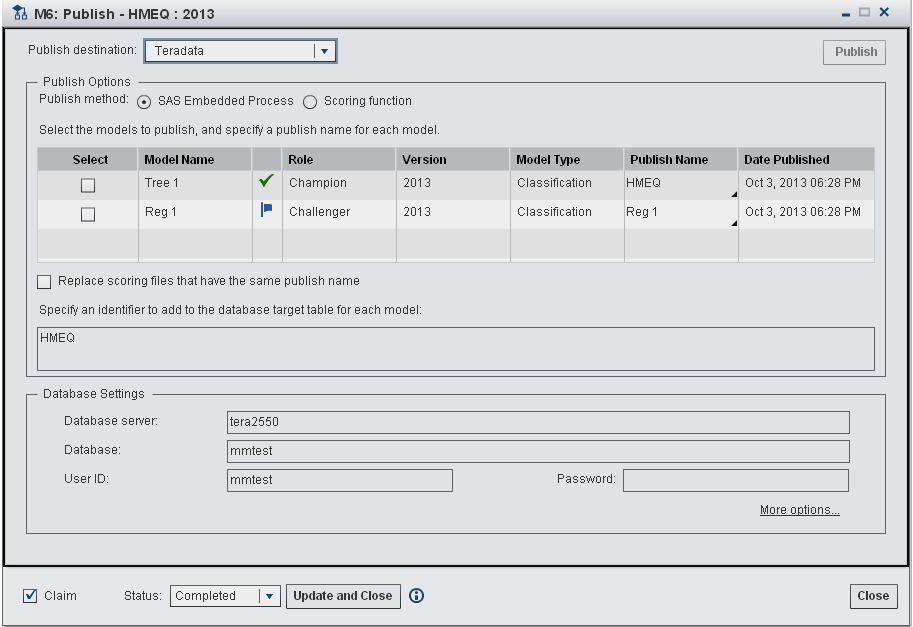
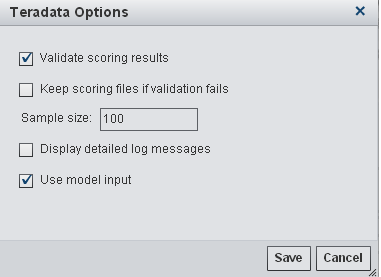
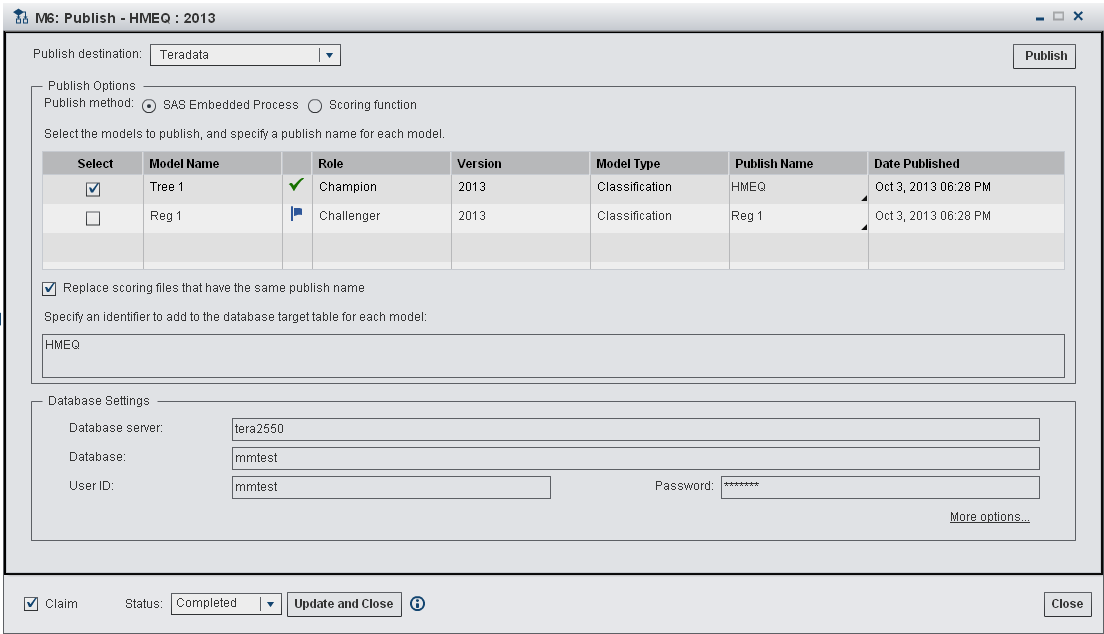
Publish Models
You can publish champion
and challenger models from the model repository to the SAS Metadata
Repository or to a database. In this exercise, you publish a model
to the SAS Metadata Repository and to a database.
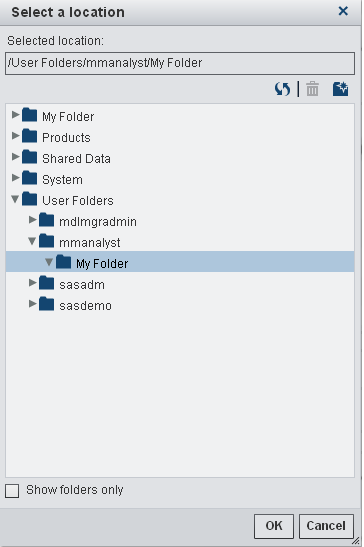
To publish models to
the SAS Metadata Repository:
To publish models to
a database:
For more information
about publishing models using SAS Model Manager, see Publishing Models in SAS Model Manager: User's Guide.
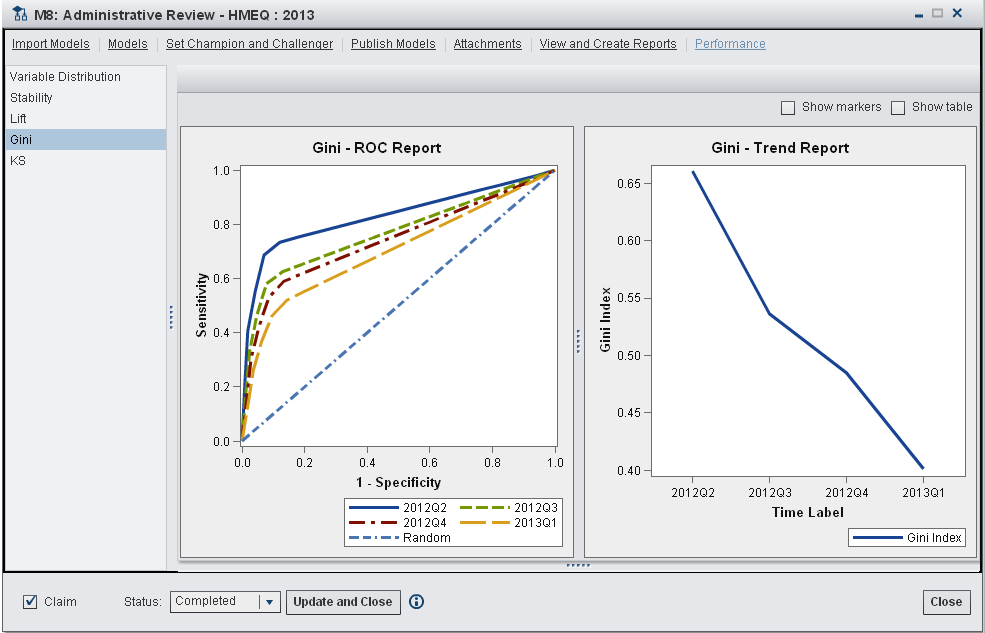
View Performance Results
If the Model Performance
Viewer component is associated with an activity, you can view the
performance of the project champion model through a series of charts.
The performance charts are generated by using performance tasks in
the SAS Model Manager client application.
To view the performance
reports you must set a model in the 2013 version
as the project champion model. Then you must define and execute the
performance tasks for the 2013 version in
the SAS Model Manager client.
For this exercise,
perform the following steps:
-
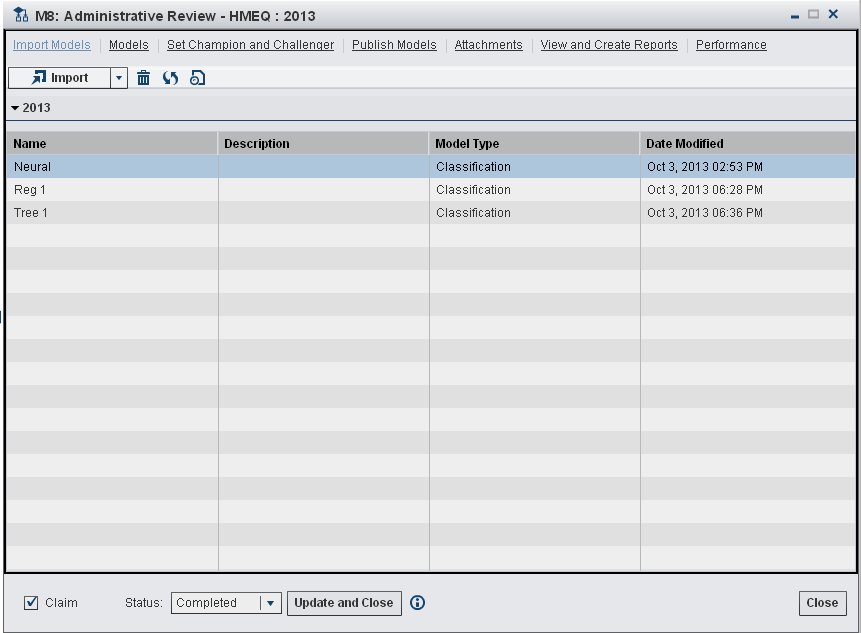
Open the M8: Administrative Review activity and select Claim. The Utility model management component appears in the activity window.Note: The Utility component consists of all the model management components. You can associate the Utility component with an activity so that you can perform administrative tasks or review all of the content that is available for a workflow without having to complete multiple activities. To switch between the model management tasks, select a link from the object window navigation bar.
-
You must now define and execute the performance tasks in the SAS Model Manager client for the new project champion model. Follow the exercise Create the Champion Model Performance Data Sets for a Classification Project in tutorial 5 to define and execute the performance tasks.
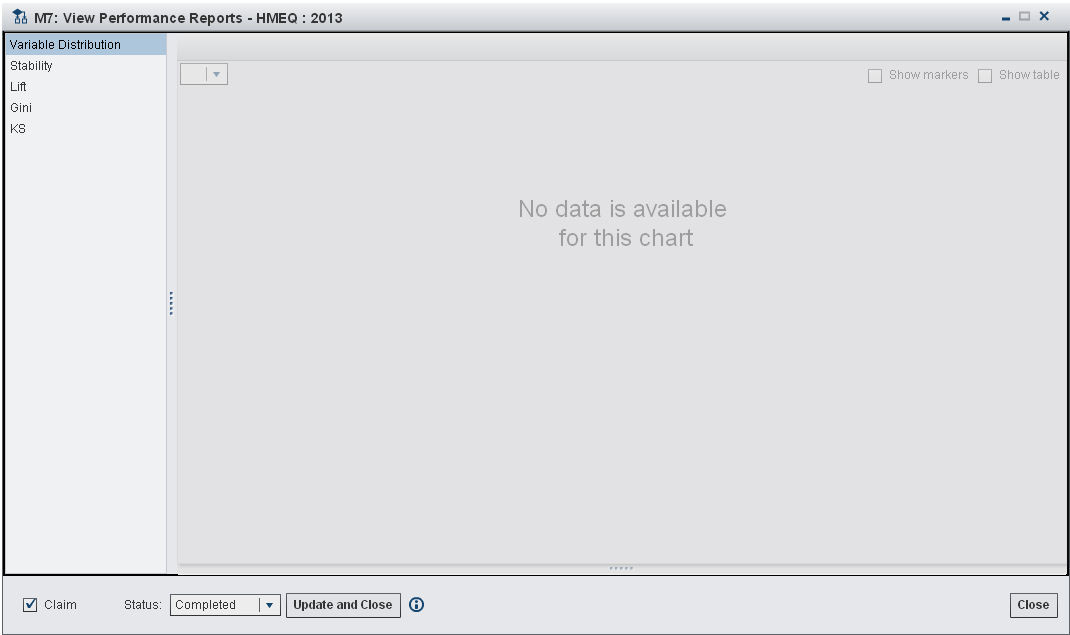

For more information,
see What is Performance Monitoring? in SAS Model Manager: User's Guide.
Copyright © SAS Institute Inc. All rights reserved.