Import Models
In this exercise you import models into SAS Model
Manager from the SAS Metadata Repository, a PMML model file, and a
SAS model package file. Then you map the model variables. Before you
import the model, verify that the model type is identical to the value
of the project Model Function property, classification,
or prediction. For
more information, see Create a New Project.
Register SAS Enterprise Miner Models to the SAS Metadata Repository (Optional)
If you do not already
have models registered in the SAS Metadata Repository, you can use
the models in the Tutorial3 folder to complete
the next exercise.
To register a model
from SAS Enterprise Miner to the SAS Metadata Repository:
-
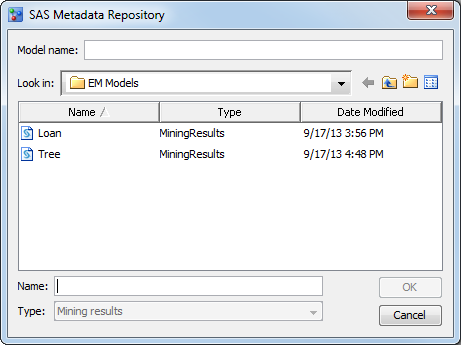
Navigate to the location of the folder that contains the files. For this example, use
<drive:>\Tutorial3\Samples\Reg1\that was installed by the SAS Model Manager administrator. For more information, see Prepare Tutorial 3 Data Sets and Models. Click OK.
Import Models from a SAS Metadata Repository
Import PMML Models
PMML (Predictive Modeling
Markup Language) is an XML-based standard for representing data mining
results. PMML is designed to enable the sharing and deployment of
data mining results between vendor applications and across data management
systems. You can use SAS Model Manager to import PMML 3.1 (or later)
models that are produced by another software application, such as
SAS Enterprise Miner. PMML 4.0 (or later) is supported by SAS Model
Manager for creating DATA step score code when importing models. This
enables a PMML model to be included in scoring tasks, reporting, and
performance monitoring.
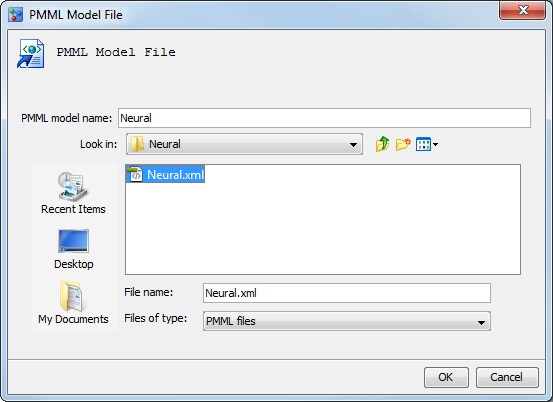
To import a PMML model:
-
Navigate to the location of the folder that contains the PMML files. For this example, use
<drive:>\Tutorial3\Samples\Neural\that was installed by the SAS Model Manager administrator. For more information, see Prepare Tutorial 3 Data Sets and Models.
Import Model Package Files
SAS Enterprise Miner
and SAS/STAT linear model package files, or SPK files, contain complete
model information. You can import SAS Enterprise Miner and SAS/STAT
models even if they are not registered in the SAS Metadata Repository.
For information about how to create a package file, see the SAS Model Manager: User's Guide.
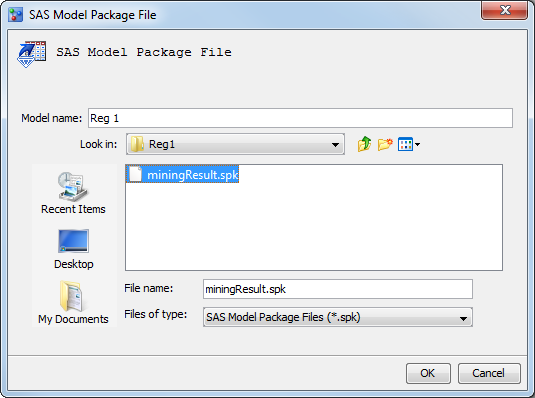
To import a model that
was saved as a SAS package file:
-
Navigate to the location of the folder that contains the SAS model package files. For this example, use
<drive:>\Tutorial3\Samples\Reg1that was installed by the SAS Model Manager administrator. For more information, see Prepare Tutorial 3 Data Sets and Models.
Map Model Variables to Project Variables

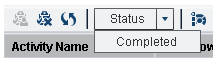
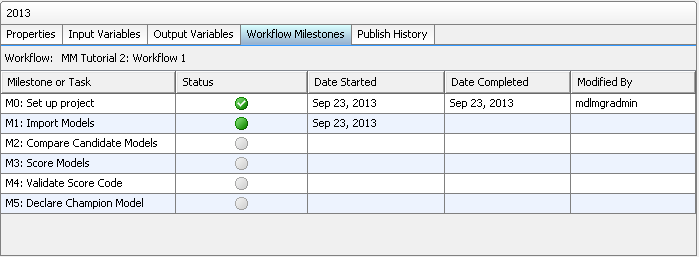
Update the Workflow Process (Optional)
-
Note: A workflow can be configured to display the activities that are associated with a milestone or task on the Workflow Milestones tab and in the Workflow Milestones report for a version in the SAS Model Manager client application. From the Workflow Milestones tab, you can view the status of milestones or tasks that are associated with activities in the workflow.


Copyright © SAS Institute Inc. All rights reserved.