Using SAS Information Map Studio

Overview of SAS Information Map Studio

SAS Information Map Studio enables you to create and manage information maps outside of SAS IT Resource Management and SAS Data Integration Studio. When you are working with information maps for SAS IT Resource Management, you might choose to use SAS Information Map Studio to perform the following tasks:
  • Create and maintain additional information maps other than those that are created by Information Map transformations in SAS IT Resource Management.
    Note: Information maps can be saved in any location that you specify. You might also choose to use the same guidelines that the Adapter Setup wizard uses to manage information maps so that all of your information maps are consistent for your IT resource data.
  • View information maps that were created by Information Map transformations in SAS IT Resource Management.
    Note: You should not use SAS Information Map Studio to modify information maps that were created by Information Map transformations. Changes that are made to an information map using SAS Information Map Studio do not persist in the SAS IT Resource Management Information Map transformation that created the information map. As a result, the changes that are made in SAS Information Map Studio might be overwritten the next time the information map job runs. To avoid this situation, modify a copied version of the automatically generated information map and save that modified version under a different name so that it will not be overwritten by the ETL processes.
  • Test information maps that were created by Information Map transformations in SAS IT Resource Management.

Benefits of Using SAS Information Map Studio

SAS Information Map Studio provides advanced capabilities for creating and managing information maps. These capabilities can provide some advanced benefits when working with information maps for your IT resource data. Here are some of the advanced features that are available in SAS Information Map Studio that might be helpful when managing your information maps:
  • joining multiple tables within an IT data mart, across multiple IT data marts, and with other tables outside of the IT data mart.
    For information about the rules that govern joins, see Specify Join Columns.
  • defining prefilters in information maps.
  • using only a subset of available columns to make reporting easier by providing fewer choices of appropriate columns to report on.
  • creating folders within an information map to organize data items and filters.

How to Access SAS Information Map Studio

To access SAS Information Map Studio and connect to the metadata server that contains your data, perform the following steps:
  1. Open SAS Information Map Studio. To do so, from your Start menu, select Programsthen selectSASthen selectSAS Information Map Studio
  2. If you are not connected to a metadata server, perform these steps:
    1. On the SAS Information Map Studio menu bar, right-click File.
    2. From the drop-down list, select Connection Profile where you can specify metadata server that contains the tables that you want to work with.
    3. When the Connection Profile dialog box appears, you can create a connection profile with the Connection Profile wizard. Alternatively, you can open an existing one by selecting the profile from the drop-down list.
    4. If you want to use this connection profile as your default profile, click the corresponding option.
    5. Click OK to connect to the metadata server.

Access an Information Map in SAS Information Map Studio

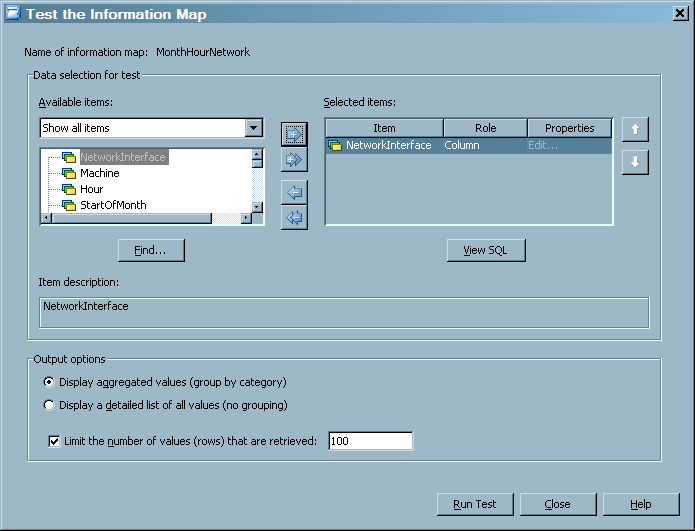
You can use SAS Information Map Studio to create, modify, view properties, and test information maps.
CAUTION:
If the information map was created by a SAS IT Resource Management Information Map transformation, save it with a different name.
Changes that are made to an information map using SAS Information Map Studio do not persist in the SAS IT Resource Management Information Map transformation that created the information map. As a result, the changes that are made in SAS Information Map Studio might be overwritten the next time the information map job runs. To avoid this situation, modify a copied version of the automatically generated information map and save that modified version under a different name so that it will not be overwritten by the ETL processes.
  1. After you connect to the metadata server, use the Folders tree (Folders tree icon) in the Resources panel to navigate to the location of the information map that you want to work with.
  2. Highlight the information map that you want to open and click Open. Alternatively, you can double-click the information map to open it.
  3. The Properties panel displays the properties and the values of the object that is highlighted in the Information Map Contents panel. Click Details to display more information about the highlighted object.
    • To view the properties of the information map, highlight the information map name in the Information Map Contents panel.
    • To view the properties of a column, highlight the column name in the Information Map Contents panel.
For more information about SAS Information Map Studio, see the SAS Information Map Studio Help and SAS Information Map Studio: Getting Started with SAS Information Maps.

Create an Information Map with SAS Information Map Studio

To create an information map, select File then selectNew from the menu bar. In the Resources panel, navigate to the IT data mart that contains the table for which you want to create an information map. Double-click the table to display its items in the Information Map Contents panel.
  • To add a new folder, data item, or filter to the map, in the Information Map Contents panel right-click the map and select an option from the drop-down list.
    Note: Do not enter blank spaces in the Name field of a data item. To do so causes errors when the report is processed in Gallery Manager.
  • To delete an item from the map, highlight the item and select Delete from the drop-down list.
  • To rename an item on the map, highlight the item and select Rename from the drop-down list.
Save the information map by selecting File then selectSave from the menu bar.
Note: To be consistent with the naming conventions of the Adapter Setup wizard, save the information map under the same name as the table on which it is based. For information about the naming conventions that are used by the Adapter Setup wizard, see How the Adapter Setup Wizard Names Information Map Objects.

Modify, Rename, or Delete Items in an Information Map with SAS Information Map Studio

To modify an existing information map, navigate to the map and double-click it. The items in the existing map are displayed in the Information Map Contents panel.
  • To add a new folder, data item, or filter to the map, in the Information Map Contents panel, right-click the map and select an option from the drop-down list.
    Note: Do not enter blank spaces in the Name field of a data item. To do so causes errors when the report is processed in Gallery Manager.
  • To delete an item from the map, right-click the item and select Delete from the drop-down list.
  • To rename an item on the map, right-click the item and select Rename from the drop-down list.
  • When you are finished making changes, click OK.
Save the information map by selecting File then selectSave from the menu bar.

Test an Information Map with SAS Information Map Studio

To test a map, select Toolsthen selectRun a Test Query. Then, select one or more items from the Available items panel and add them to the Selected items box.
Test the Information Map Window
Test the Information Map window
Set the Output options to specify how you want to view the results and click Run Test. The results are displayed in a separate window.