Define Attachments That Resize the Table Viewer

This example assumes you have completed at least the Display_data frame that was presented earlier in this document (see Build the Display_data Frame).
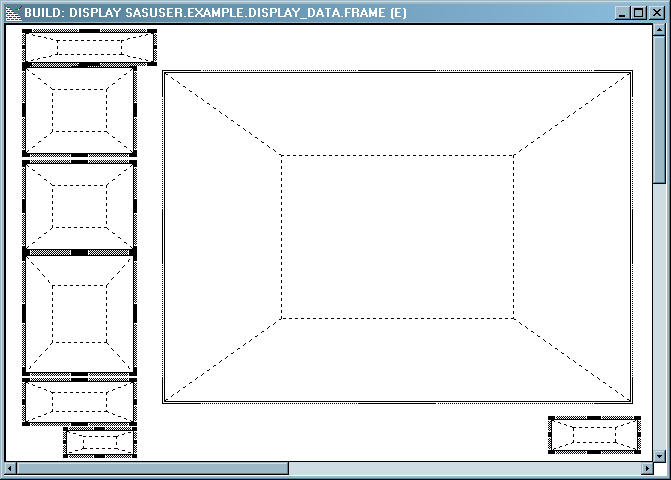
To make the Table Viewer on the Display_data frame expand and contract according to the size 
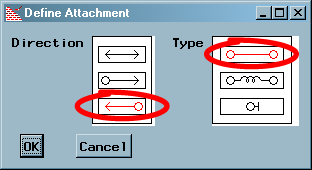
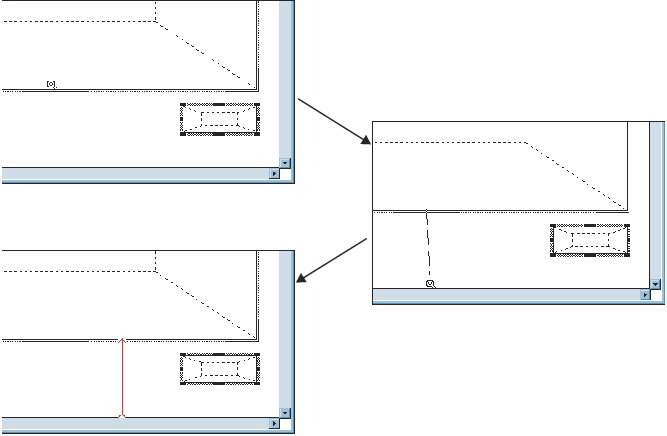
of the frame, define two attachments by following these steps:
  1. With no control selected, select Layoutthen selectAttachthen selectDefine Attachment.
    The frame changes into attach mode, the Define Attachment dialog box appears, and the mouse cursor changes.
    The Display_data Frame in Attach Mode
    Display_data Frame in Attach Mode
  2. In the Define Attachment dialog box, select the direction and type as indicated (both of these selections are the defaults, so they should already be selected):
    The Default Selections for the Define Attachment Dialog Box
  3. Attach the bottom edge of the Table Viewer to the bottom edge of the frame by placing the mouse cursor inside the lower edge of the Table Viewer. Then click and drag to the bottom edge of the frame, just above the scroll bar, and then release the mouse button.
    Creating an Attachment to the Table Viewer
    Creating an Attachment to the Table Viewer
  4. Make a second attachment from the right edge of the Table Viewer to the right edge of the frame.
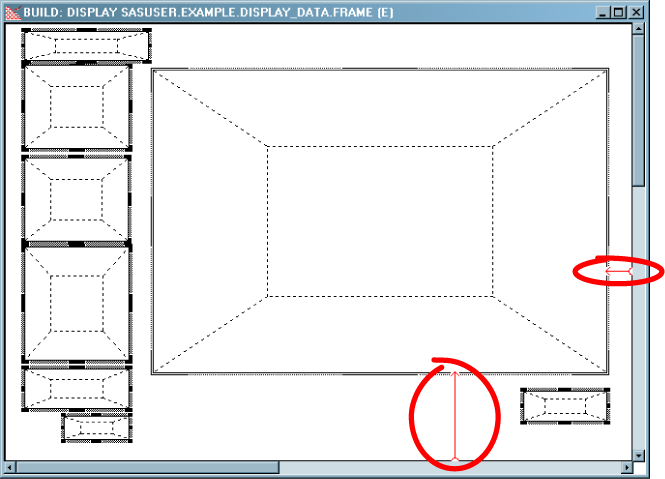
    There should now be two attachments that point to the Table Viewer control. If your attachments do not resemble the attachments below, delete the attachments that you created and start over (see Deleting and Altering Attachments).
    The Two Completed Table Viewer Attachments
    The Two Completed Table Viewer Attachments
  5. Click OK in the Define Attachment dialog box.
    The frame returns to the regular, build-time view.