Part II: Add the JDBC TableView Template
-
Select
File New Other
.
-
Expand
SAS
AppDev Studio.
-
Select
Add
Template Content to Project, and click
Next.
-
Expand
SAS
Java Web Application and
SAS Web Application
Examples.
-
Select
JDBC
TableView Servlet (uses SAS WIP), and click
Next.
-
Click
Next to
accept the Template Configuration Parameters.
-
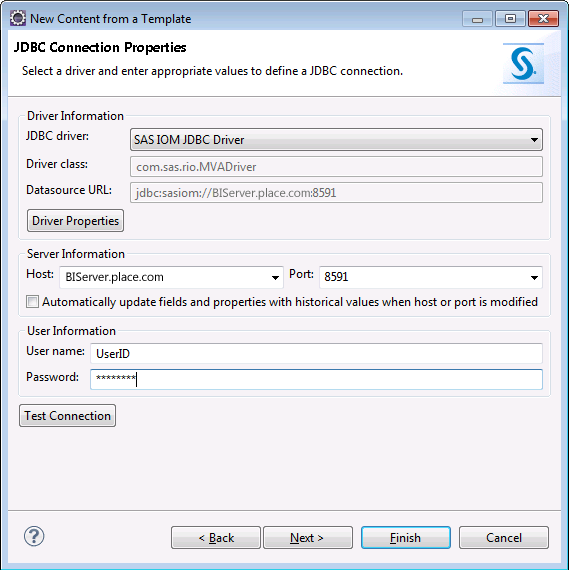
Accept the
BI
Server Profile by clicking
Next.
The BI Server that you plan to develop for should
already be selected.
-
Enter the user name
and password for the selected server.
-
If you do not receive
the message “Connection test succeeded,” ensure that
the BI Server Profile is correct and the BI Server is running on the
expected port.
In the future, when
you want to provide a path to your data, click
Driver
Properties and define the
librefs property.
-
-
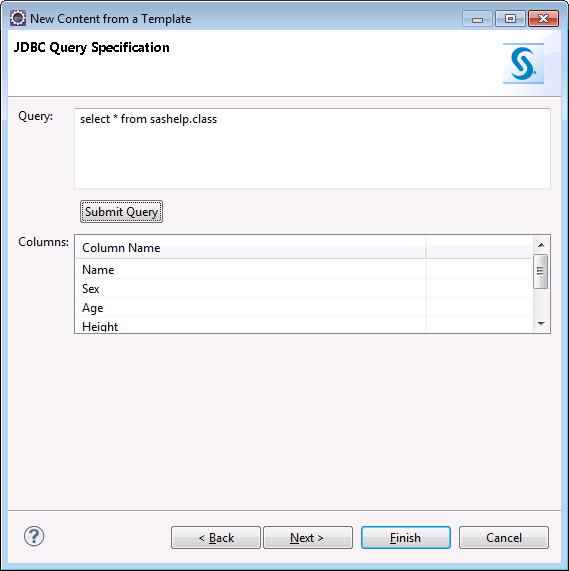
For the
Query,
enter
select * from sashelp.class.
-
Click
Submit
Query to test the query and display the resulting column
names.
-
-
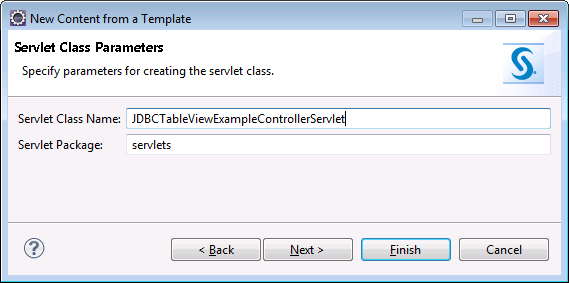
Accept the Servlet Class
Parameters by clicking
Next.
-
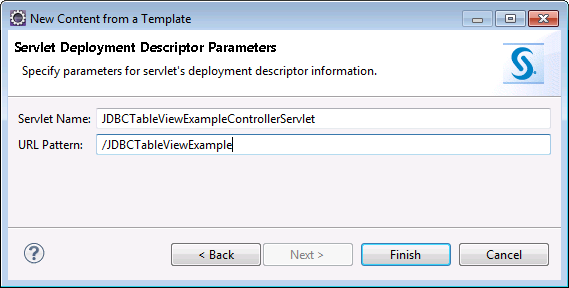
Click
Finish to
accept the Servlet Deployment Descriptor Parameters and add the JDBC
TableView Servlet template to the project.
The JSP and Java files
for the servlet are opened. Close both files.
Copyright © SAS Institute Inc. All rights reserved.