Usage Note 43276: Adding an application server to an existing SAS® Intelligence Platform configuration
 |  |  |
A typical SAS® Business Intelligence Platform application server configuration includes SAS® Metadata Repository definitions with supporting operating system files for starting and administering the compute-tier servers. Here is the basic structure of an application server definition in a SAS Metadata Repository:
- Application Server context
- Logical Server
- Server
- Logical Server
In the following display of the SAS® Management Console Server Manager plug-in, SASApp is the name of the Application Server context, which contains several Logical Server definitions, which, in turn, contain one or more Server definitions. These Logical Servers are commonly used by SAS Business Intelligence client applications. The default SASApp and SASMeta application servers are usually defined during the initial configuration of a SAS Business Intelligence environment.
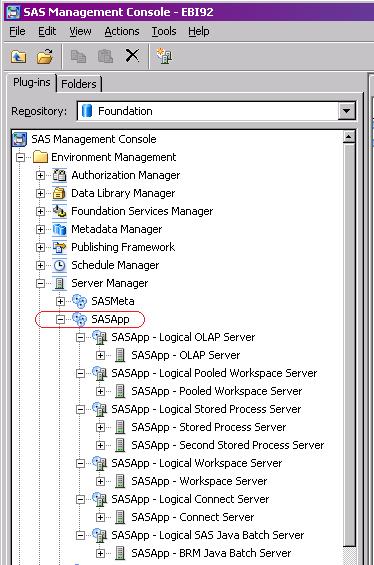
It is not uncommon to want to add a new application server context to an existing environment or to modify an existing application server to add a SAS Object Spawner, SAS Pooled Workspace Server, SAS® Stored Process Server, SAS Workspace Server, SAS® OLAP Server, or any other type of application server component that was not initially configured.
This example provides step–by–step instructions that show how to use the SAS® Deployment Wizard in a Windows operating environment to add a new application server context named SASApp_Finance with a SAS Pooled Workspace Server, SAS Stored Process Server, and SAS Workspace Server to an existing SAS Business Intelligence configuration.
- Invoke the SAS Deployment Wizard from your SAS Software Depot.
Note: The SAS Deployment Wizard automatically detects and applies updates to your installation if the SAS Software Depot contains versions of software that are more current than those that are installed.
Once your installation has been successfully updated to match the release level of the SAS Software Depot, invoke the SAS Deployment Wizard again.
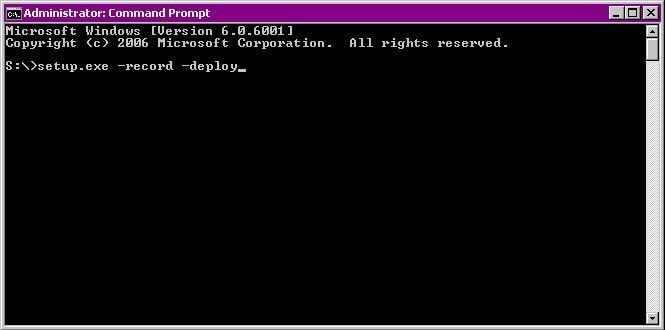
- The SAS Deployment Wizard splash screen is displayed.
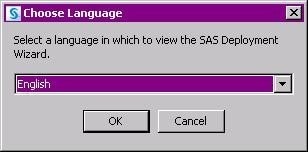
- Choose a language and click OK.
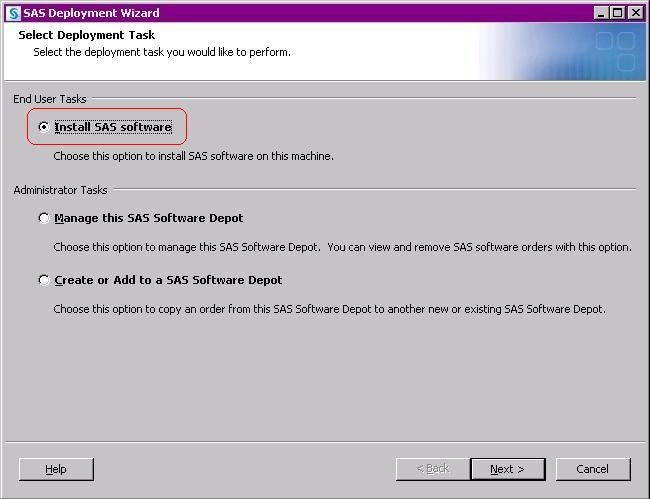
- On the Select Deployment Task page, select Install SAS Software and click Next.
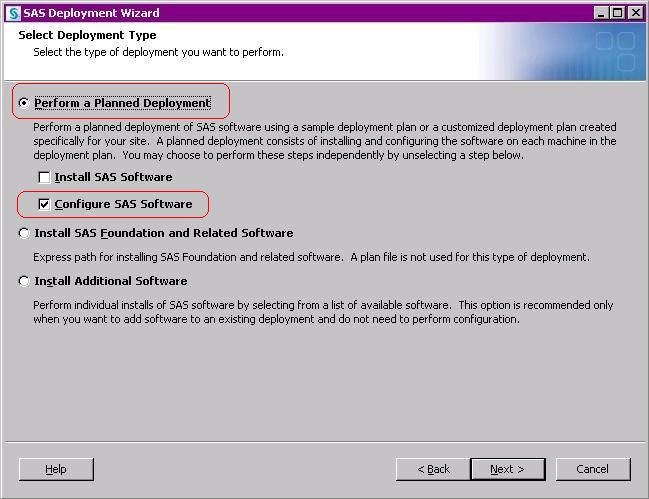
- On the Select Deployment Type page, select Perform a Planned Deployment and Configure SAS Software and click Next.
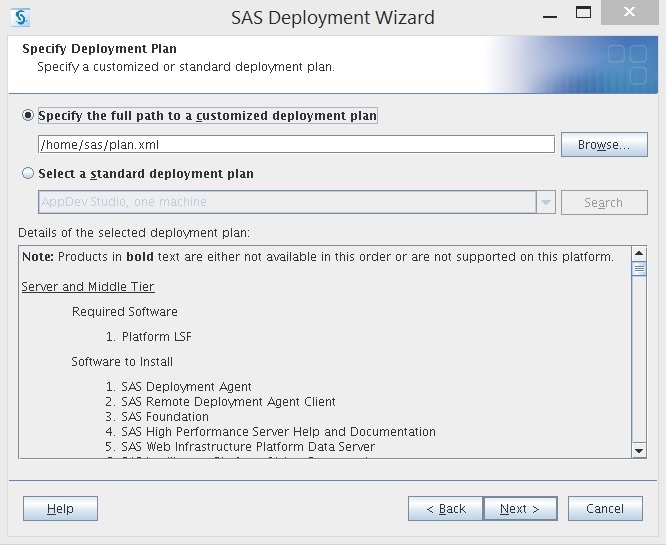
- On the Specify Deployment Plan page, specify the path to your custom deployment plan. Click Next.
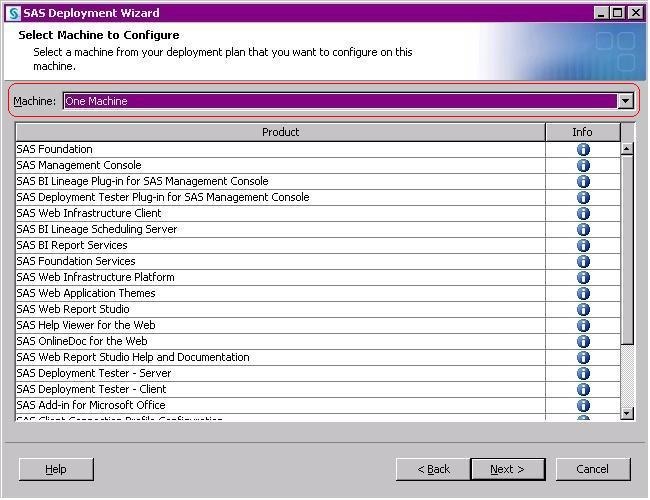
- Next, select the machine from which you want to configure from the drop-down list and click Next.
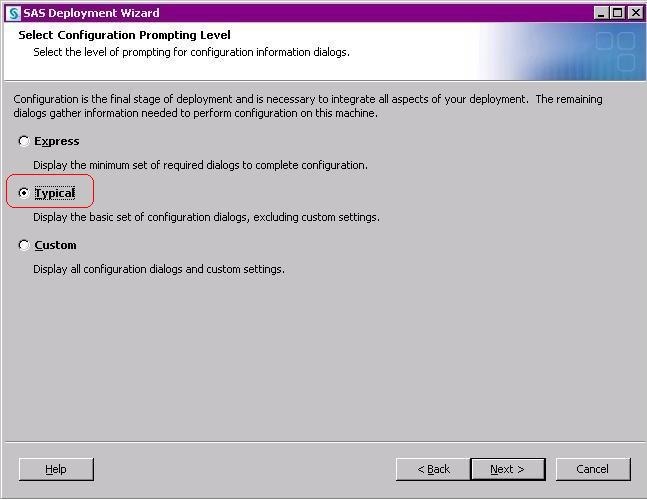
- On the Select Configuration Prompting Level page, select Typical and click Next.
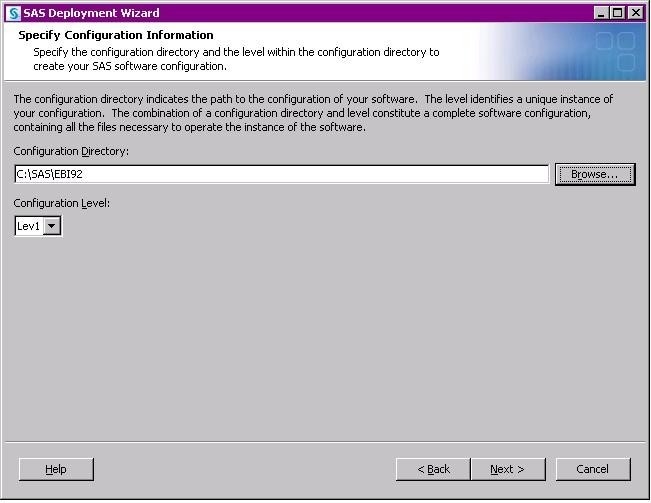
- Next, specify the Configuration Directory and Configuration Level. These values will be unique for your installation. Click Next.
- Unless you are creating a completely new configuration directory, a message is generated to indicate that files already exist in the specified directory. Reconfiguring will not delete or overwrite existing files. Click Yes.

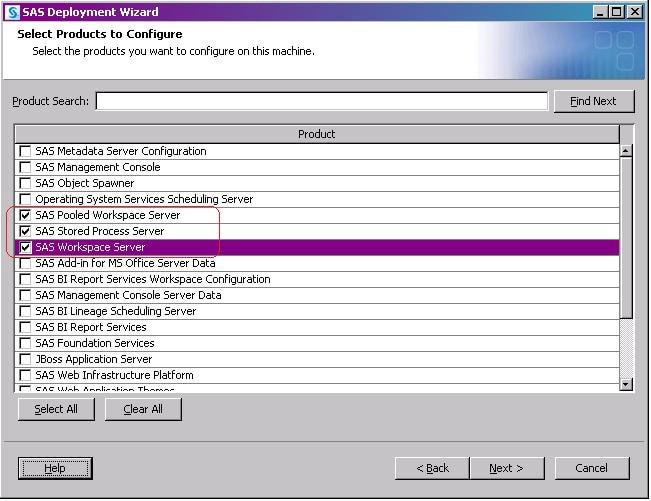
- On the Select Products to Configure page, you can select the application server components to configure. For this example, select SAS Pooled Workspace Server, SAS Stored Process Server, and SAS Workspace Server. Click Next.
- On the Local Machine Name page, specify the fully-qualified and short host name for the server-tier machine where the new application server will be running. Click Next.
 \
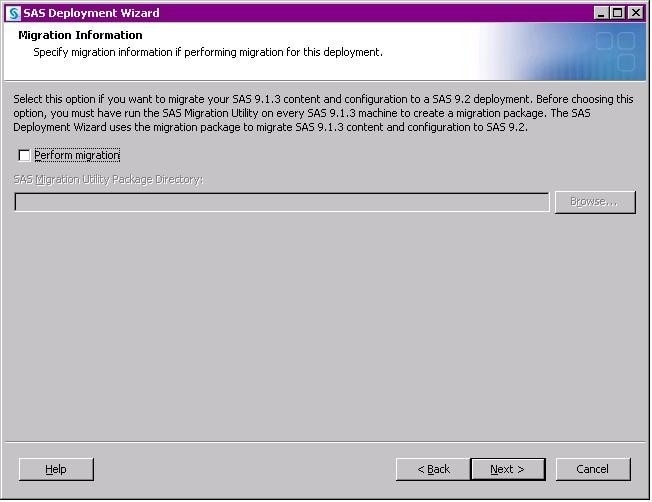
\ - Specify the migration information on the next page. For this example, do not select Perform migration. This option typically would not be used when you are updating an existing configuration. Click Next.
- On the Integrated Windows Authentication page, you select whether you will use Integrated Windows authentication for client connections. For this example, do not use Integrated Windows authentication for client connections. Click Next.
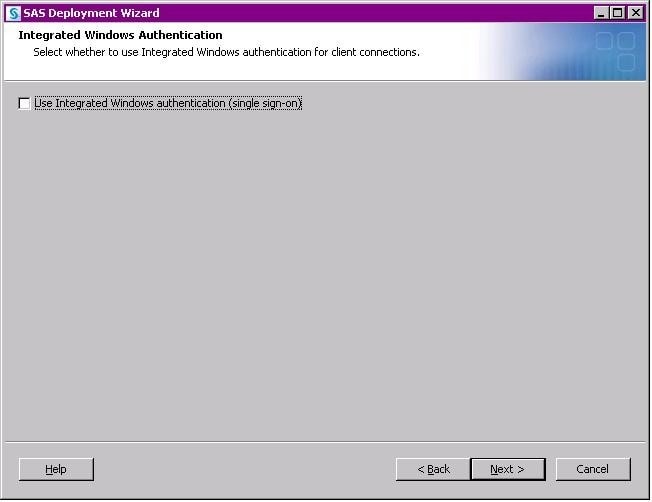
- On the SAS Metadata Server page, specify the host name and port connection information for your metadata server. Click Next.
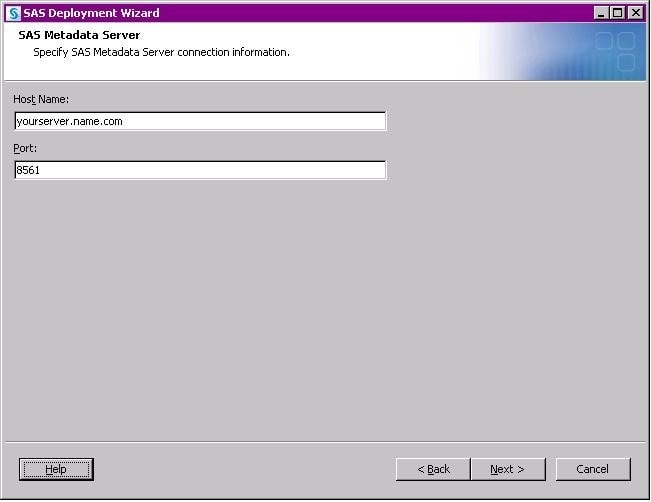
- On the Deployment Accounts page, you indicate the type of accounts to use when configuring the metadata server. For this example, do not use internal and external accounts. Click Next.
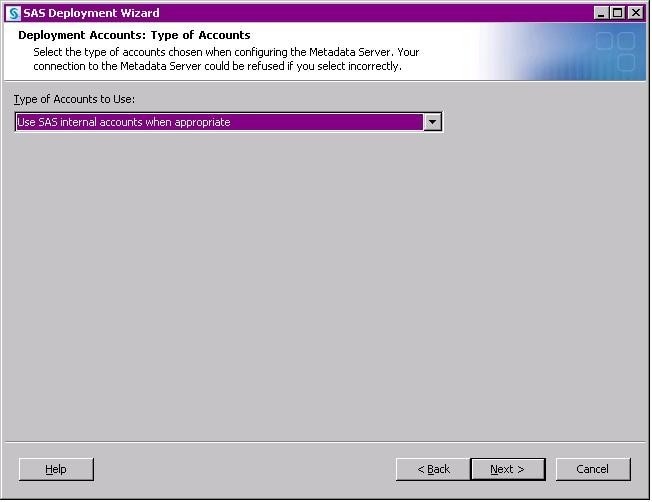
- On the next page, specify Unrestricted Administrator account credentials. Click Next.
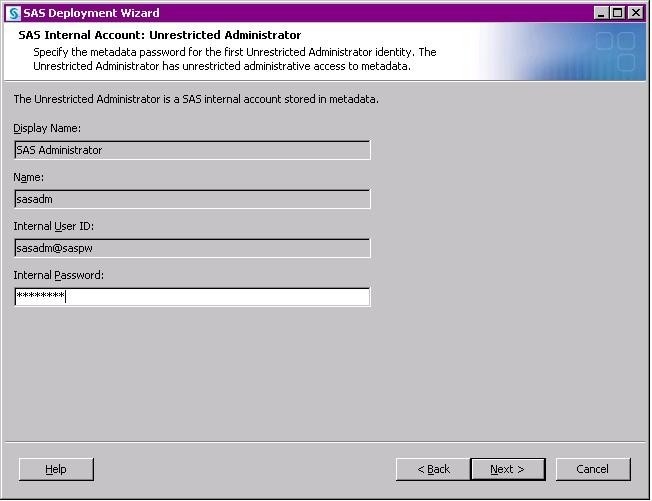
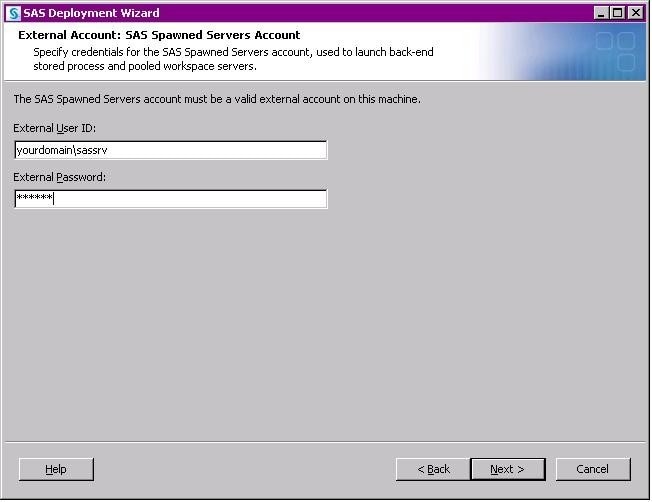
- Next, specify SAS Spawned Servers account credentials. This page will display only if a pooled workspace server or stored process server is selected. Click Next.
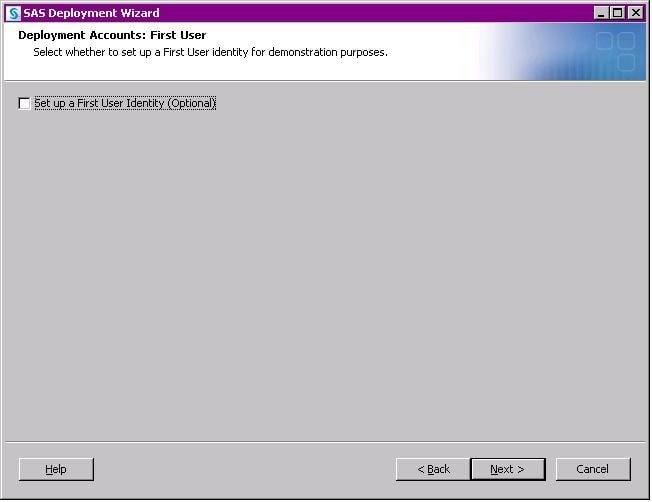
- On the next page, you can select whether to set up a First User identity for demonstration purposes. For this example, do not select Set up a First User Identity (Optional). This option typically would not be used when you are updating an existing configuration. Click Next.
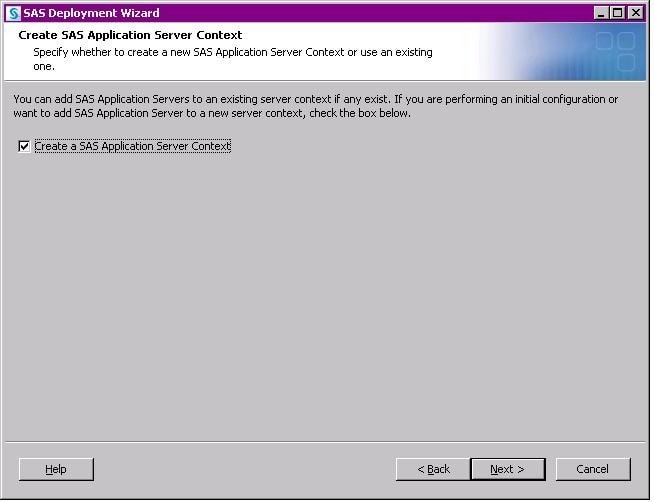
- On the next page, create a new SAS Application Server Context.
- To create a completely new application server context (SASApp2, for example), select Create a SAS Application Server Context. For this example, create a new application server context.
- To add a new application server component (SAS Stored Process Server, for example) to an existing application server context (SASApp, for example), do not select Create a SAS Application Server Context.
- Click Next.
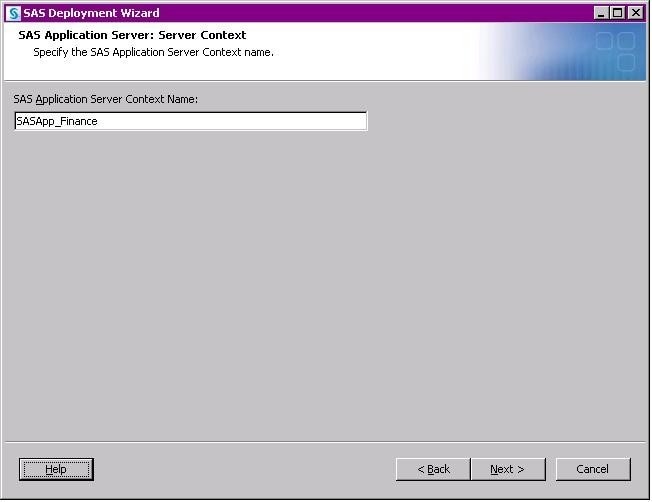
- On the next page, you can specify the SAS Application Server Context Name.
- If you selected Create a SAS Application Server Context on the previous page, the name that is specified in this step must be unique. In this example, create a new application server context named SASApp_Finance.
- If an existing application server context is being updated (SASApp, for example), select the name of the server context to update.
- Click Next.
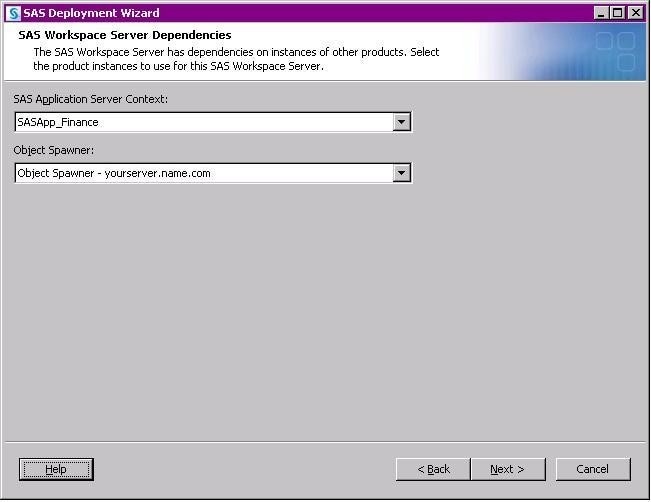
- On the SAS Workspace Server Dependencies page, if you chose to configure a SAS Workspace Server, specify the application server context and SAS Object Spawner that is associated with the new SAS Workspace Server component. Click Next.
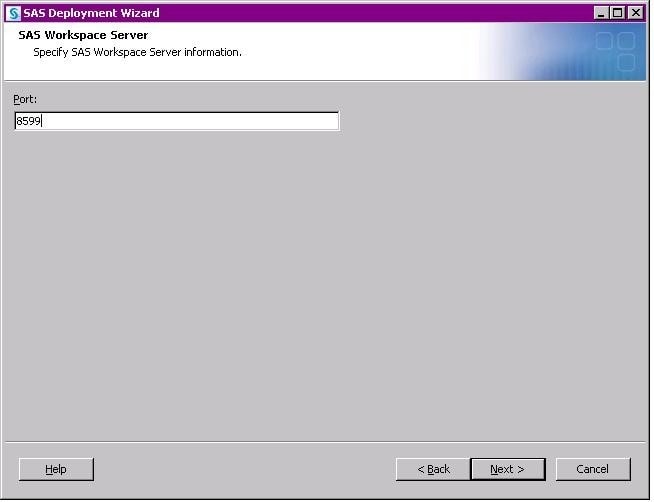
- On the SAS Workspace Server page, if you chose to configure a SAS Workspace Server, specify a valid, available port number for the new SAS Workspace Server connection. Click Next.
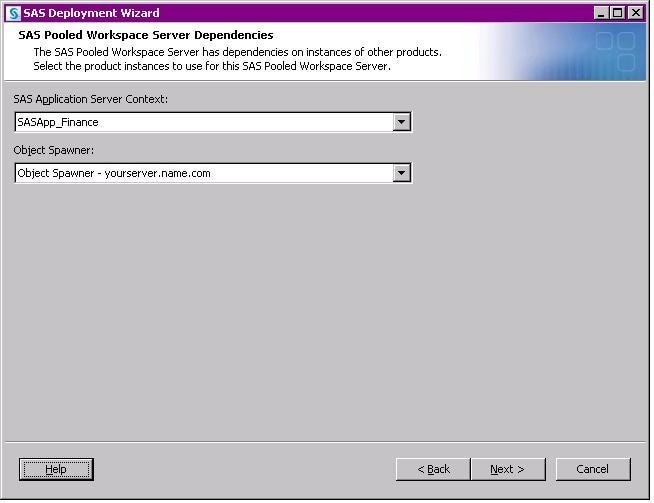
- On the SAS Pooled Workspace Server Dependencies page, if you chose to configure a SAS Pooled Workspace Server, specify the application server context and SAS Object Spawner that is associated with the new SAS Pooled Workspace Server component. Click Next.
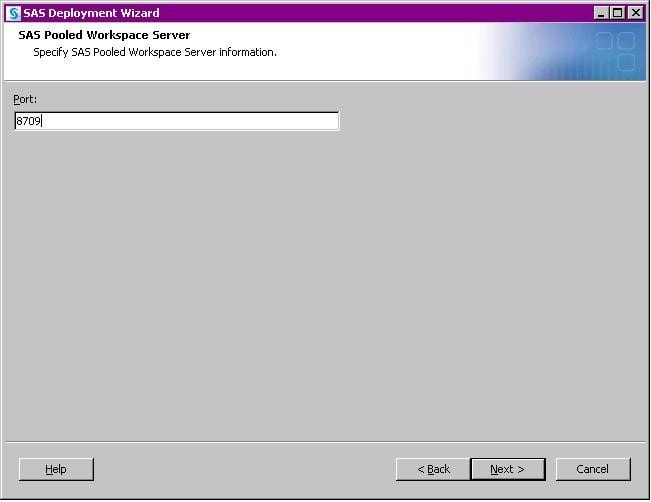
- On the SAS Pooled Workspace Server page, if you chose to configure a SAS Pooled Workspace Server, specify a valid, available port number for the new SAS Pooled Workspace Server bridge connection. Click Next.
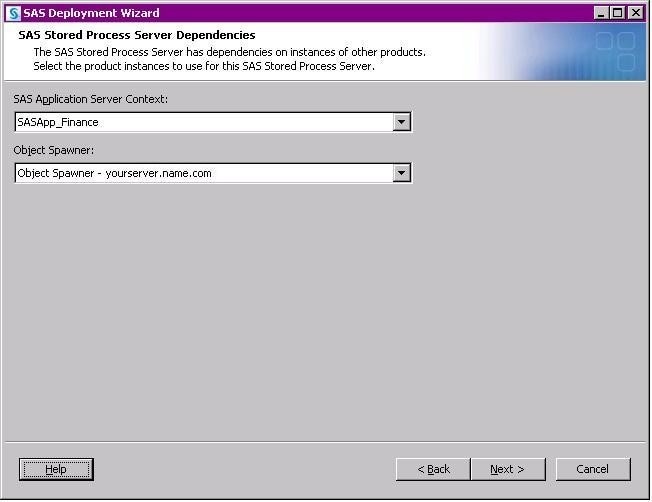
- On the SAS Stored Process Server Dependencies page, if you chose to configure a SAS Stored Process Server, specify the application server context and SAS Object Spawner that is associated with the new SAS Stored Process Server component. Click Next.
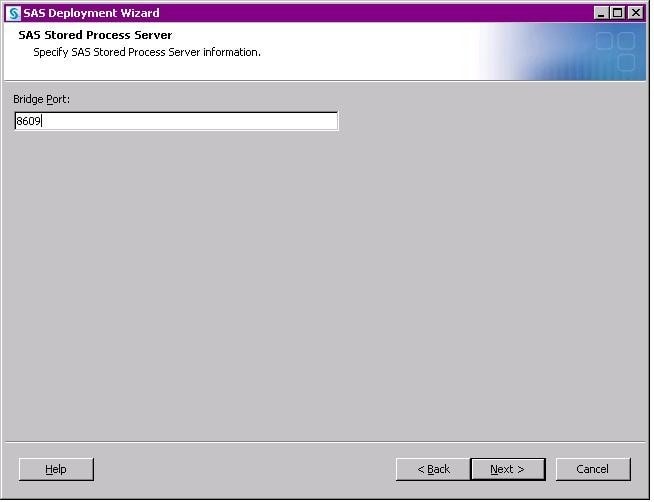
- On the SAS Stored Process Server page, if you chose to configure a SAS Stored Process Server, specify a valid, available port numbers for the new SAS Stored Process Server bridge connection. Click Next.
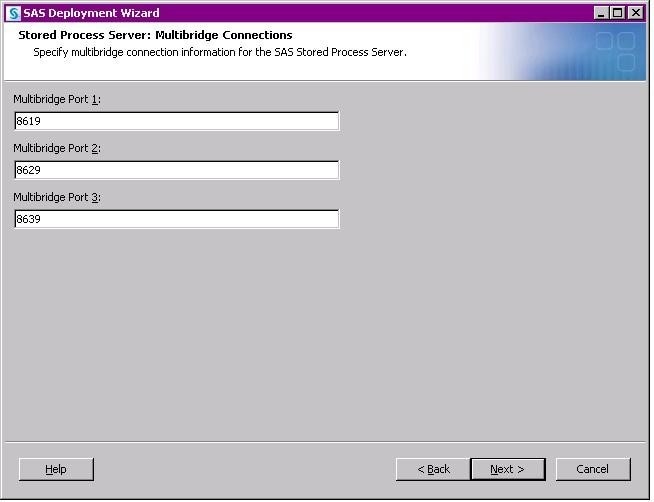
- On the SAS Stored Process Server: Multibridge Connections page, if you chose to configure a SAS Stored Process Server, three multibridge connections will be configured for you by default. Specify three valid, available port numbers for the new SAS Stored Process Server multibridge connections. Additional multibridge connections can be added after the configuration is complete. For instructions for adding multibridge connections to an existing SAS Stored Process Server definition, see SAS Note 30568 "Adding more multibridge connections to an existing SAS Stored Process Server definition." Click Next.
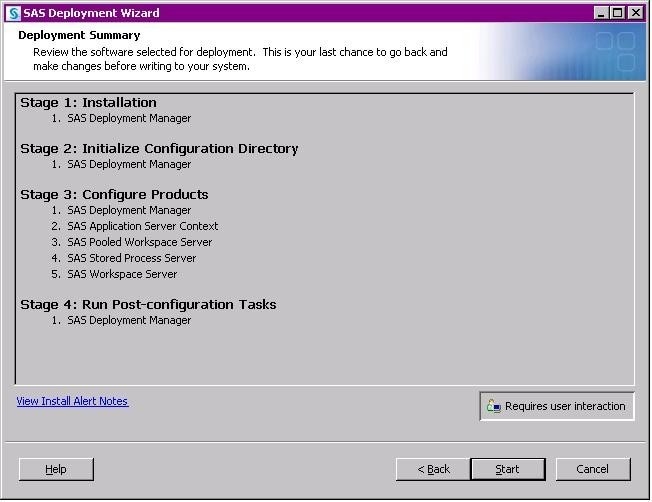
- On the Deployment Summary page, review your selections and go back to make any necessary changes. Click Start to begin the deployment process. Click Start.
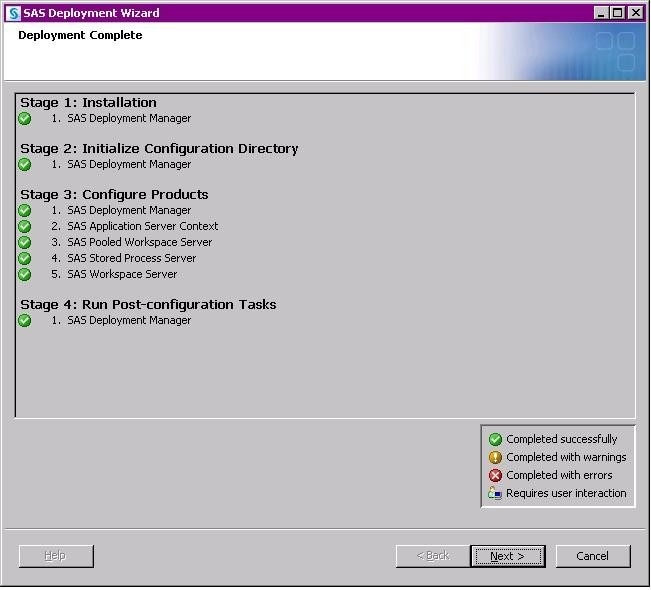
- On the Deployment Complete page, if any step did not complete successfully, review the associated log file for errors. Click Next.
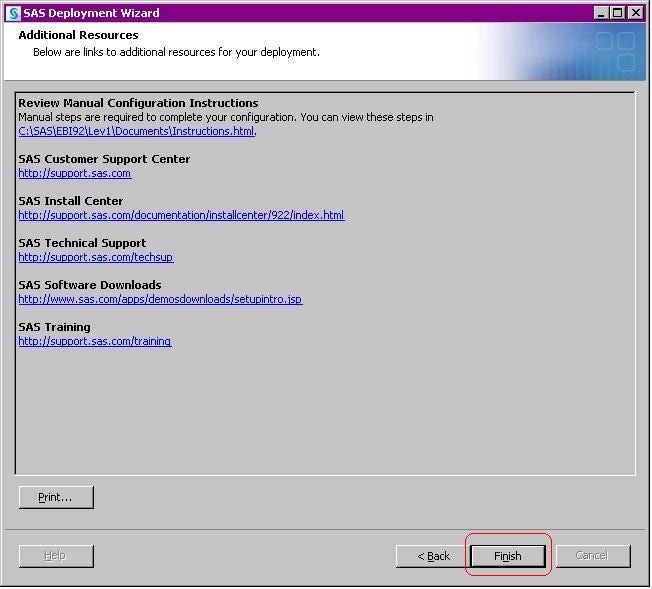
- On the Additional Resources page, click Finish to close the SAS Deployment Wizard.
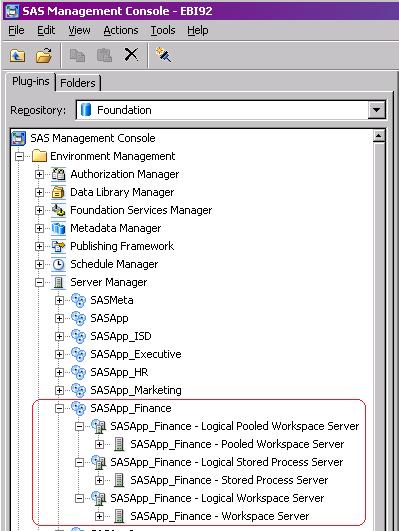
After the preceding steps are successfully completed, the SAS metadata for the SASApp_Finance application server is created, including its underlying Logical Servers and Servers. In addition, the specified SAS Object Spawner is updated to include the new servers in its Selected servers list, and the specified Configuration Directory is updated to include necessary files for running these servers. The object spawner must be stopped and restarted to fully enable the new application server.
Additional Information
The SAS® 9.2 Intelligence Platform: Application Server Administration Guide contains the following topics that are related to the addition of application servers and their underlying components:
- Overview of SAS Application Servers
- The Structure of a SAS Application Server
- Defining Multiple Application Servers (to add a new Application Server, for example, adding SASApp2 under Lev1 when SASApp already exists)
- Add a New Logical Server in an Existing SAS Application Server (to add a new Logical Server in an existing Application Server; for example, adding "SASApp - Logical Stored Process Server" to an existing SASApp application server context)
- Adding a New Server in an Existing Logical Server (to add a new Server in an existing Logical Server; for example, adding a new "SASApp - Second Stored Process Server" under the "SASApp - Logical Stored Process Server")
Operating System and Release Information
| Product Family | Product | System | SAS Release | |
| Reported | Fixed* | |||
| SAS System | SAS Integration Technologies | Microsoft Windows Server 2003 Datacenter 64-bit Edition | 9.2 TS2M0 | |
| z/OS | 9.2 TS2M0 | |||
| Microsoft® Windows® for 64-Bit Itanium-based Systems | 9.2 TS2M0 | |||
| Solaris for x64 | 9.2 TS2M0 | |||
| OpenVMS on HP Integrity | 9.2 TS2M0 | |||
| Linux for x64 | 9.2 TS2M0 | |||
| HP-UX IPF | 9.2 TS2M0 | |||
| Linux | 9.2 TS2M0 | |||
| 64-bit Enabled Solaris | 9.2 TS2M0 | |||
| 64-bit Enabled HP-UX | 9.2 TS2M0 | |||
| 64-bit Enabled AIX | 9.2 TS2M0 | |||
| Windows Vista for x64 | 9.2 TS2M0 | |||
| Windows Vista | 9.2 TS2M0 | |||
| Microsoft Windows XP Professional | 9.2 TS2M0 | |||
| Microsoft Windows Server 2008 for x64 | 9.2 TS2M0 | |||
| Microsoft Windows Server 2003 for x64 | 9.2 TS2M0 | |||
| Microsoft Windows Server 2003 Standard Edition | 9.2 TS2M0 | |||
| Microsoft Windows Server 2003 Enterprise Edition | 9.2 TS2M0 | |||
| Microsoft Windows Server 2003 Datacenter Edition | 9.2 TS2M0 | |||
| Microsoft® Windows® for x64 | 9.2 TS2M0 | |||
| Microsoft Windows XP 64-bit Edition | 9.2 TS2M0 | |||
| Microsoft Windows Server 2003 Enterprise 64-bit Edition | 9.2 TS2M0 | |||
| Type: | Usage Note |
| Priority: | |
| Topic: | System Administration ==> Servers ==> Integration Technologies |
| Date Modified: | 2011-06-30 16:16:20 |
| Date Created: | 2011-05-16 12:58:13 |