You are here: Data Riser Bar>Working with Data Connections>Adding ODBC Connections for Hadoop

DataFlux Data Management Studio 2.6: User Guide

Adding ODBC Connections for Hadoop

ODBC drivers for Apache Hive and Cloudera Impala are installed with DataFlux Data Management Studio and DataFlux Data Management Server.

Apache Hive ™ is a data warehouse infrastructure built on top of Hadoop. It supports data queries, analysis, and summarization. It provides an SQL-like language called HiveQL. For a list of the supported versions, see the rows for Apache Hive in Supported Databases for Data Storage. See also any relevant Data Connection Usage Notes.

Cloudera Impala is a query engine that runs on Apache Hadoop. Impala is optimized for queries rather than inserts into the Hadoop file system (HDFS). Accordingly, avoid using an Impala table as the output of any job node. For a list of the supported versions, see the rows for Cloudera Impala in Supported Databases for Data Storage. See also any relevant Data Connection Usage Notes.

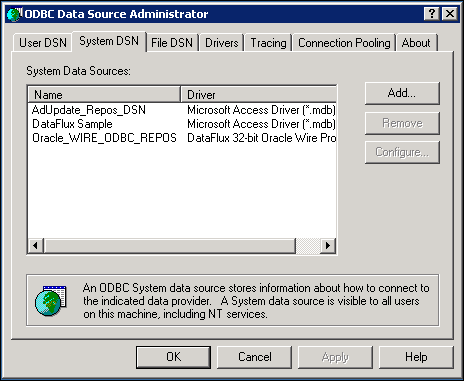
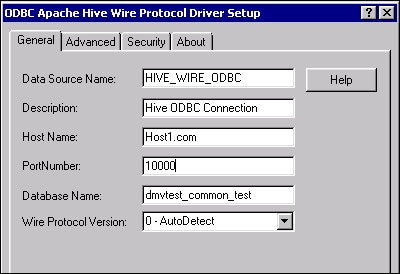
Perform these steps to add an ODBC connection for Hadoop: 

  1. Click the Data riser on the DataFlux Data Management Studio desktop.
  2. Expand the Data Connections folder.
  3. Select the New Data Connection menu in the Data Connections pane on the right. Then select ODBC Connection to display the ODBC Data Source Administrator dialog.
  4. Select the type of connection that you want to establish. For example, you can click System DSN to create a connection to a data source that all users on the machine can access. The System DSN tab is shown in the following display:

  5. Click Add to select the driver for your data source. Select the DataFlux Apache Hive Wire Protocol driver or the DataFlux Impala Wire Protocol driver, as appropriate for your site.
  6. Click Finish. A setup dialog displays for the selected driver (connection type).
  7. Enter a name, a description, and other attributes into the setup dialog. Avoid using special characters such as quotation marks in your data source names. The information that you need to enter should be supplied by an administrator at your site. The following displays shows a set of attributes for a Hive connection and Impala connection.


  8. Click OK save the connection and return to the ODBC Data Source Administrator dialog. The new connection is included on the System DSN tab of that dialog.
  9. Click OK to close the ODBC Data Source Administrator dialog and return to the Data riser.
  10. Refresh the Data riser in order to see the new connection in the Data Connections folder in the left pane. Select View, and then select Refresh from the main menu. The new connection should appear in the Data Connections folder.
  11. To verify a connection, double-click the connection in the Data Connections folder in the left pane. Enter any required credentials. If the connection works, you will be able to see tables, fields, and other attributes in the right panel.

See also Data Connection Usage Notes.

Documentation Feedback: yourturn@sas.com
Note: Always include the Doc ID when providing documentation feedback.

Doc ID: dfU_T_DataConnHadoop.html