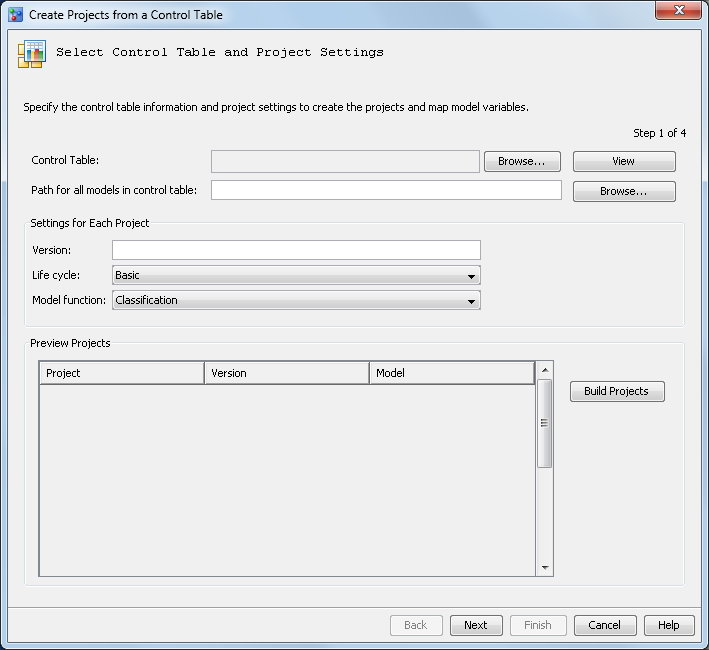
Create Projects from a Control Table
-
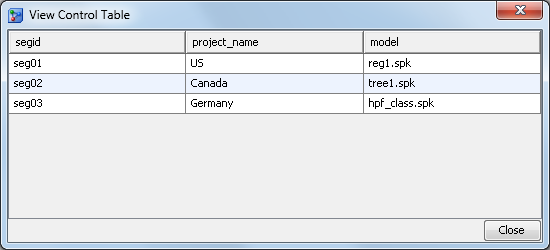
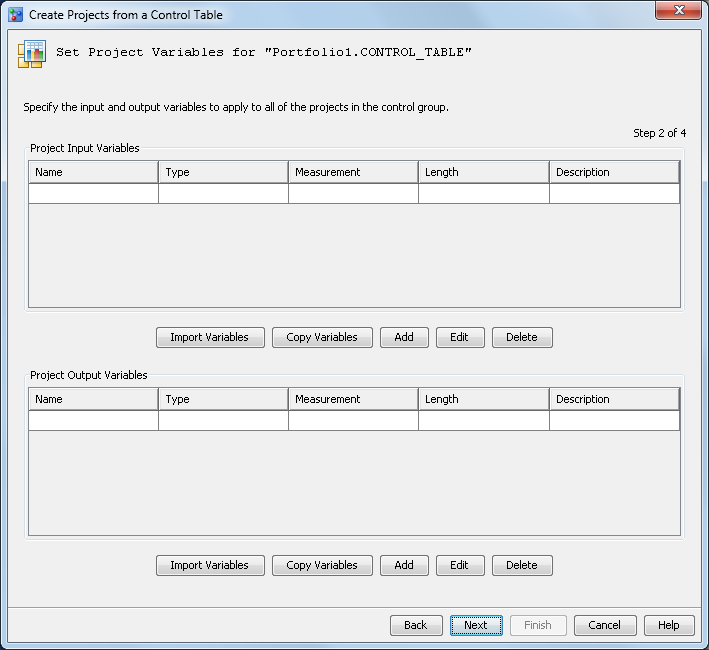
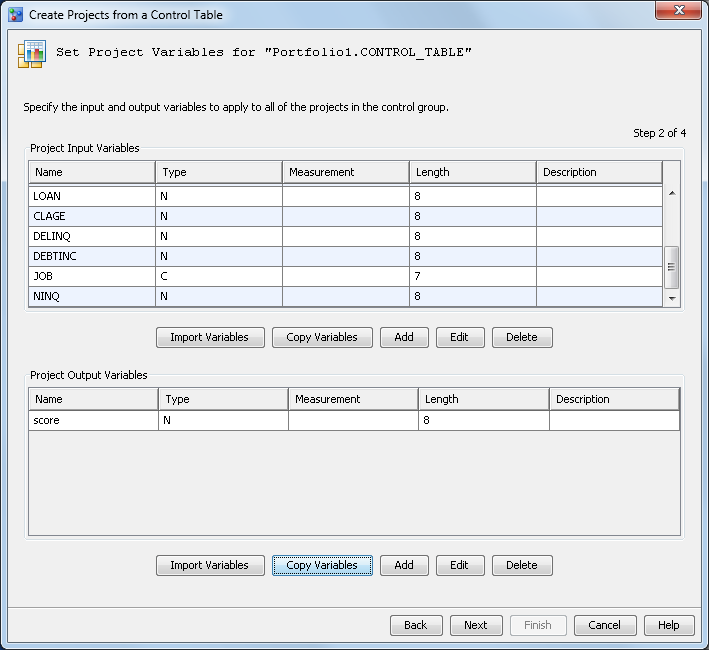
Verify that the project control table contains the required variables. For more information, see Prerequisites for Creating Project Control Groups.
-
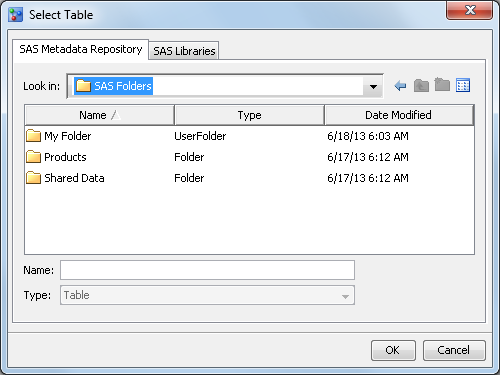
Click Browse to select the control table from the SAS Metadata Repository or from local SAS libraries.For information about the required columns in a control table, see Creating a Project Control Table.
-
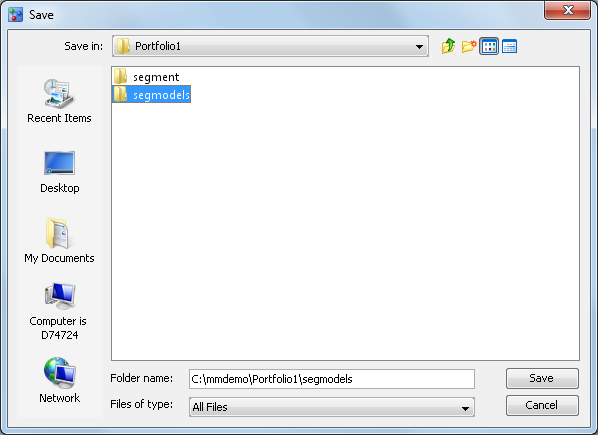
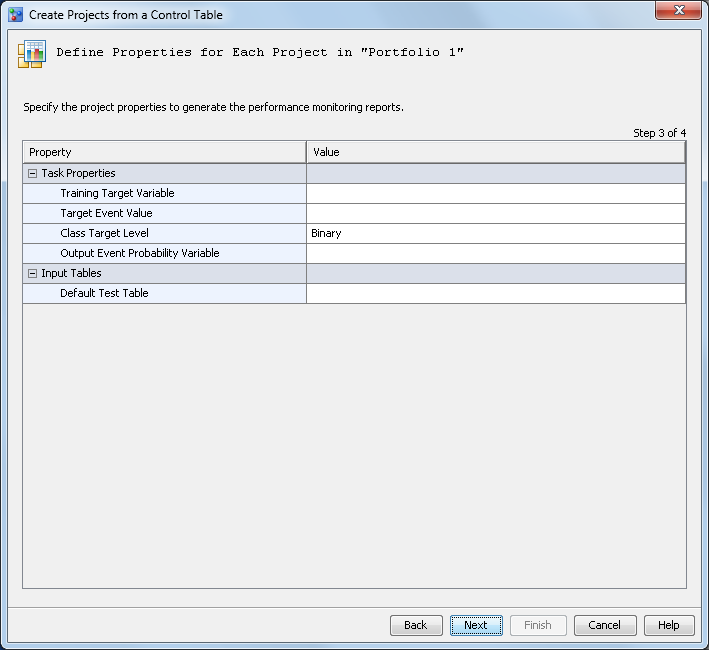
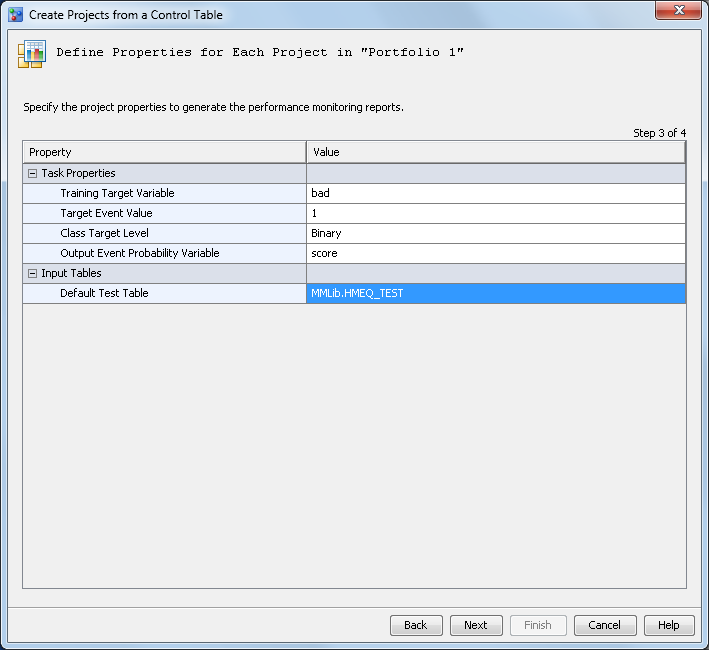
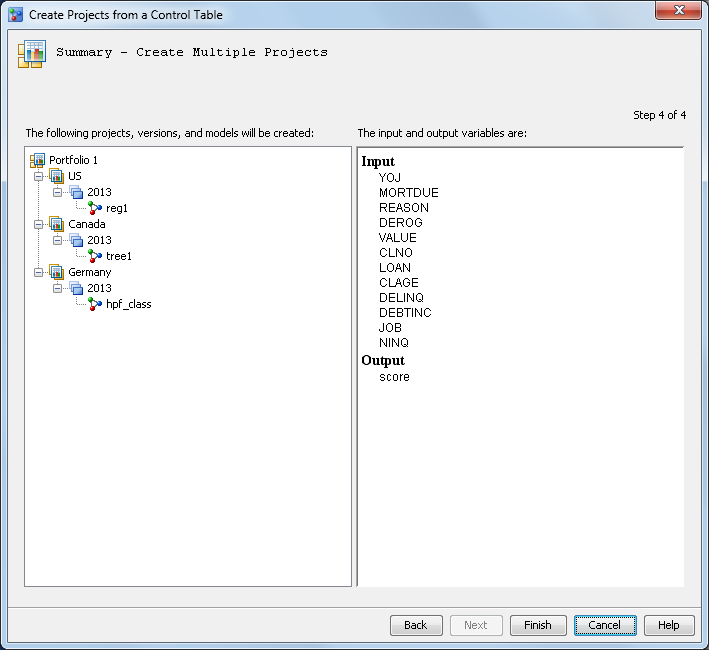
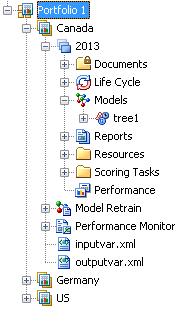
Click Finish. The projects are created with the version, life cycle, and model function that was specified. The models for each project in the control table are added to the Models folder within each version.Note: The champion model for each project within the project control group must be set manually. For more information, see Set a Champion Model.

Copyright © SAS Institute Inc. All rights reserved.