Customizing Category Views
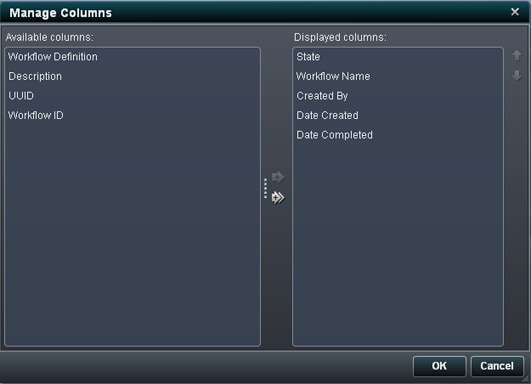
Manage Columns in a List

The Manage Columns button displays
the Manage Columns window, which reflects
the current settings of the list. Here is an example of the Manage
Columns window.
Tip
You can select a set of noncontiguous
columns in the list and then add, remove, or reposition the selected
set as a single entity.


Note: The workspace search is applied
to all columns in the view, even to columns that you remove from the Displayed
columns list as long as they are still in the Available
columns list. For example, if you remove the Name column
from a list, the search still searches for name values and returns
results based on the contents of that column. For more information
about using searches, see Searching List Content.
Sort Lists by Column Content
Sort Single Columns in a List


Sort Multiple Columns in a List
You can also sort a list by more than
one column and, if desired, in ascending order by some columns and
in descending order by other columns.

The Sort button
displays the Sort window, which reflects
the current sort order of the list. Here is an example of the Sort window.
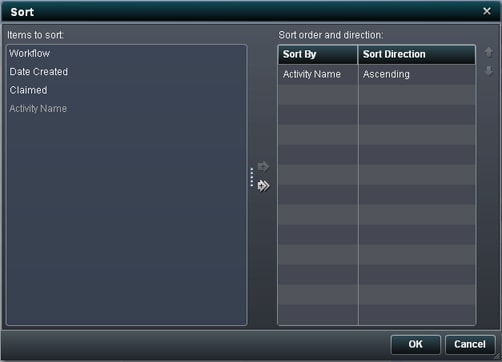
To add, remove, or reposition
columns in the sort order, use the control buttons that are described
below.
Searching List Content
About Searching List Content
You can search the list
in a category view to view only particular workflow definitions, workflows,
or activities. For example, suppose you want to see the entry for
a version and you use the UUID to identify the version.
To limit the number
of items that appear in a list, you can use search to perform the
following tasks:
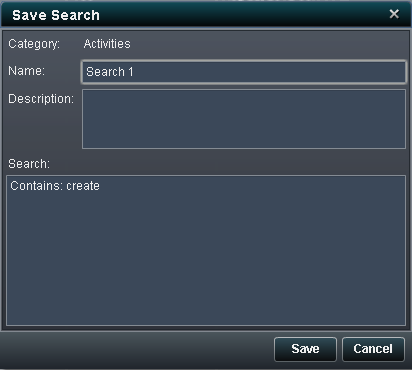
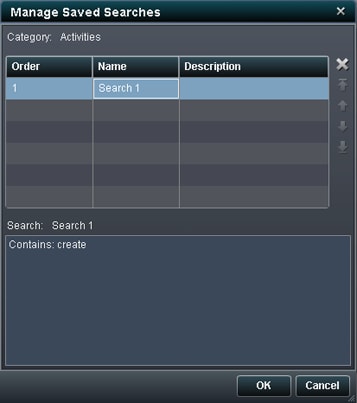
Search Bar
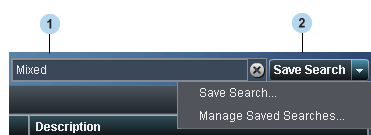
| 1 | Search criteria: Use the search text box to specify search criteria. |
| 2 | Search menu: Use the search menu to save and manage searches. The menu expands to display the last ten saved searches by default. The order can be different based on the order that is specified in the Manage Saved Searches window. |