Creating Line and Other Plots Using SAS Enterprise Guide
This section discusses the means by which line and
other plots were created with SAS IT Resource Management 2.7 and the
recommended means by which they are created using SAS IT Resource
Management 3.2.
About Line and Other Plots
The following table shows the 15 plot types or options that are available
in SAS IT Resource Management 2.7 and the corresponding SAS Enterprise
Guide tasks that are available to generate those chart types in SAS
IT Resource Management 3.2.
This section provides
more detail about the SAS IT Resource Management 2.7 macro that creates
various types of plots and the equivalent SAS Enterprise Guide steps
that are required to recreate these types of reports.
The %CPPLOT1 macro is
used to create the following plot types:
-
-
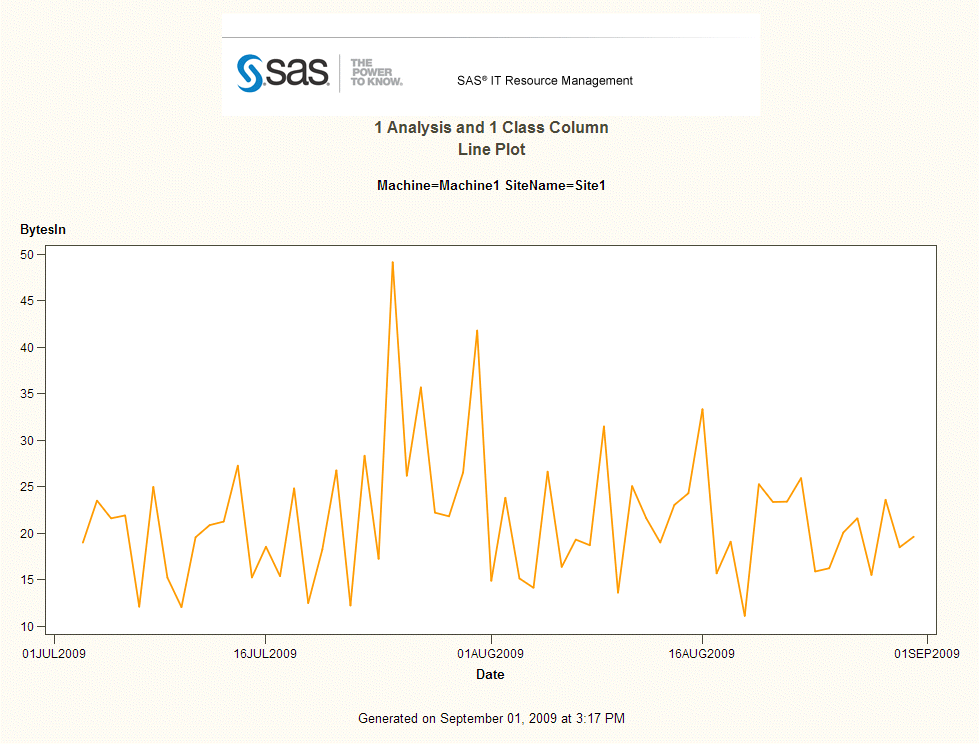
line plot (Example 10)
-
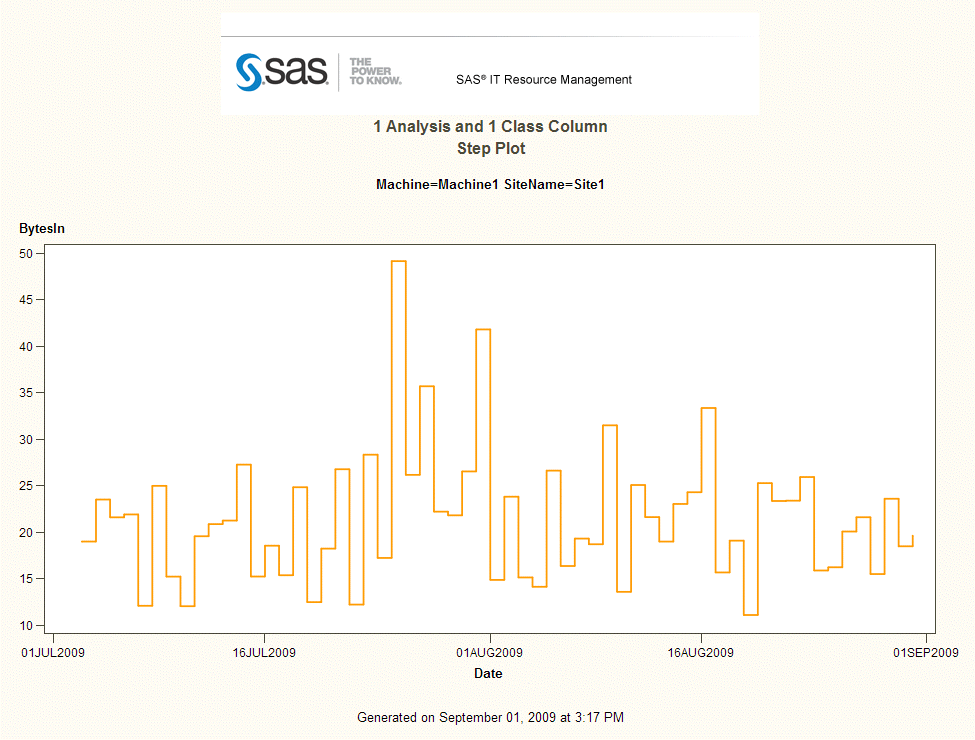
step plot (Example 11)
-
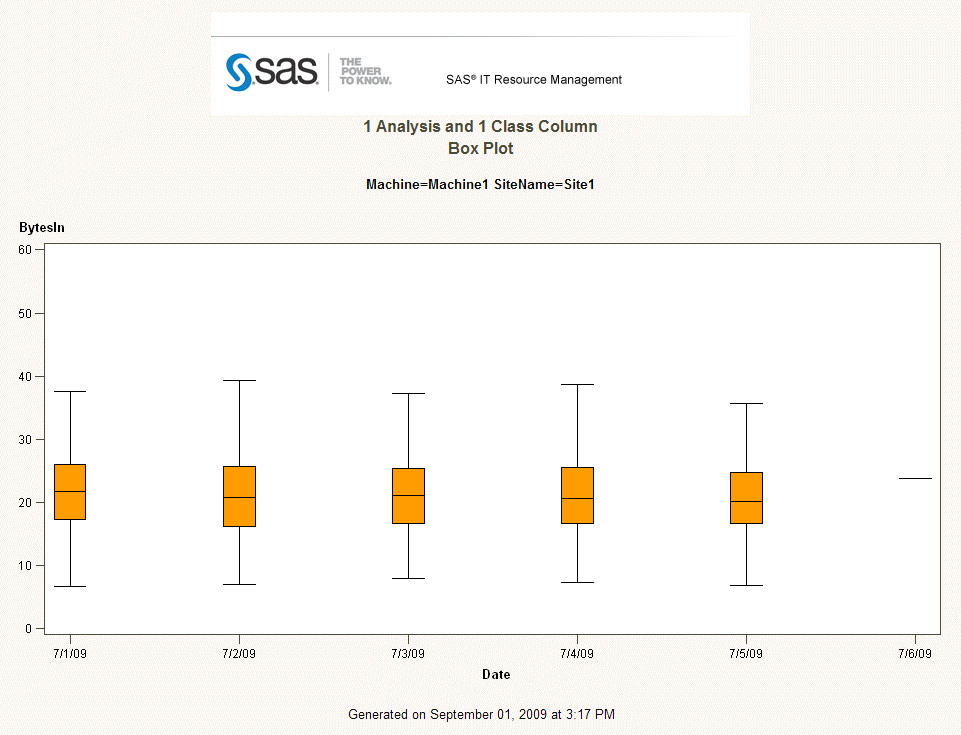
box plot (Example 12)
-
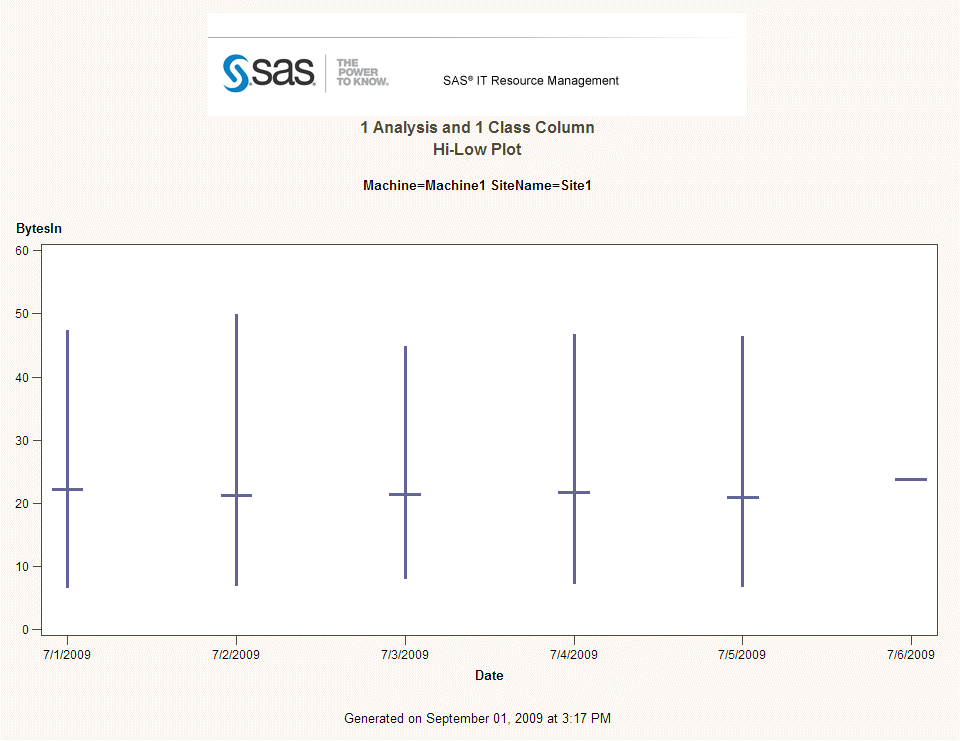
hi-low plot (Example 13)
-
-
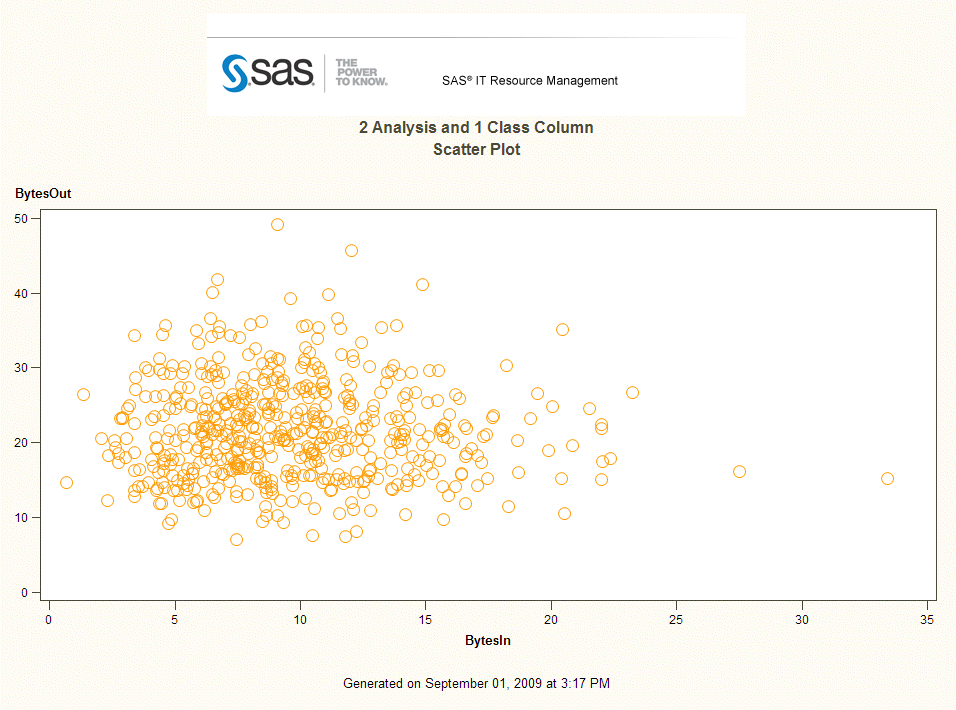
multiple analysis columns (scatter plot – Example 14)
-
-
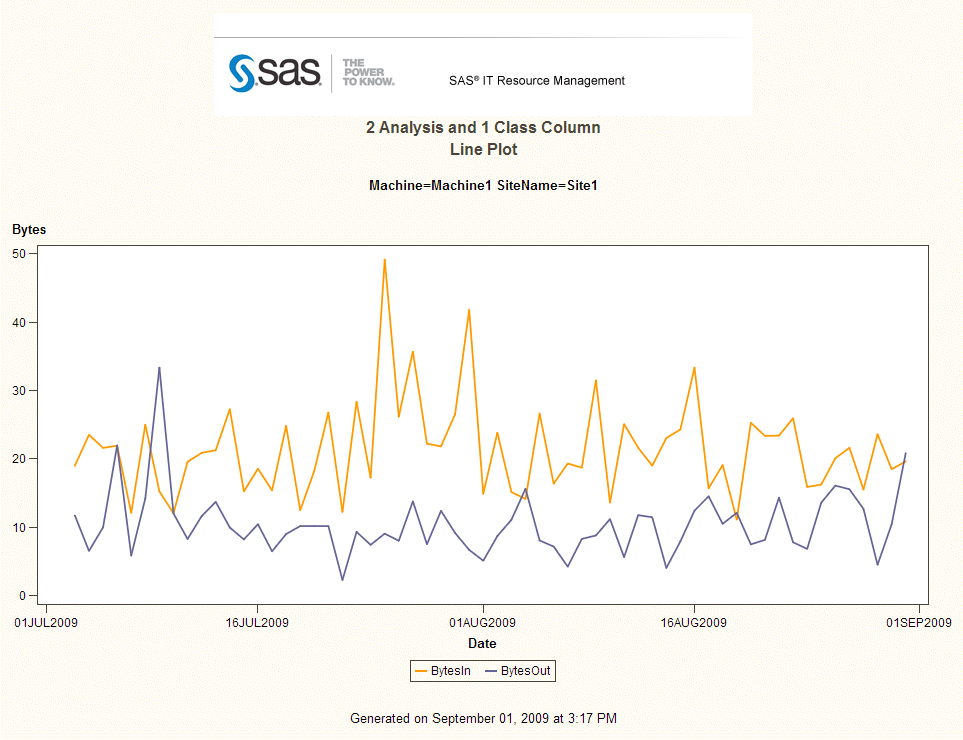
line plot (Example 15)
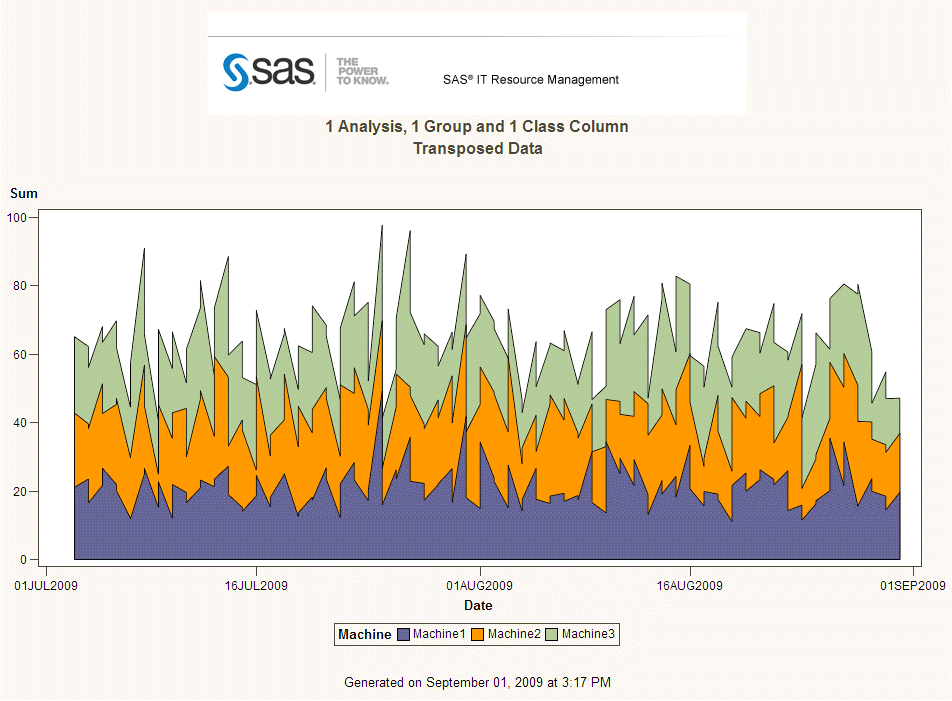
-
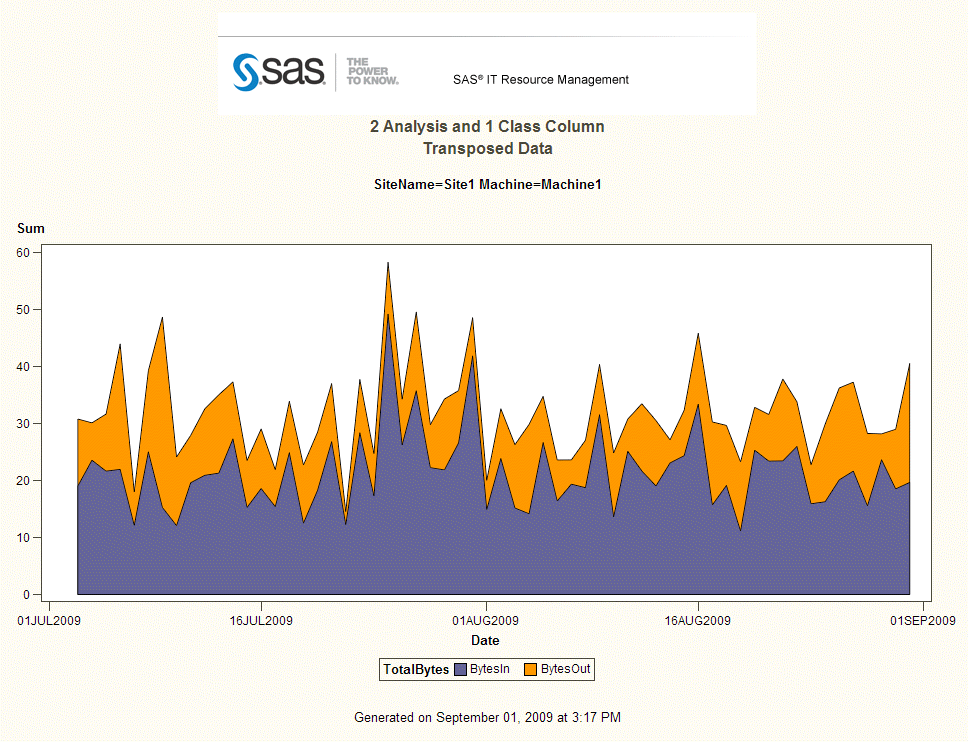
line stack plot (Example 16)
-
-
-
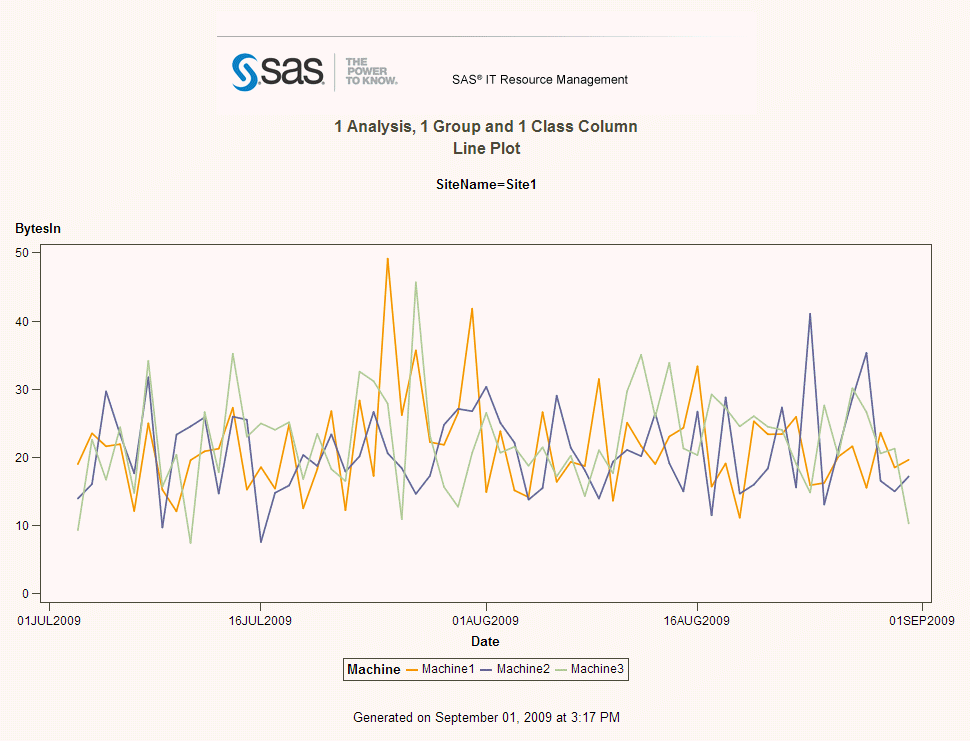
line plot (Example 17)
-
line stack plot (Example 18)
-
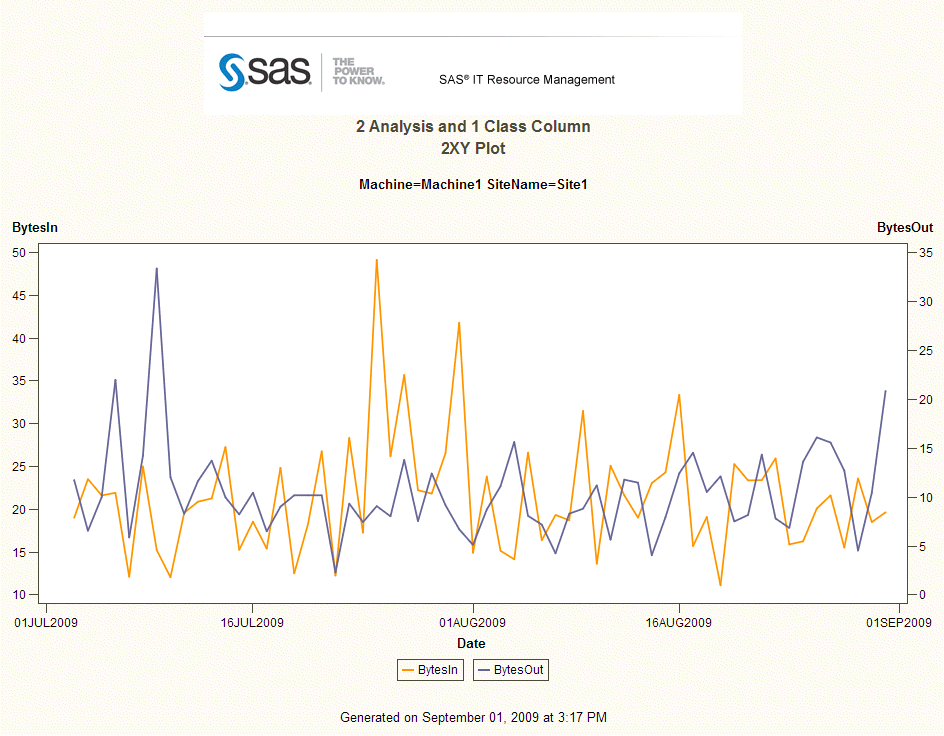
The %CPPLOT2
macro creates a line plot that is named 2XY Plot with Multiple Analysis
Columns and One Class Column (Example 19).
Line and Other Plot Notes
Example 16
Stack Plot with Two Analysis Columns and One Class Column
-
Rename your new column labels (see Stack Columns Task (Reference 1)).
-
Insert SAS custom code to accumulate your data. See Custom User Code to Accumulate Stacked Data (Reference 2).
Example 18
Stack Plot with One Analysis Columns, One Class Column, and One Group Column
-
Rename your new column labels. See Stack Columns Task (Reference 1).
-
Insert SAS Custom Code to accumulate your data. See Custom User Code to Accumulate Stacked Data (Reference 2).
Example 20
Three-Dimensional Graph
The three-dimensional
graph that is available in SAS IT Resource Management 2.7 differs
from the three-dimensional graph that is generated with SAS Enterprise
Guide. In SAS Enterprise Guide, the columns for the horizontal, vertical,
and depth task role must be numeric. In SAS IT Resource Management
2.7, a class column is supported.
You can use the Line
Plot task in SAS Enterprise Guide to generate a plot that shows all
of the information that is available in the three-dimensional graph
from SAS IT Resource Management 2.7. To create this graph, see Example 17.