| Creating Time ID Variables |
Creating a Time ID Value from a Starting Date and Frequency
As a first example of adding a time ID variable, use the SAS data set created by the following statements. (Or use your own data set if you prefer.)
   data no_id;
      input y @@;
   datalines;
     10 15 20 25 30 35 40 45
     50 55 60 65 70 75 80 85
   run;
Submit these SAS statements to create the data set NO_ID. This data set contains the single variable Y. Assume that Y is a quarterly series and starts in the first quarter of 1991.
In the Time Series Forecasting window, use the Browse button to the right of the Data set field to bring up the Data Set Selection window. Select the WORK library, and then select the NO_ID data set.
You must create a time ID variable for the data set. Click the Create button to the right of the Time ID field. This opens a menu of choices for creating the Time ID variable, as shown in Figure 40.1.

Select the first choice, Create from starting date and frequency. This opens the Time ID Creation from Starting Date window shown in Figure 40.2.
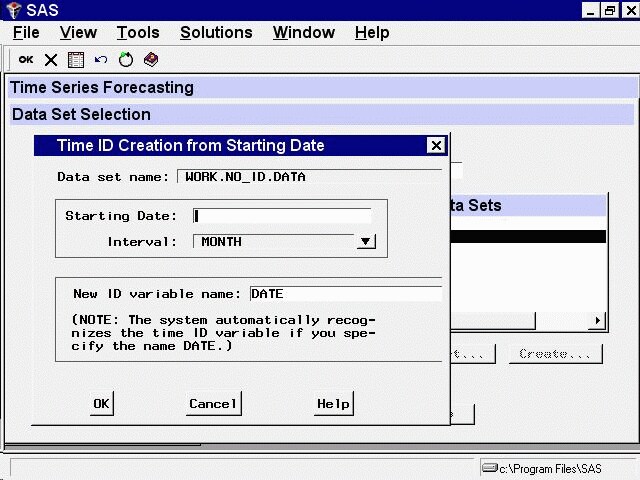
Enter the starting date, 1991:1, in the Starting Date field.
Select the Interval list arrow and select QTR. The Interval value QTR means that the time interval between successive observations is a quarter of a year; that is, the data frequency is quarterly.
Now select the OK button. The system prompts you for the name of the new data set. If you want to create a new copy of the input data set with the DATE variable added, enter a name for the new data set. If you want to replace the NO_ID data set with the new copy containing DATE, just select the OK button without changing the name.
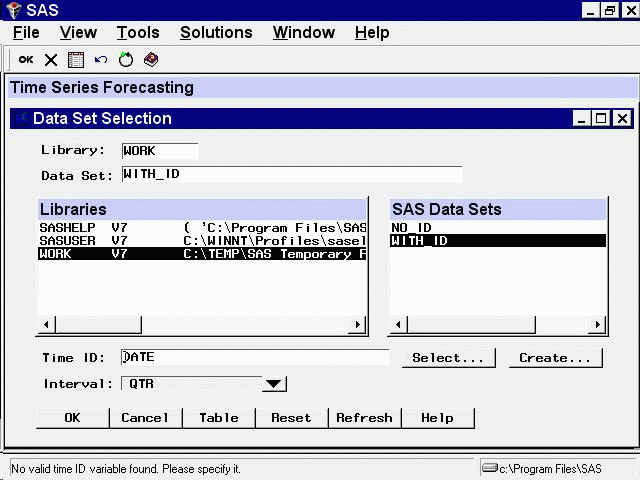
For this example, change the New name field to WITH_ID and select the OK button. The data set WITH_ID is created containing the series Y from NO_ID and the added ID variable DATE. The system returns to the Data Set Selection window, which now appears as shown in Figure 40.3.
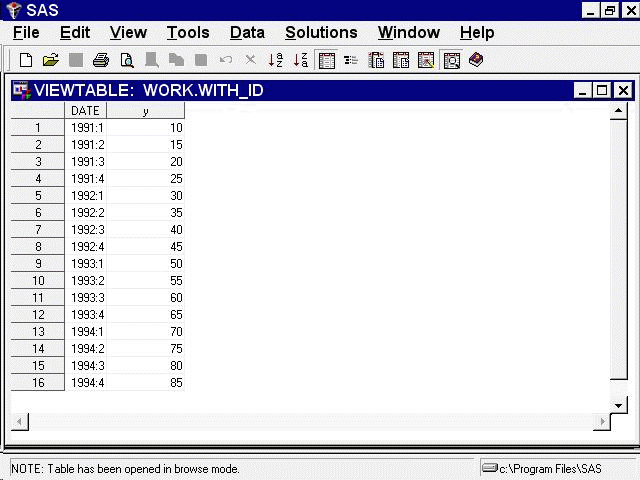
Select the Table button to see the new data set WITH_ID. This opens a VIEWTABLE window for the data set WITH_ID, as shown in Figure 40.4. Select File and Close to close the VIEWTABLE window.
Copyright © SAS Institute, Inc. All Rights Reserved.