Creating a Study or Submission
Overview
You create a study or
submission by providing basic object metadata such as name, description,
and content location in the metadata tree. Then, SAS Clinical Data
Integration collects metadata about the item. For example, a study
collects metadata such as protocol title, indication, and phase. After
metadata is collected, the versions of the data standards that can
be used for the study or submission are defined.
Note: Only an administrator can
set the default content for a study or submission. For more information,
see Adding Users to the Clinical Administrators Group.
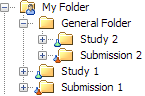
Folder Organization of Studies and Submissions
A study or submission
can be located at the root of the hierarchy in the Folders tree (Study 1 and Submission 1 in the following figure) or within
a general folder (Study 2 and Submission 2).
You can create more
complex hierarchies based on the containment rules shown in the following
table:

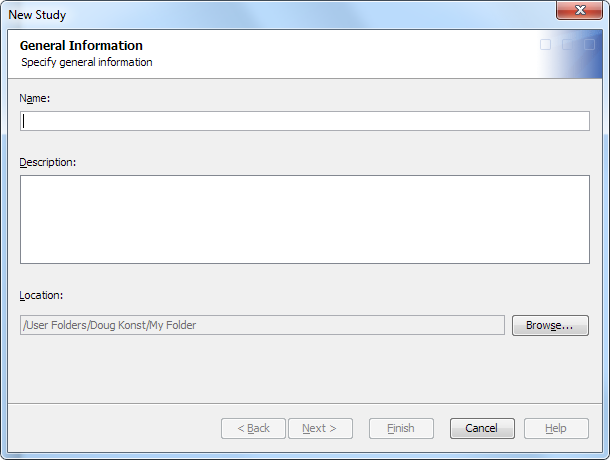
Create a Study or Submission
To create a study or
submission, perform the following steps:
-
The name must meet the requirements; see Name Requirements. The description must meet the requirements; see Description Requirements.
-
For information about the location of a study or submission, see Folder Organization of Studies and Submissions.