Reading Named Ranges in an Excel Spreadsheet
Overview
You can use an ODBC DSN connection to read named ranges in an Excel spreadsheet. You can then use that Excel data like any other data source in . For example, you could use the Excel data in a data job, as shown in the next display.
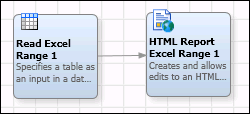
The first node is a Data Source node that specifies the DSN for an Excel spreadsheet; the named range that you want to read; and the output columns. The second node is an HTML Report output node that will display the specified output in a web page.
In order to create a job similar to the one shown above, you must create an ODBC DSN for the Excel spreadsheet. See Adding ODBC Connections for Excel.
 Note: You cannot use a DSN to write output to Excel format. You can, however, use a Text File Output node in a data job to write output in CSV format. You can then import the CSV file into Excel.
Read a Named Range from an Excel Spreadsheet
If you have created an ODBC DSN for the Excel spreadsheet, then you can perform the following steps to create a job that reads a named range in the spreadsheet. It is assumed that you are familiar with creating and running data jobs. For more information about data jobs, see Maintaining Data Jobs.
- Create an empty data job.
- In the Nodes tree on the left, expand the Data Inputs folder and drag a Data Source node into the job editor on the right.
- Expand the Outputs folder and drag an HTML Report node after the Data Source node in the job editor.
- Connect the Data Source node to the HTML Output node.
- Right-click the Data Source node and select Properties.
- Specify a descriptive name for the node.
- Use the ellipsis button in the Input table field to select the DSN for the Excel spreadsheet.
- Expand the DSN and select the desired named range.
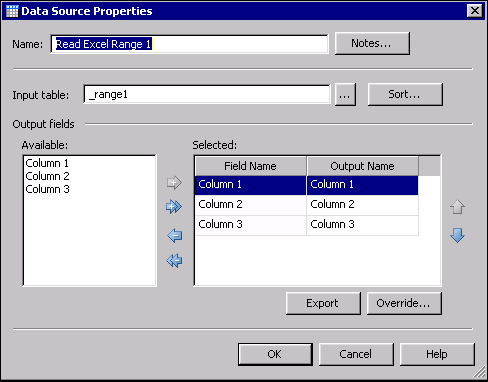
- Specify the desired output columns. At this point the properties window for the Data Source node might look similar to the following display.
- Right-click the HTML Reports node in the job editor and select Properties.
- Specify a name for the report that will list the contents of the named range.
- Specify a title for the report.
- Specify a path to an HTML file for the report.
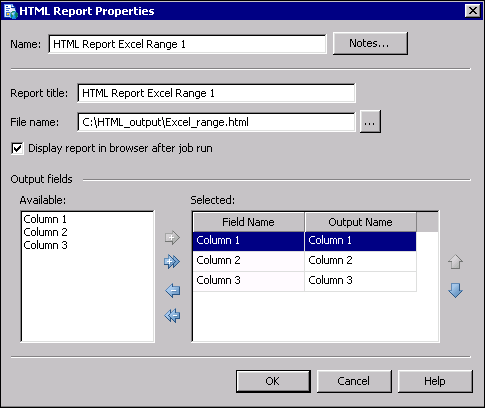
- Select output columns for the report. At this point, the properties dialog for the HTML Reports node might look similar to the next display.
- Click OK to save your changes.
- Run the job.
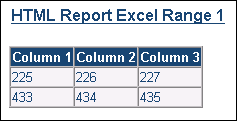
- A report will display the output that you specified. The next display shows an example report.