Prepare

This chapter demonstrates three examples of the availability cycle. Each example consists of a task sequence that includes a load action (import a local file, import from a server, or autoload), a manual unload action, and a reload action. Here are some important details:
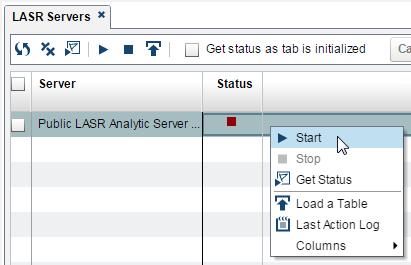
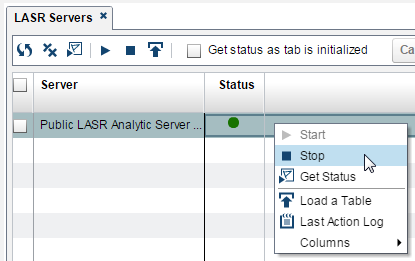
  • For the purpose of demonstration, each task sequence begins with the server stopped. In practice, you do not stop the server before your load data.
  • For maximum availability and ease of use, the task sequences use default, general-purpose output locations.
To get started, complete the following steps:
  1. Open a web browser to your equivalent of the following URL:
    http://your.computer.name/SASVisualAnalyticsAdministrator
    For your exact URL, open the file Instructions.html, and search for SAS Visual Analytics Administrator. This file is in your equivalent of the directory C:\SAS\Config\Lev1\Documents\.
  2. In the Sign In to SAS window, enter the user ID and password for your Windows account. Click SIGN IN.
    Tip
    Do not sign in using an internal account, such as sasadm@saspw. Internal accounts cannot perform tasks that interact with Windows resources.
  3. Set up the suggested display.
    1. If the LASR Servers tab is not already open, select LASRthen selectManage Servers from the main menu.
    2. If the LASR Tables tab is not already displayed, select LASRthen selectManage Tables from the main menu.
    3. From the main menu, select Viewthen selectTab Layoutthen selectStacked.
      view stacked tabs
    4. Filter the LASR Tables tab. Select Library from the drop-down list, and then enter Public in the search field.
    5. If you have a lot of servers, filter the LASR Servers tab. Select Server from the drop-down list, and then enter Public in the search field.
    6. (Optional) Size, hide, and reorder columns on the LASR Servers and LASR Tables tabs. To hide or show columns, right-click on any column heading.
      Note: Support for hiding columns and remembering your changes begins in the 7.2 release.
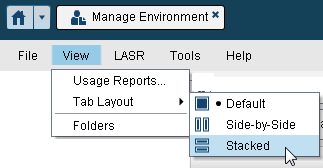
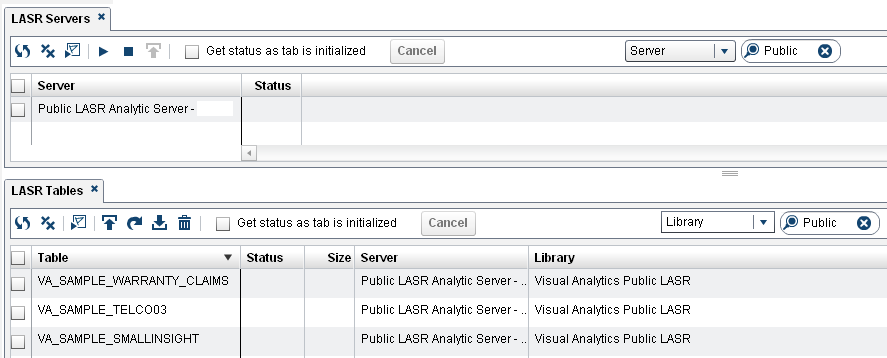
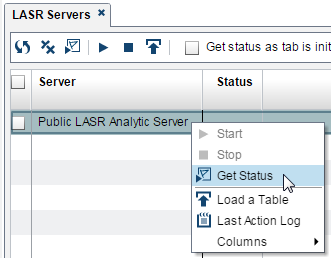
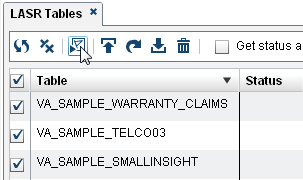
    Here is an example of the suggested display:
    suggested display
  4. On the LASR Servers tab, right-click Public LASR Analytic Server, and select Get Status.
    get status for a server
  5. On the LASR Tables tab, select the check box at the top of the first column. Make sure that all listed tables have a checked check box, and then click the get status icon.
    tables status
  6. Verify that you can start and stop the Public LASR Analytic Server.
    1. If the Public LASR Analytic Server is not running, right-click on it, and select Start.
      start server
    2. Right-click Public LASR Analytic Server, and select Stop.
      CAUTION:
      Stopping the server unloads all tables.
      Stop the server only at a time when other users will not be disrupted.
      stop server