Designing and Saving a Report
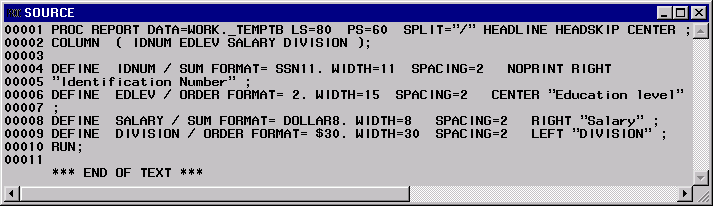
When you run your query, you can use the REPORT procedure
to modify your output.
Sample Tables for Designing and Saving a Report
If there is an active
query in the SQL Query Window, then select Tools Reset to
clear the query. Select OK in the dialog
box that appears.
Reset to
clear the query. Select OK in the dialog
box that appears.
In the SQL
QUERY TABLES window, select SAMPLE.EMPINFO and SAMPLE.SALARY from the Available Tables
list and add them to the Selected Tables list.
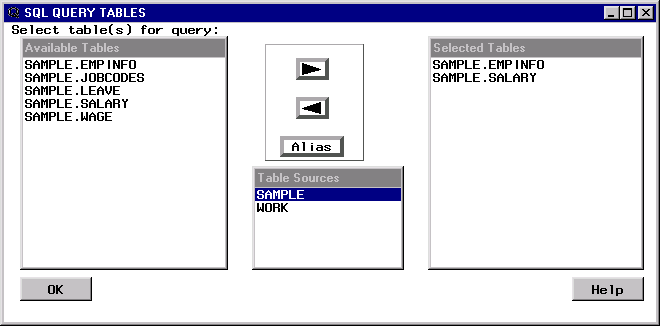
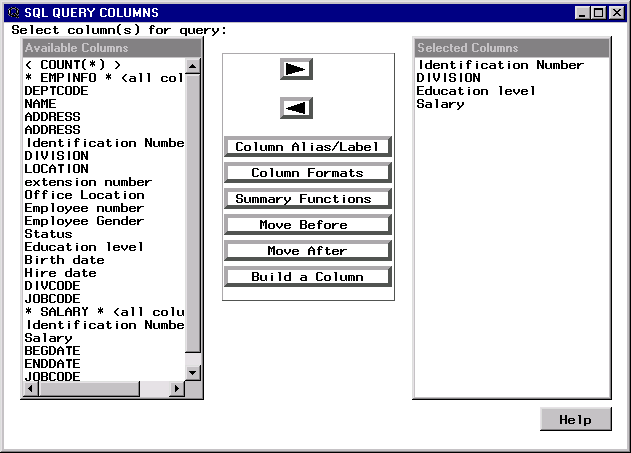
Select OK to display the SQL QUERY COLUMNS window.
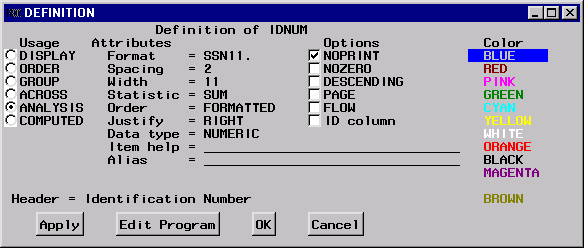
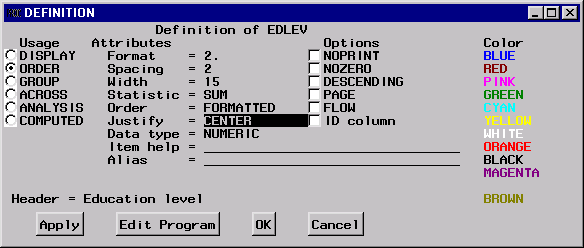
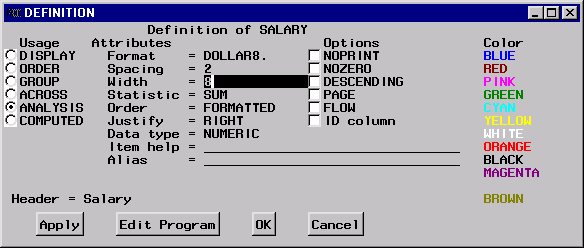
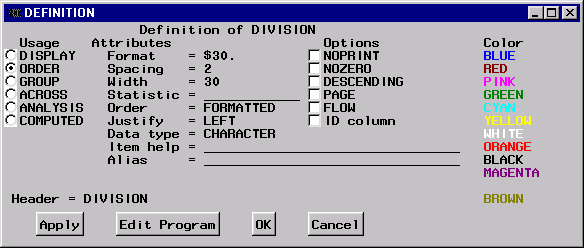
Add Identification Number, DIVISION, Education level, and Salary to the Selected Columns list.
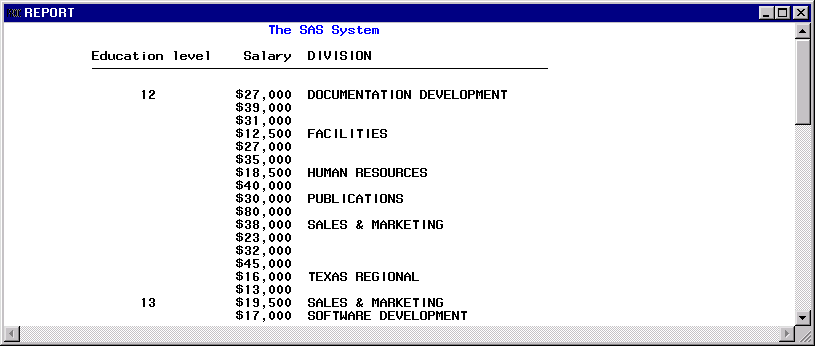
Modifying the Format of Your Report

Move Selected Item
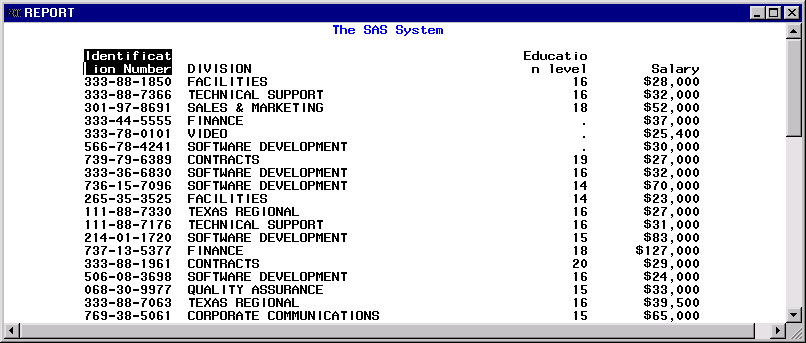
In the REPORT window, select
the Education level heading. Select EditMoveLeft
of the Next Selected Item.
Select the DIVISION heading in the REPORT window. Education Level appears as the first column in the window.
Saving Your Report
You can
save your customized report to a catalog entry for use with later
queries by selecting FileSave Report to display the SAVE DEFINITION window. Type
SAMPLE in the Libname field. Type SQL in the Catalog field.
Type SALARY in the Report name field. Type Salaries and Divisions in
the Description field.
