Scoring Models
In this exercise, you create a scoring task that is
used to run the score code of a model and produce scoring results.
Then you schedule the scoring task to run on a particular date and
time. You can also schedule how often you want the scoring task to
run. You use the results to determine the scoring accuracy and to
analyze the model performance. The scoring task uses data from a scoring
task input table, and then generates the results in a scoring task
output table.
Create a Scoring Task
-
Expand the
2013 version
of the
Loan project, right-click the
Scoring
Tasks folder and select
New Scoring Task.
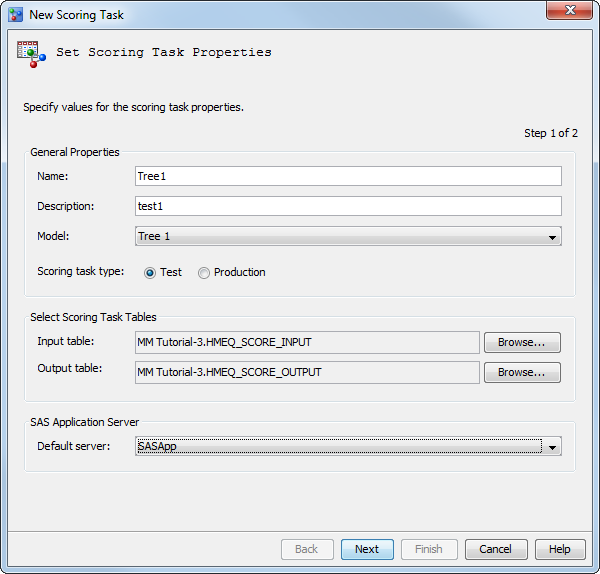
The
New Scoring Task wizard appears.
-
Specify the following
options:
Name
enter Tree1 for
the scoring task name.
Model
select Tree
1. This model controls the available values for the
input and output tables.
Scoring task type
select Test.
Tip
A best practice is to start
all scoring tasks with
Test selected. When
a scoring task is run as type
Test, the
results are not overwritten. You can change the type to
Production after
you are satisfied with the scoring task results and when the model
is ready for production.
-
To select the scoring
input table, click
Browse. In the
Select
Table window, select
HMEQ_SCORE_INPUT from the
SAS Metadata Repository tab.
-
To select the scoring
output table, click
Browse. In the
Select
Table window, select
HMEQ_SCORE_OUTPUT from the
SAS Metadata Repository tab.
-
Click
Next.
Verify that the output variables are mapped to the model variables
and click
Finish.
-
Select the
Tree1 scoring
task to examine its properties. The value for
Date Modified is
today's date. To change the scoring task name or model input
and output tables, you must create a new scoring task.
Schedule a Scoring Task
-
Validate the input variables.
Expand the
Scoring Tasks folder, select the
Tree1 scoring
task and click the

toolbar button. Examine the results of
Quick
Mapping Check, and then click
OK.
-
Right-click the
Tree1 scoring
task and select
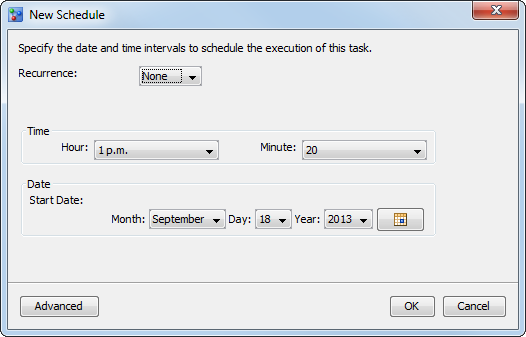
New Schedule. The
New
Schedule window appears.
-
To set how often to
run the scoring task, select a time interval from the
Recurrence list
box. The default is None.
-
To set the time to run
the job, select an hour from the
Hour list
box and select a minute from the
Minute list
box. Note the time that you used for this tutorial. It is recommended
to schedule it 5 minutes out, so that you have time to complete the
next couple of steps.
-
To set the start date,
click the calendar

and select a start date. The default is today’s
date. Instead of using the calendar, you can select a month from the
Month list
box, select a day from the
Day list box,
and select a year from the
Year list box.
-
(Optional) Click
Advanced.
Select the server that schedules the job from the
Scheduling
server list box. Select the batch server that runs the
job from the
Batch server list box. Click
Browse to
select a location for the scoring job definition in the SAS Metadata
Repository. Click
OK.
-
Click
OK.
A dialog box message confirms that the schedule was created. Click
Close.
View and Graph Scoring Results
To view the scoring
task results:
-
Expand the
Scoring
Tasks folder and select the
Tree1 scoring
task.
-
Select the
Job
History tab to verify that the scheduled job for the
Tree1 scoring
task has completed.
Note: If the scheduled time has
passed, and the scheduled job is not shown as completed on the
Job
History tab, a SAS Model Manager administrator can refresh
the content. To refresh, right-click the
Tree1 scoring
task, and select
Update Job History.
Here is an example
of two jobs that were executed for the same scoring task. The first
completed successfully with warnings, and the second job completed
successfully.
If the job completed
with warnings or errors, view the taskCode.log file in the
Tree1 scoring
task folder before executing or scheduling the scoring task again.
Note: To delete a schedule for
a scoring task, right-click the scoring task and select
Delete
Schedule. To modify a schedule for a scoring task, you
must delete the existing schedule and create a new schedule.
-
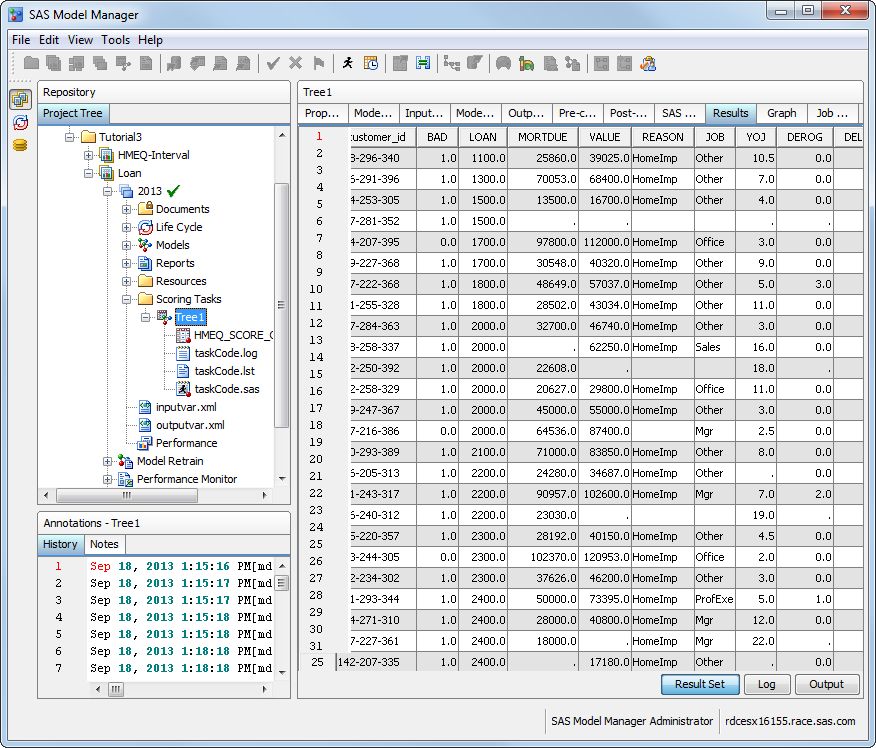
To view the results,
click the
Results tab and click
Result
Set.
If the scoring task
was not successful, then review the
Log tab
for error messages.
-
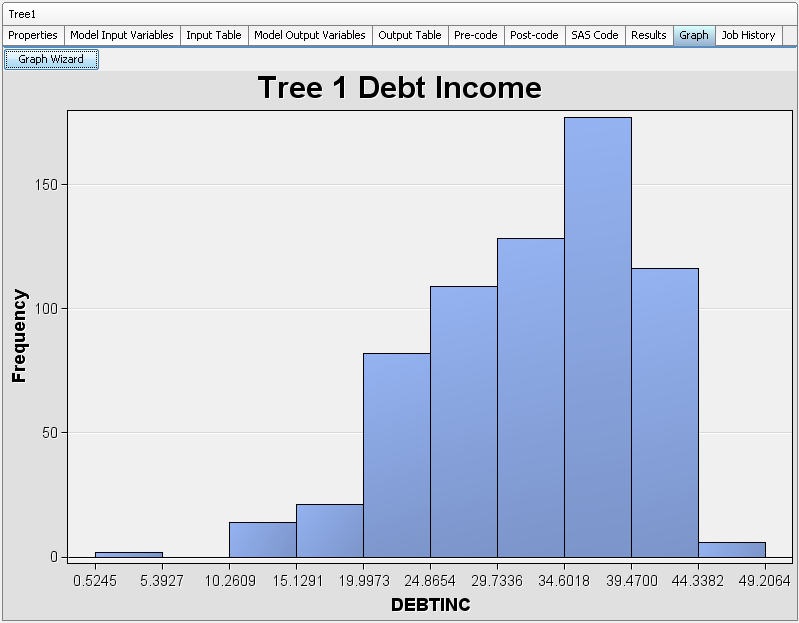
Click the
Graph tab
to graph the results.
-
Click
Graph
Wizard, select
Histogram, and
then click
Next.
-
Select
X from
the
Role column for the
DEBTINC variable
and then click
Next.
-
Click the
Column
name box and select
DEBTINC.
-
Click the
Operator box
and select
Less than.
-
In the
Value field,
enter
50. Click
Next.
-
In the
Title field
of the
Chart Titles page, type
Tree
                                             1 Debt Income
. Click
Next and
then click
Finish.
Here is the histogram
on the
Results tab:
-
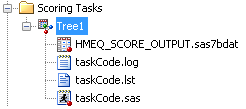
Expand the
Tree1 scoring
task to verify that four content files were saved and that the value
for
Date Modified is today's date.
Here is the
Scoring
Tasks folder and the files for the
Tree1 scoring
task:
Update the Life Cycle (Optional)
To update the Development
milestone:
-
In the
Loan project,
expand
2013 Life CycleDevelopment
.
-
Select the
Score
models task. Click the
Status box
and select
Completed.
-
Select
Score
models. The
Completed Date and
Completed
By fields have been updated with today's date and
your user ID.
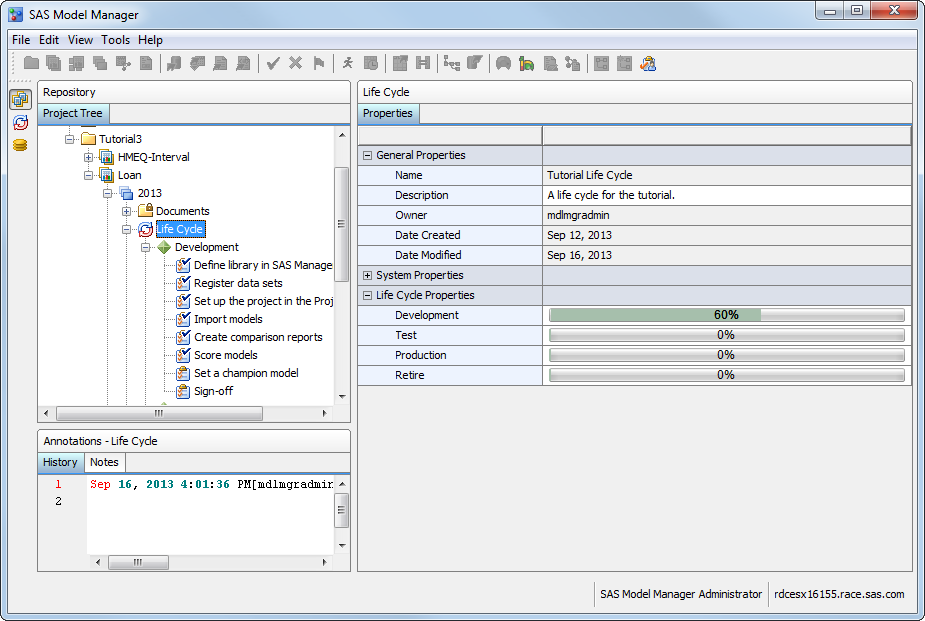
-
Click the
Life
Cycle node to examine its properties. The value for
Modification
Date is today's date. The
Development property
displays a bar chart that shows the percentage of completed tasks
for this milestone.
-
(Optional) Repeat steps
1 through 4 for the
HMEQ-Interval project.
Update the Workflow Process (Optional)
To complete the activities
in the associated workflow:
-
Select
ToolsMy Workflow Inbox or click

from the SAS Model Manager main window to view the
workflow activities in your workflow inbox. Workflow Console is launched
in a web browser, and displays the Activities category view.
Note: The list displays only the
activities for which you are the actual owner or are assigned as a
potential owner, and that have the state of
Started.
-
From the
Activities category
view, select an activity name, and click

.
Note: You can select an activity
name and click

to release an activity that you had previously claimed.
-
(Optional) Enter a property
value or change an existing property value in the
Properties pane.
-
(Optional) Double-click
an activity to view the activity details. From the activity details
view, you can modify activity properties or perform the model management
tasks that are associated with the activity.
Note: If you did not claim the
activity from the Activities category view, you can select the
Claim check
box in the activity status bar.
-
(Optional) Add a comment
to the activity using the
Comments pane.
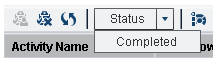
-
Select a status value
to complete the activity. The workflow continues to the next activity.
-
Repeat steps 2 through
6 for the activities that you completed during this tutorial.
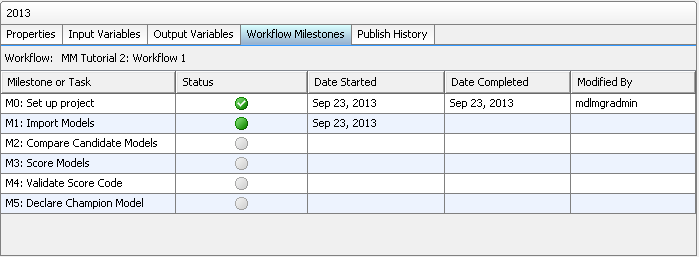
Note: A workflow can be configured
to display the activities that are associated with a milestone or
task on the
Workflow Milestones tab and in
the Workflow Milestones report for a version in the SAS Model Manager
client application. From the
Workflow Milestones tab,
you can view the status of milestones or tasks that are associated
with activities in the workflow.
Copyright © SAS Institute Inc. All rights reserved.