In this exercise, you
publish a scoring function for a project's champion model to a database.
To publish a scoring
function, follow these steps:
-
Verify that you have
set the default version for the project and have set the champion
model for the default version in Tutorial 3.
-
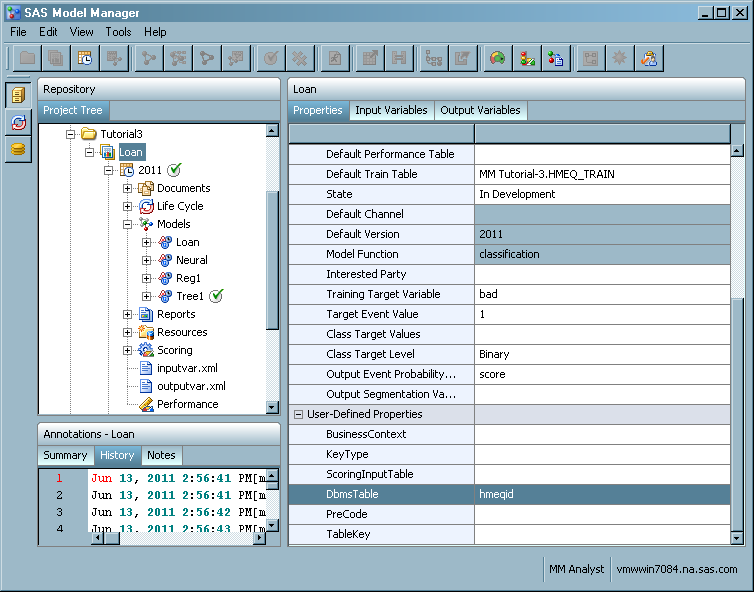
(Optional) Select the
Loan project
folder and enter a value for the
DbmsTable user-defined
property. This value is the scoring input table that the DBA might
have created in the database to be used with a scoring application.
-
Right-click the
Loan project
in the Project Tree and select
Publish Scoring Function.
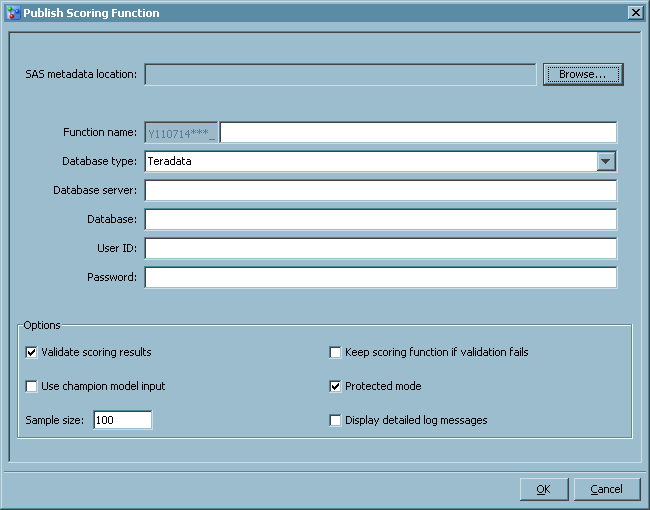
The
Publish Scoring Function window appears.
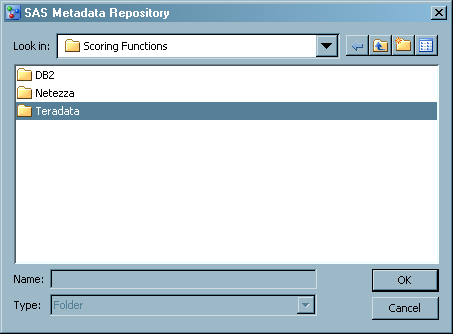
-
Select a location in
which to publish the model. Click
Browse,
select a folder name, and then click
OK.
-
Enter a name for the
scoring function, using the following naming conventions:
-
The user-defined value must be
unique across all projects.
-
The user-defined value is case
insensitive. The maximum length for the user-defined value is determined
by which database type is selected, and no spaces are allowed. The
maximum length of the user-defined value is 19 alphanumeric characters
for Teradata, 117 alphanumeric characters for Netezza and DB2, and
52 alphanumeric characters for Greenplum.
-
The only special character that
can be included in the function name is an underscore.
-
Select a database type
from the drop-down list. The type of database that you choose determines
which fields are displayed.
-
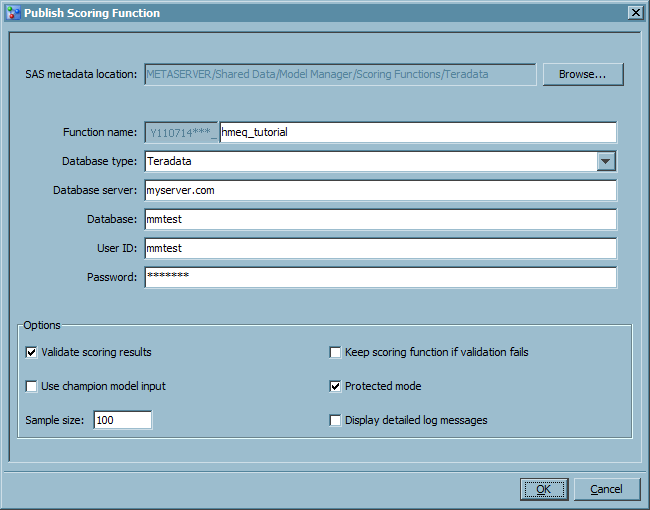
For the following fields,
enter the values for the database that your DBA created for this tutorial:
Note: If you select a database
type other than Teradata, additional fields are required. For more
information, see the
SAS Model Manager: User's Guide.
-
In the
Options section,
select one of the following check boxes for the desired validation
options.
-
-
Keep scoring function
if validation fails
-
-
-
Display detailed log
messages
Note: By default, the
Validate
scoring results and
Protected mode options
are selected by default. The
Keep scoring function if
validation fails option is available for selection only
when
Validate scoring results is selected.
-
Enter a numeric value
for
Sample Size. The default sample size
is 100 if the value is null or zero. The maximum number of digits
that are allowed is 8.
-
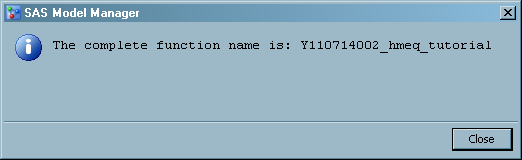
Click
OK.
A message is displayed that contains the scoring function name.
Note: The user-defined value of
the
Function Name is validated against the
target database. If the user-defined value is not unique across projects,
an error message is displayed.
-
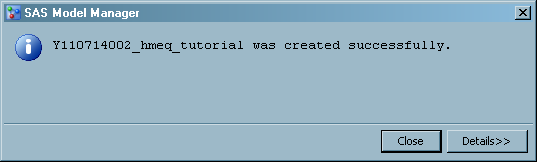
Click
OK.
A message indicating that the scoring function has been created successfully
or unsuccessfully is displayed.
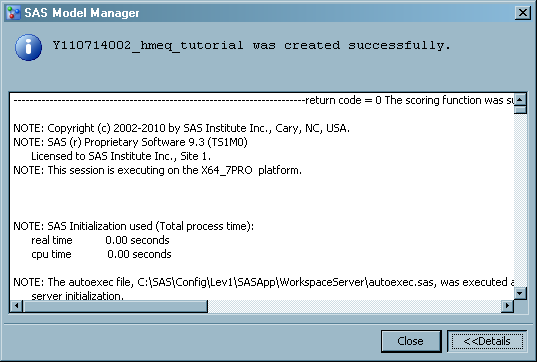
-
Click
Details to
display information about the publish scoring function actions or
error messages.
-
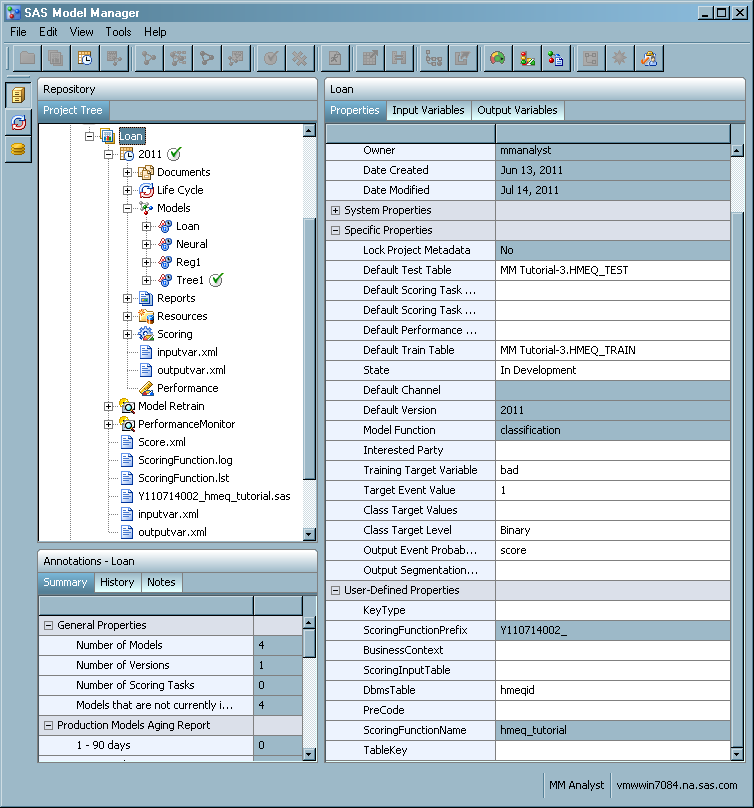
Click
OK to
complete the publishing process. The SAS score code for the scoring
function (for example,
Y110714002_hmeq_tutorial.sas)
is added to the project file list and the
ScoringFunctionName and
ScoringFunctionPrefix user-defined
project properties are populated.
-
The actions that are
performed during the publishing process are displayed in the history.
To view the history of the project, select the project name and then
click the
History tab in the
Annotations
- Loan pane.
Note: After you complete the publishing
process, you can view a log of the actions that were performed during
the scoring function publishing process in the
ScoringFunction.log file.
The file is located in the project folder. For more information about
the contents of the scoring function log, see the
SAS Model Manager: User's Guide.