Working with Folders
About Folders
Folders can contain
zero or more galleries or albums as well as zero or more subfolders
that can also contain galleries or albums. This structure enables
you to store, manage, and locate your reports easily.
-
For more information about galleries, see Working with Galleries.
-
For more information about albums, see Working with Albums.
To view the contents
of a folder, double-click that item in the table or use the arrow
( ) to expand or collapse the contents of the folder.
You can also select the item and click the Open box
on the workspace bar. The following list appears:
) to expand or collapse the contents of the folder.
You can also select the item and click the Open box
on the workspace bar. The following list appears: 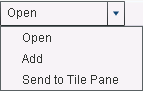
From this list, select Open.
Create a Folder
The
My
                     Galleries and Albums
folder contains all of the folders
and galleries that you create. When you create a folder, it is stored
within the My Galleries and Albums folder.
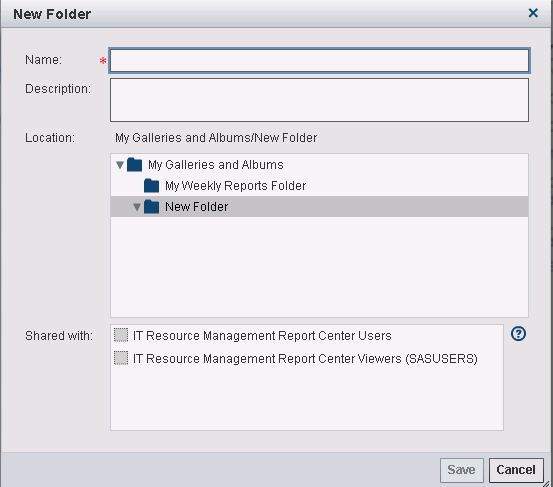
To create a new folder,
perform the following steps:
-
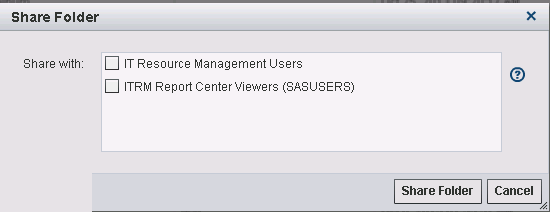
In the Share with box, check the groups that can access this new folder. The Share With section lists all groups that are members of the IT Resource Management: Report Center User role and the members of the SASUSERS group.For example, you can create a group called “My ITRM Users”. If you assign the IT Resource Management: Report Center User role to it, this group also appears here.Note: Only top-level folders can be shared with other users. Galleries, albums, and subfolders are shared based on the folders that they are stored in.
View and Navigate Folders
Select a folder in the
center pane and double-click it or select the Open box
on the workspace bar. (Alternatively, you can click the down arrow
next to the folder to display its contents.)
The center pane displays
the following information about the subfolders, galleries, and albums
that are contained in the folder that you selected:
-
Name displays the name of the item.
-
Description displays the descriptive text that is associated with this item.
-
Last Modified Date displays the date on which the item was last changed.
-
Type displays whether the object is a folder, a gallery, or an album. The icon to the left of each row also identifies the object.
-
Owner displays the name of the user who created this item.
-
Creation Date displays the date on which the item was created.
The column headings
enable you to sort the objects by column. When you click a column
heading in the grid, an up arrow (ascending) or down arrow (descending)
icon appears. These arrows indicate whether the information in the
columns is sorted by ascending or descending order. You can click
the arrow in a column heading to change the sort order for that column.
Note: If an object does not have
a value in one of the possible sort fields, then that object appears
first in a list that is sorted in ascending order.
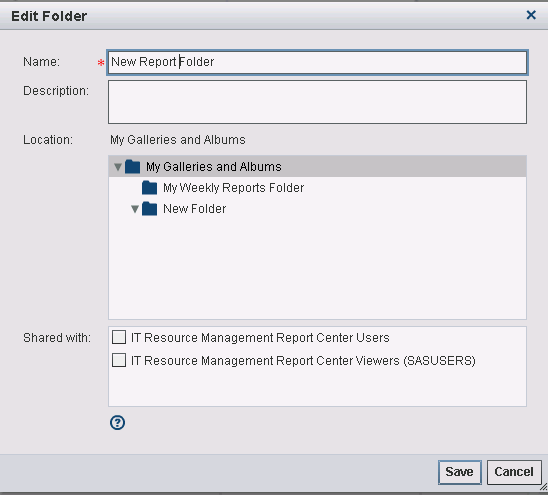
Edit a Folder
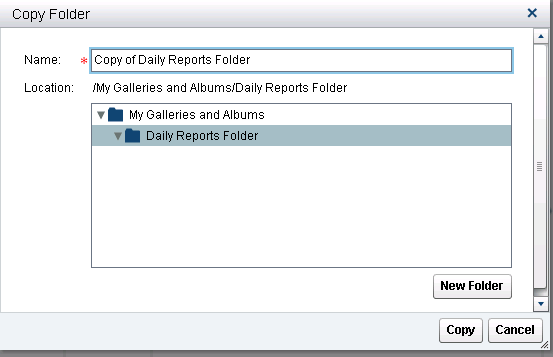
Copy a Folder
Folders can be copied
from all available ITRM Report Center locations to your
 My
                     Galleries and Albums
folder or to any other folder
under My Galleries and Albums.
To copy a folder, perform
the following steps:
-
You can also use the New Folder button to create a new folder for your copied folder. This action launches the New Folder dialog box that lets you create and define a new folder. When you are finished, you return to the Copy Folder dialog box.Note: Do not copy a folder into one of its subfolders. If you attempt to do so, an error message appears.
Note: The contents of gallery folders
(that is, any other folders, galleries, and albums) are included in
the copying operation when folders are copied. The Shared
with property is not copied.
Delete a Folder
You can delete a folder
to remove it and the galleries or albums that it contains from ITRM
Report Center. However, this action does not delete the corresponding
reports from the SAS Content Server.
Note: Members of the SASUSERS group
and groups with the IT Resource Management: Report Center User role
can delete only the folders that they created. Members of the IT Resource
Management Report Center Administrators group can delete any folder.
To delete a folder,
perform the following steps:
Share a Folder
Members of the SASUSERS
group and groups with the IT Resource Management: Report Center User
role can share only the folders that they created. Members of the
IT Resource Management: Administrators group can share any folder.
To share a folder with
another user, perform the following steps:
Note: Only top-level folders can
be shared. Galleries, albums, and subfolders are shared based on the
folders that they are stored in.
Copyright © SAS Institute Inc. All rights reserved.