Deploying SAS IT Resource Management Adapter for SAP Jobs and Tables Metadata

After the installation of SAS IT Resource Management Adapter for SAP, deploying jobs and tables metadata for the adapter is a manual process.
In a Windows environment, when you install the adapter, the files in the following screen are available in the path C:\Program Files\SASHome\SASITResourceManagementAdapterforSAPData\3.3\CustomSASCode.
Custom SAS Code
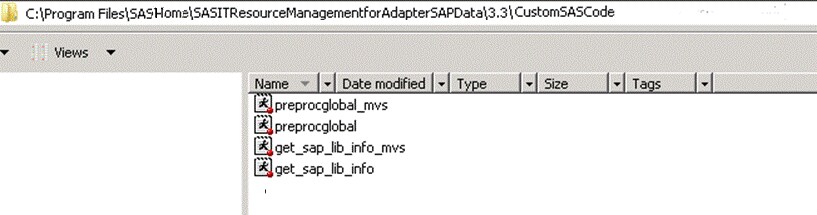
While working in a Windows or UNIX environment, delete the following files; they are specific to MVS:
  • preprocglobal_mvs.sas
  • get_sap_lib_info_mvs.sas
In a z/OS environment, delete the following files; they are specific to Windows or UNIX environment:
  • preprocglobal.sas
  • get_sap_lib_info.sas
After you delete the preceding files in a z/OS environment, you need to rename the remaining files by deleting _mvs.
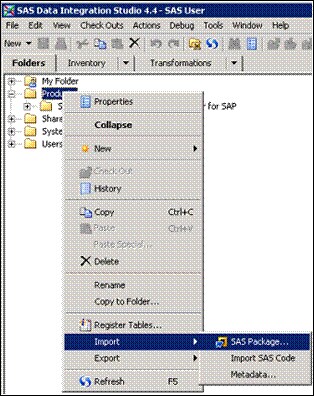
To deploy metadata objects (in this case, jobs and tables) for the SAS IT Resource Management Adapter for SAP, use the standard metadata import and export features of the SAS Data Integration Studio.
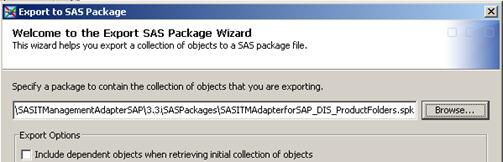
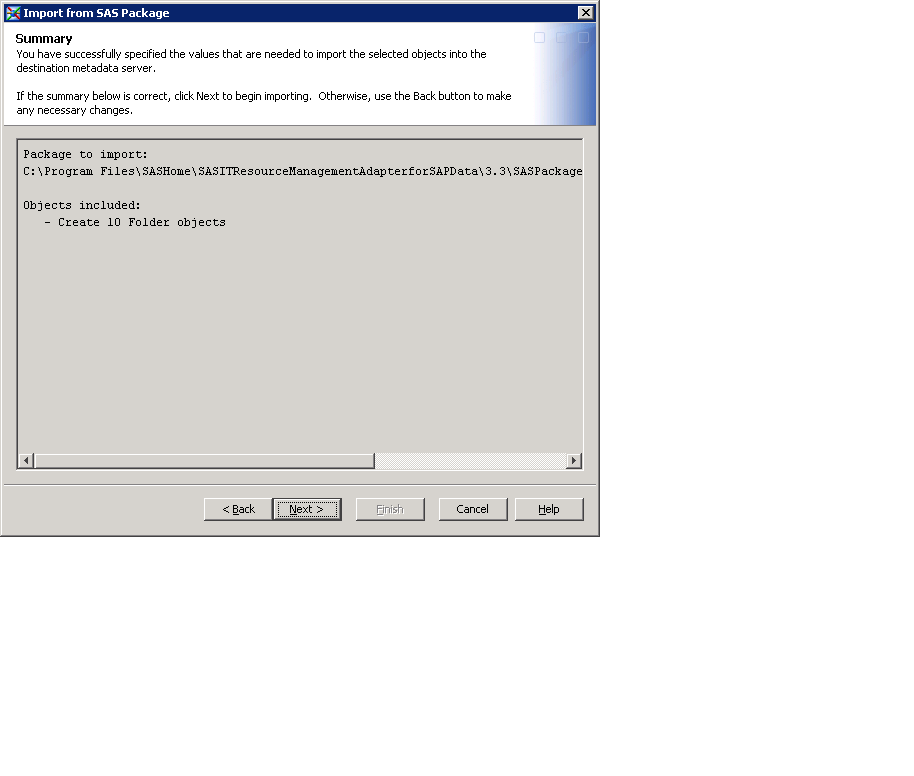
The components for the SAS IT Resource Management Adapter for SAP are stored as package files. A package file is available in the Install location. The standard Install location in a Windows environment for storing the package file is C:\Program Files\SASHome\SASITResourceManagementforAdapterSAPData\3.3\SASPackages.
Note: The above install location is platform-dependent, and it can be changed as needed. For example, the path would be in z/OS<SASHOME>/SASITResourceManagementAdapterforSAPData/3.3/SASPackages.
As the SAS packages are installed in the z/OS, you need to transport them manually via File Transfer Protocol (FTP) to the PC where the client is running. Ensure that the SASPackages are transported in binary mode. This enables the import function of the SAS Data Integration Studio to read the SAS package files.
To deploy tables and jobs, complete the following steps:
  1. Open SAS Data Integration Studio with Connection Profile for the user.
  2. In the metadata profile, select the project that you defined when you added the SAP server and SAP library.
    The SAS IT Resource Management Adapter for SAP is imported to the project that you select in this step.
  3. Right-click Products in the SAS Folders Tree, and then click Import.
    SAS Data Integration Studio: Products
    SAS Data Integration Studio: Import SAS Package
    In the Import from SAS Package dialog box, click Browse, and then open the SASPackages folder.
    You can find the SASPackages folder within the Install folder that you created at the time of installation.
  4. Select the package SASITMAdapterforSAP_DIS_ProductFolders.spk.
  5. Under Import Options, select All Objects, and then click Next.
    Retain the default options and continue.
    Export SAS Package Wizard
    Export SAS Package Wizard
  6. The objects to be imported appear.
    Select Objects to Import
    Select Objects to Import
  7. Click Next to continue.
    The following screen appears.
    Summary, Import from SAS Package Window
    Summary, Import from SAS Package Window
  8. Review the summary, and then click Next.
    A progress indicator appears.
    Important Objects Window
    Important Objects Window
  9. The Import from SAS Package dialog box displays a completion message. If the import process fails, click View Log, check for messages, and take appropriate action.
    Import Complete Message
    Import Complete Message
    Note: Use the following sequence while performing the preceding steps to deploy application folders, data sources, and jobs.
    • SASITMAdapterforSAP_DIS_ProductFolders.spk
    • SASITMAdapterforSAP_DIS_AppFolders.spk
    • SASITMAdapterforSAP_DIS_Tables.spk
    • SASITMAdapterforSAP_DIS_Jobs.spk
    Note: To import the second package SASITMAdapterforSAP_DIS_AppFolders.spk, right-click System in the SAS Folders Tree, and then click Import. For other packages, right-click Products in the SAS Folders tree and then click Import.
    While importing to the package file SASITMAdapterforSAP_DIS_Tables.spk, perform the following steps:
  10. In the Import from SAS Package dialog box, select the package SASITMAdapterforSAP_DIS_Tables.spk.
  11. Under Import Options, select All Objects, and then click Next.
    Retain the default options and continue.
    SAS Application Servers Window
    SAS Application Servers Window
  12. Verify that the SAS Application Servers is set correctly as SASITRM. Select Next.
    Other Servers Window
    Other Servers Window
  13. Select a SAP server.
    Directory Paths, Import from SAS Package Window
    Directory Paths, Import from SAS Package Window
  14. Verify that all directories and paths appear correctly.
  15. Click Import to import the selected objects.
  16. Click View Log to review the SAS log.
    Note: The SAS log might contain the warning
    the person ETL Developer 1 was not found
    . Ignore the warning.
    A new folder named SAS IT Management Adapter for SAP is added to the Products folder.
    Products Folder
    Products Folder
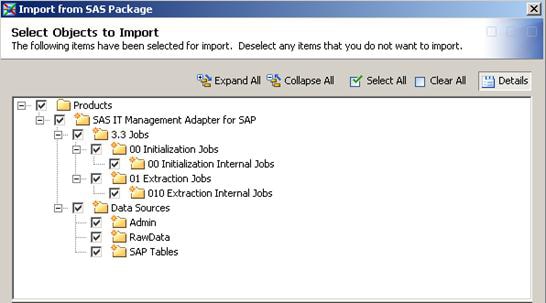
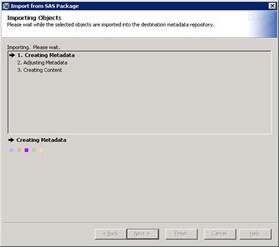
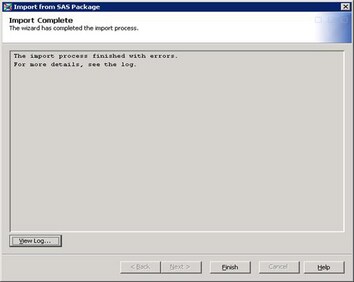
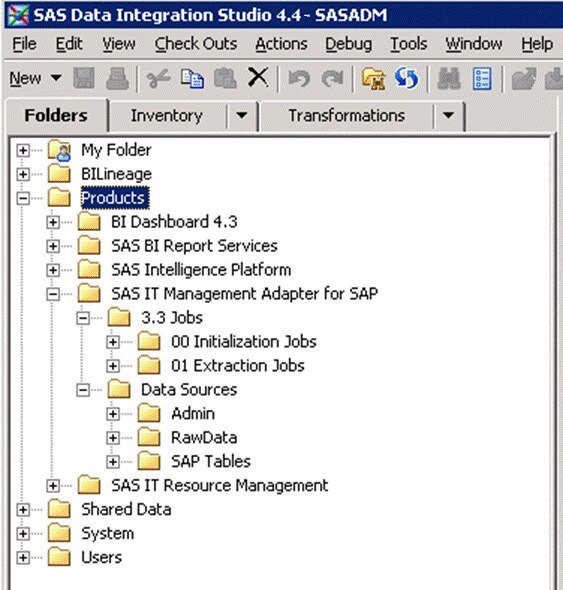
Once the import process is complete, the environment for data extraction and transformation from SAP is set.
You can customize your environment further in the SAS Data Integration Studio environment, as needed.
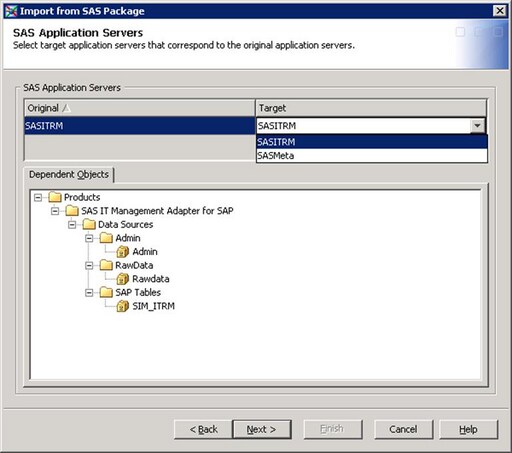
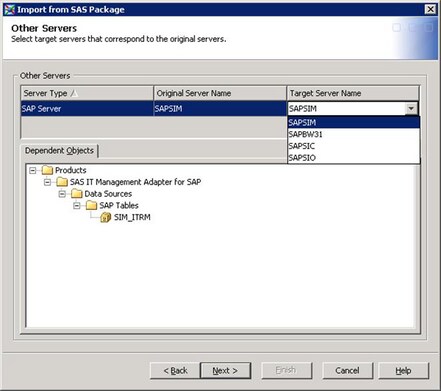
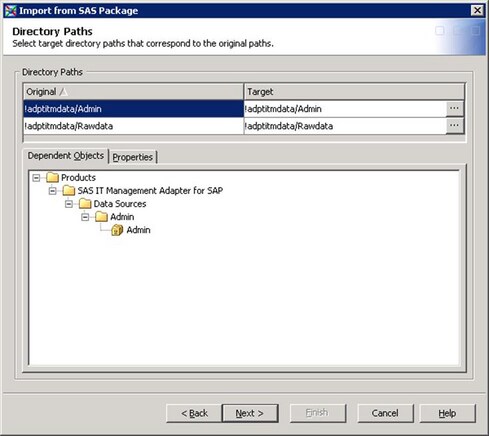
Note: In a z/OS environment, while importing tables package file SASITMAdapterforSAP_DIS_Tables.spk, delete the default target directory paths. Then, manually select the paths of the Admin and Rawdata folders. While importing jobs package file SASITMAdapterforSAP_DIS_Jobs.spk, manually enter the preprocglobal.sas file from the adapter installation location.