Creating Data Items
What Are Data Items?
Data items are the
building blocks that your end users use to build reports. You can
create two types of data items:
-
Measure data items are data items whose values are aggregated by default and which can be used in computations or analytical expressions. For example, if you want a data item to calculate salary totals, you would create a measure data item from a salary column in your data source. Typically, the values for measure data items are numeric.
Create Data Items from Columns
Create the Data Items
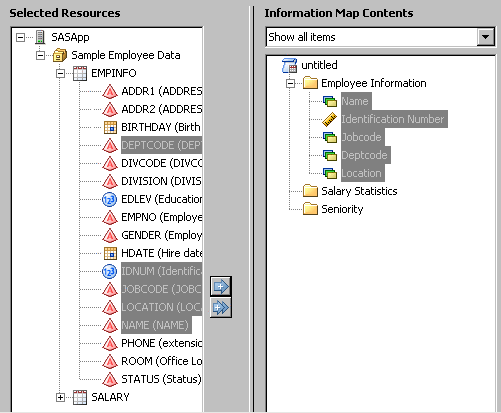
To create data items
directly from the columns:
-
-
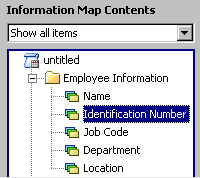
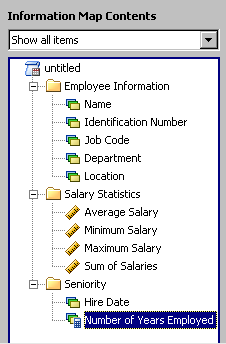
Note: The name of the data item that was created from the IDNUM column is Identification Number, which is the same as the column's label. The column label was used for the data item name because an option in the Options dialog box is set (by default) to use column labels for the data item names (when labels are available).


Rename the Data Items
Change the Classification
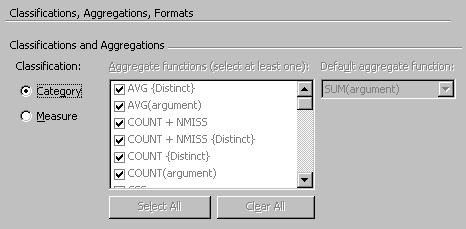
By default,
the Identification Number data item was created as a measure data
item because it was created from a numeric column. Because this data
item is used for grouping values and should not be aggregated, you
need to reclassify it as a category data item.
To change the classification
for this data item:

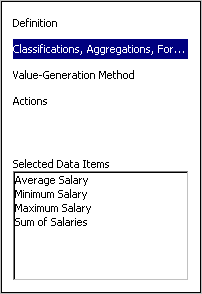
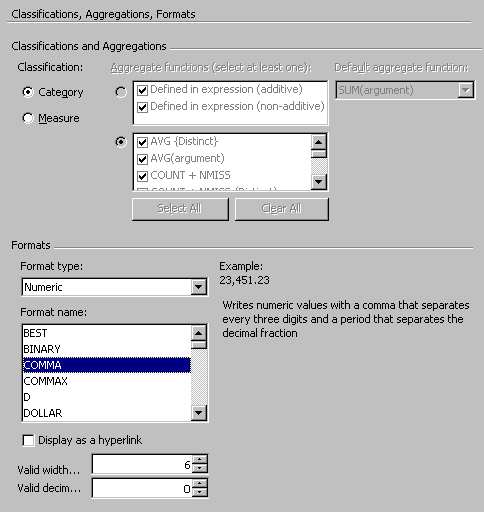
Change the Method of Aggregation
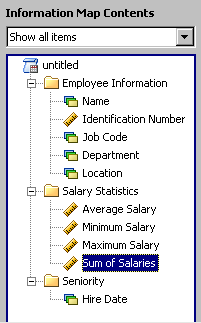
By default,
the data items in the Salary Statistics folder were created so that
end users could select from multiple methods of aggregation. You've
decided to use each of the data items to produce a unique aggregation,
so you are going to limit each data item to a single method of aggregation.
To change the method
of aggregation for these data items:

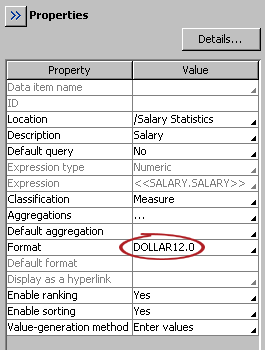
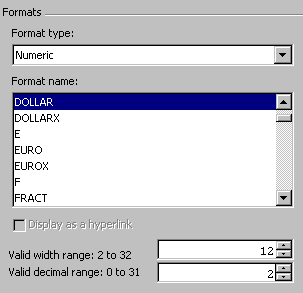
Change Formatting Options
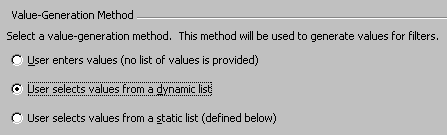
Change the Value-Generation Method
Each data
item has a value-generation method that enables you to build either
a static or dynamic list of values for a data item. You can use these
lists in filters. By default, no list is generated for a data item.
For this information map, you want to enable users to generate a dynamic
list for the Location data item.
To change the value-generation
method for this data item:
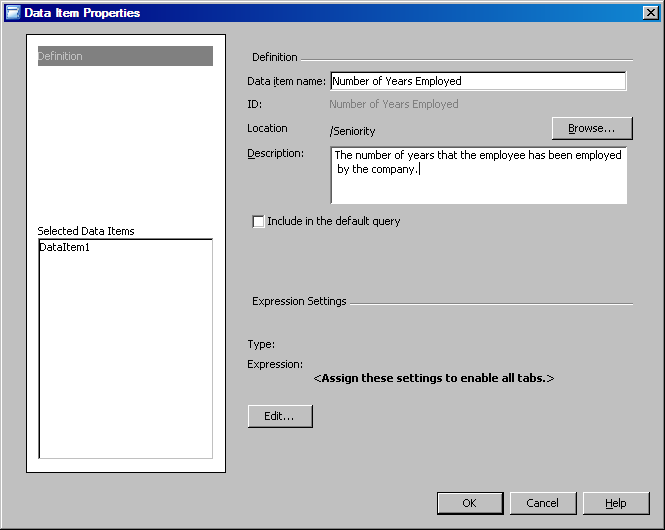
Create a Calculated Data Item
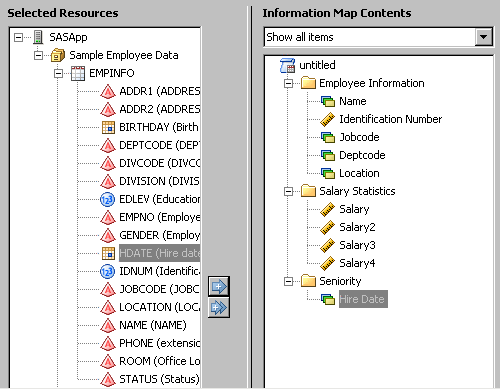
For this
scenario, you want to create a measure data item that enables your
users to calculate the number of years that an employee has been with
the company. Because none of the columns provide this information,
you need to create a data item with an expression that calculates
the value.
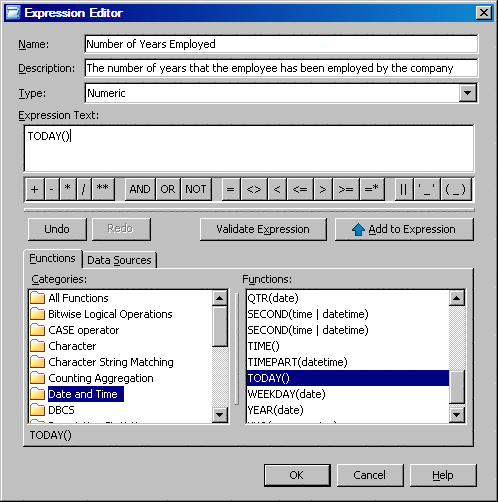
To create this data
item:
-
To determine the number of years that an employee has been employed by the company, subtract the hire date for the employee from today's date and then divide the difference by 365 (footnote1) .


Copyright © SAS Institute Inc. All rights reserved.