Creating a Simple Inset with an ENTRY Statement
If you
create the insets within a 2-D overlay-type layout, you can use each
ENTRY statement's AUTOALIGN= option or HALIGN= and VALIGN= options
to position the text within the plot area. The HALIGN= and VALIGN=
options position the text in an absolute position (such as HALIGN=LEFT
and VALIGN=TOP). The AUTOALIGN= option is used for dynamic positioning
that is based on placement of the graphical components in the plot
area.
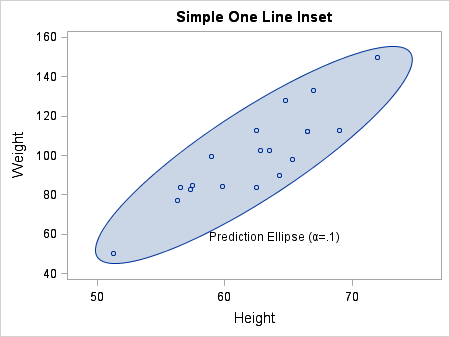
For example, to add an inset to an
overlay of a scatter plot and an ellipse, you would like for the text
to appear where it does not collide with markers or the ellipse, if
at all possible. The AUTOALIGN=AUTO setting places the text in an
area with the least congestion.