Modifying SAS Logical Grid Server Definitions
The initial configuration
of the logical grid servers is performed by the SAS Deployment Wizard.
However, a SAS grid administrator might need to modify the existing
grid metadata or add new grid metadata definitions.
A SAS administrator
performs these steps to specify or modify the required and optional
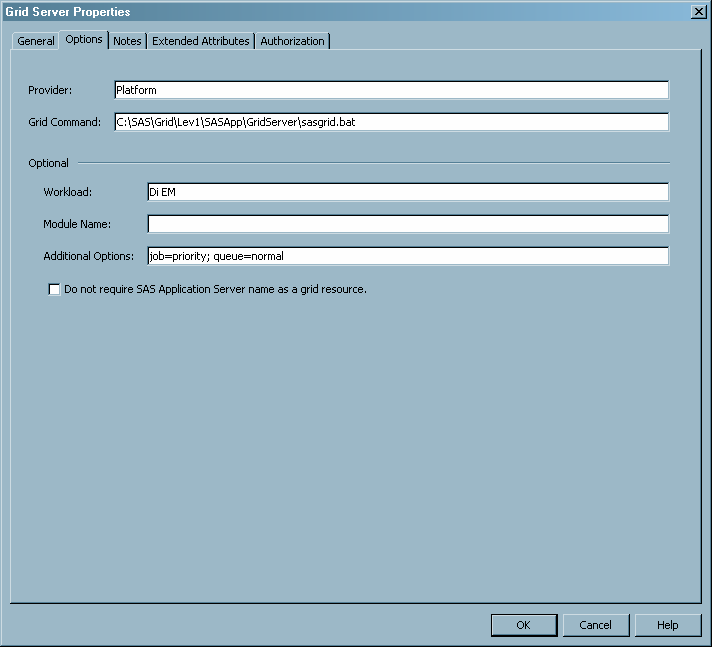
properties as metadata for the SAS Grid Server:
-
The fields on the Options tab are:the grid middleware provider. This value is Platform. This value is used to communicate with the grid control server.the script, application, or service that Platform Suite for SAS uses to start server sessions on the grid nodes. Any SAS options that are included in this command are passed to the grid jobs.a user-defined string that specifies the resources or the types of jobs that can be processed on the grid. For example, the grid administrator could create resources named di_short and di_long for short- and long-running SAS Data Integration Studio jobs. By placing those values in this field, SAS Data Integration Studio users can select one of those values from the SAS Data Integration Studio options dialog boxes.See Using SAS Data Integration Studio with a SAS Grid . After the values are selected, the value is sent with the job to the grid so that the job runs only on the machines that have the specified resource defined.Workload values can be separated by a space. For information about specifying resources, see Defining and Specifying Resources.specifies the shared library name or the class name of the support plug-in for Platform Suite for SAS. Leave blank unless directed otherwise by SAS Technical Support.the options used by the SAS command to start a session on the grid node or to control the operation of the job. Examples include the job priority, the job queue, or user group that is associated with the job. Job options are specified as name/value pairs in this format:
...
                                             option-n='value-n with spaces';
Here is an example of additional options that specify that all jobs that use this logical grid server go to the priority queue in the project “payroll”:For a complete list of job options, see Supported Job Options.if selected, specifies that the SAS Application Server name is not used by the grid to determine which grid node processes the requests. If this check box is cleared, the SAS Application Server name is included as a required resource. This option is typically not selected. Select this option if you are implementing a SAS floating license grid and no resources are defined on the individual grid nodes. For more information, see Removing the Resource Name Requirement.