Editing SAS Table Data

Problem

You want to edit SAS table data that is displayed in the View Data window.

Solution

You can use the edit mode of the View Data window to perform simple editing operations in a SAS table. The editing mode is enabled only on SAS tables that are stored in a Base SAS engine library and are assigned on the workspace server. If you are working under change management, you must check out the entity before you can edit it in the View Data window.

Tasks

Use Edit Mode in the View Data Window

Perform the following steps to edit data for a SAS table in the View Data window:
  1. Right-click the metadata object for a SAS table. Then, select Open from the pop-up menu.
  2. Enter the appropriate user ID and password, if you are prompted for them. The information in the table displays in the browse mode of the View Data window.
  3. Click Switch to edit mode on the view data toolbar. The View Data window displays in edit mode, as shown in the following display.
    View Data Window in Edit Mode
    View Data Window in Edit Mode
    The title bar of the View Data window displays the name of the object that is being viewed.
  4. Double-click inside a cell and then change the data in the cell. Click Save edit row to commit the change to the database. Rows are committed as they are added. Of course, you must have operating system access for the file in order for the change to be saved.
  5. Click Undo last action to reverse the change that you just made. (You can click Redo last action to return to the changed version of the cell.) Note that you can undo only the last operation because only a single level of undo is supported. If multiple rows have been deleted or pasted, then only the last row affected can be undone. Similarly, you can redo only your latest undo.
  6. Click a row number to select the row. Click Copy to copy the row into the buffer.
  7. Click Go to last row to move to the last row in the table.
  8. Click in the row marked by the New Row icon at the end of the View Data window. The New Row icon changes to the Editing Row icon. Click Paste to paste the copied data into the row.
    Note that you can also use Paste Special to paste more at once. You can copy single or multiple rows for pasting. When multiple rows are pasted, changes are made and the database table is immediately updated. If you paste a range of rows that go beyond that last row or if the range of the data is beyond the row and column range of the table, an error message is displayed. Use Paste Special to append new rows to the table by pasting data.
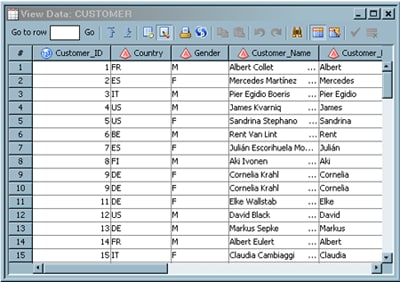
    If you paste data into an EDIT row, only the first pasted row is considered. A warning to this effect is shown if more than one row is pasted. The pasted data is not automatically committed to the database.
  9. Click Delete selected rows to delete the pasted data and remove the row from the table.

Edit Tasks

The edit mode of the View Data window contains a group of functions that enable you to customize how the data in the window is displayed. These functions are controlled by the view data toolbar, as shown in the following display.
View Data Edit Toolbar
Perform the tasks that are listed in the following table to edit the data displayed:
Edit Functions in the View Data Window
Task
Action
Navigate within the data
Perform the following steps:
  • Enter a row number in the Go to row field and click Go to specify the number of the first row that is displayed in the table.
  • Click Go to first row to navigate to the first row of data in the View Data window.
  • Click Go to last row to navigate to the last row of data in the View Data window.
Select a View Data window mode
Perform the following steps:
  • Click Switch to browse mode to switch to the browse mode.
  • Click Switch to edit mode to switch to the edit mode.
Note that the Switch to browse mode and Switch to edit mode buttons are displayed only for SAS tables.
Perform utility functions
Perform the following steps:
  • Click Print to print the View Data window.
  • Click Refresh to refresh the data in the View Data window.
Copy or paste data
Perform the following steps:
  • Highlight one or more rows of data. Then, click Copy to copy the selected text into the copy buffer.
  • Place the cursor in the row where you want to place the data. Then, click Paste to paste the data into the table. Note that you can also use Paste Special to paste more at once.
Undo or redo editing operations
Perform the following steps:
  • Click Undo last action to reverse the most recent editing operation.
  • Click Redo last action to restore the results of the most recent editing operation.
Search the data displayed in View Data window
Perform the following steps:
  • Click Show search pane. Then, use the search toolbar to search for string occurrences in the data set that is currently displayed in the View Data window.
Determine what is displayed in the column headings
You can display any combination of column metadata, physical column names, and descriptions in the column headings.
  • Click Show column name in column header to display physical column names in the column headings.
  • Click Show column description in column header to display displays optional descriptions in the column headings.
Commit or delete editing changes
Perform the following steps:
  • Click Save edited row to commit the changes that you have made to the currently edited row.
  • Click Delete selected rows to delete the changes that you have made to the currently edited row.
To hide, show, hold, and release columns, right-click on a column name and select an appropriate option from the pop-up menu.
To set options for the View Data window, select Toolthen selectOptions from the SAS Data Integration Studio menu bar to display the Options window. Then, click the View Data tab.