Perform the following
steps to create and populate the job:
-
Create an empty SAS
Data Integration Studio job.
-
Select and drag an Append
transformation from the Transformations tree. Then, drop it in the
empty job on the
Diagram tab in the
Job Editor window.
-
Select and drag the
source tables from the Inventory tree. Then, drop them before the
Append transformation on the
Diagram tab.
-
Drag the cursor from
the source tables to the input port of the Append transformation.
This action connects the sources to the transformation.
-
Because you want to
have a permanent target table to contain the output for the transformation,
right-click the temporary work table attached to the transformation
and click
Replace in the pop-up menu. Then,
use the
Table Selector window to select the
target table for the job.
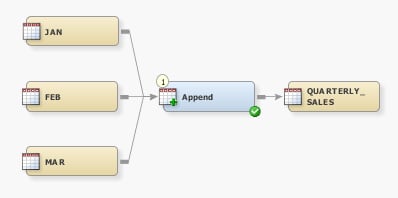
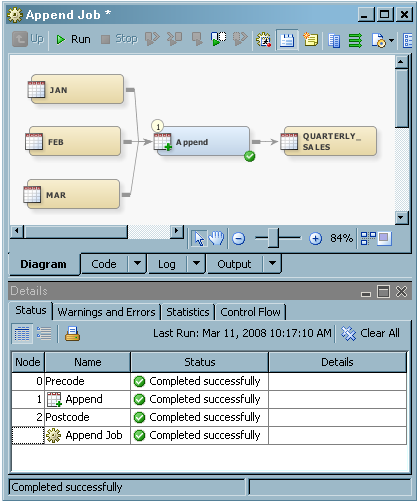
The following display
shows a sample process flow diagram for a job that contains the Append
transformation.
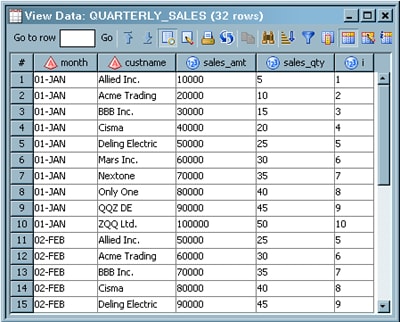
The source tables for
the sample job are named Jan, Feb, and Mar. The target table for the
sample job is named QUARTERLY_SALES. It contains sales information
for specific customers for the months of January, February, and March.