Step 5: Install and Configure VMware Player Pro

The VMware Player Pro 
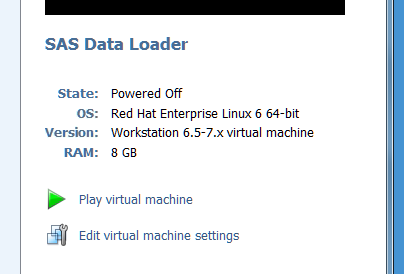
hypervisor enables you to play and power-off the vApp for SAS Data Loader in your Windows operating environment. When you play the vApp, you run a guest operating system in a block of memory that is reserved for that purpose. The hypervisor provides a web address that enables you to open the SAS Data Loader: Information Center and SAS Data Loader for Hadoop web applications.
Follow these steps to install and configure VMware Player Pro:
  1. Purchase and download VMware Player Pro at http://www.vmware.com/products/player. A free version of the software, VMware Player, is also supported and is available for personal or non-commercial use.
  2. Open VMware Player Pro.
  3. Click Open a Virtual Machine.
    Screen shot of VMware Player Pro Window
  4. In the Open a Virtual Machine window, navigate to the directory where you expanded the ZIP file. Select the VMX file for SAS Data Loader, and then click Open.
    Open a Virtual Machine window
  5. When the SAS Data Loader information is displayed in VMPlayer Pro, click Edit virtual machine settings.
    Edit virtual machine settings button
  6. In the Virtual Machine Settings window, click the Options tab.
    Options tab
  7. Under Settings, click Shared Folders.
    Shared Folders option in Virtual Machine Settings
  8. In the right panel under Folder sharing, select Always enabled, and then click Add.
    Location of the Always Enabled button
  9. On the first page of the Add Shared Folders Wizard, click Next.
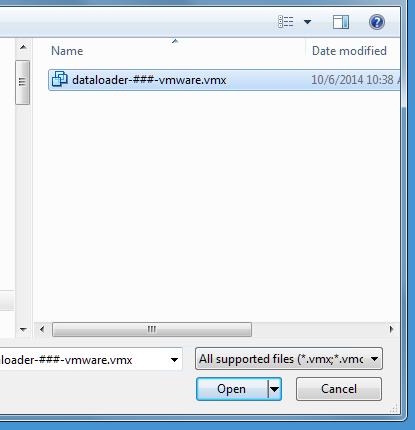
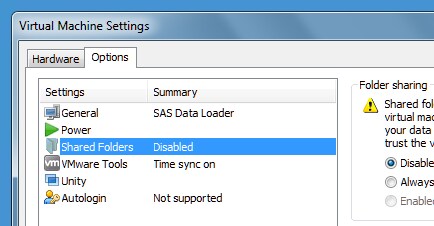
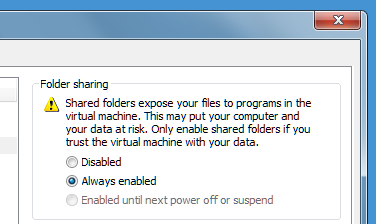
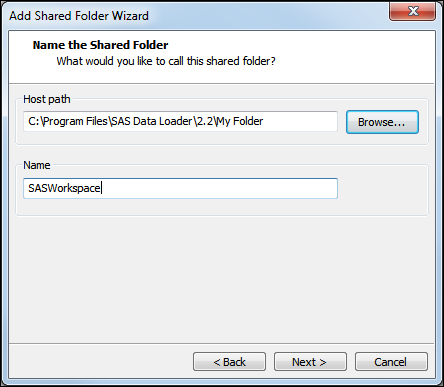
  10. On the Name the Shared Folder page, click Browse, and navigate to the folder that you created in Step 4: Create a Shared Folder. Click OK.
  11. On the Name the Shared Folder page, change the contents of the Name field to SASWorkspace. Spell this name exactly as shown. Then click Next.
    Note: The host path can point to a folder of any name that you choose. However, you must specify SASWorkspace in the Name field.
    SASWorkspace in the Name field of the Name the Shared Folder page
  12. On the Specify Shared Folder Attributes page, click Finish to accept the default selection and close the wizard.
  13. In the Virtual Machine Settings window, click the Hardware tab. Under Device, click Network Adapter. Verify or select Connect at power on and NAT: used to share the host’s IP address.
    Hardware Setting for VMware Player Pro
  14. Click OK to close the Virtual Machine Settings window.