Defining and Editing Terms
Newly added terms are
immediately displayed in the SAS Term edit
window. You can define the term by working through its property tabs.
You can also access the SAS Term edit window
by selecting an existing term, clicking the Action button,
and clicking the Edit item in the pop-up
menu.
Click the Identification tab
to define the parameters for the term. Perform the following steps
to define a term, such as Warehouse Facility:
-
If the term type for the term supports custom attributes, you can add attributes to the term or manage existing attributes. Otherwise, terms inherit the attributes set for their term types and new attributes cannot be added. For information about term types, see Managing Term Types.If the term type does support new attributes, click New Attribute in the Attributes section tab to access the New Attribute window. You can enter a label, instructions, and value. You can also specify whether the attribute is required. You can use the toolbar in the Manage Attributes window to add, edit, move, and delete attributes.
Note: If you need to add notes
and contacts, tags, or related terms, you click View to
open the term in the View window. These functions
are not available in the Edit window.
You can also click the Associated
Items tab to view or edit the items that you have associated
with a selected term.
Perform the following
steps on a term that you opened and placed in Edit mode:
-
Click OK to return to the Edit mode for the selected term and add the selected associated terms in the Associated Items tab. You can use the items in the Associated Items toolbar to perform the following functions when the selected term is open in Edit mode:
-
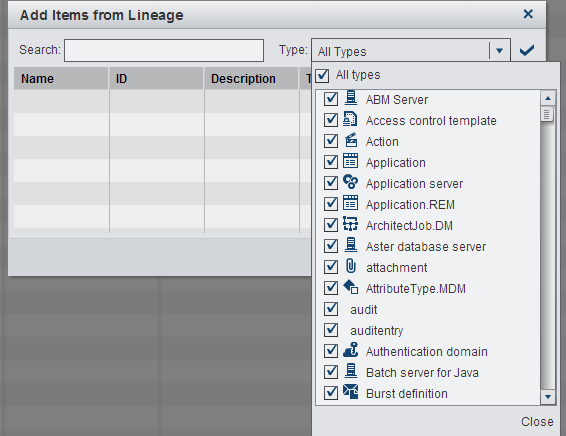
Add items
-
Delete items
-
Add a note to a selected item
-
Display a lineage diagram in SAS Lineage for a selected item. For more information, see theSAS Lineage: User’s Guide.
You can also double-click a selected associated item to see more detailed information about the item. -
If your term is a non-collaborative
term, you can save it as draft or publish it. Click Save
Draft to save a private version of the term to the terms
list that only you can review and edit. Click Publish to
save the term to the terms list for any user to review and edit.
If your term is a collaborative
term, click Save Draft to save the term.
If you are ready to submit it for review and approval, you can use
a separate Submit for Review action.
Copyright © SAS Institute Inc. All rights reserved.