Creating a Domain

Overview: Creating a Domain

After you create a study or submission, you create domains within that study or submission. You can create a domain only in a folder that is the root folder of a study or submission, or in a subfolder within the root folder of a study or submission. The domain can be a standard domain or a custom domain.
Note: In a study folder, a domain that you create is marked with the SAS Clinical Data Integration icon SAS Clinical Data Integration icon. This icon helps you distinguish domains from other non-clinical tables.
Note: If you are working in a SAS Data Integration Studio project repository, domains that you create are created in that project repository. The project repository can be versioned. However, complex clinical objects such as data standards, studies, and submissions, cannot be versioned.

Create a Standard Domain

To create a domain using a standard domain template, perform the following steps:
  1. In the Folders tree, select a study or submission folder, right-click, and then select Newthen selectStandard Domain(s).
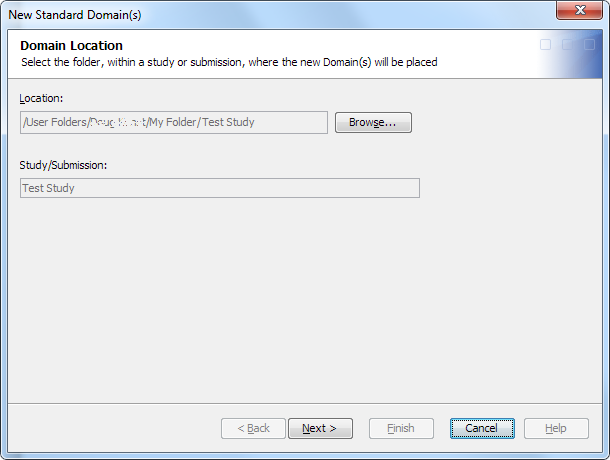
    The New Standard Domain(s) wizard appears.
    New Standard Domain(s) wizard
  2. To change the default location of the domain, click Browse, and then select a new location.
    By default, the location is set to the folder that you selected in step 1.
  3. Click Next.
    The Data Standard Selection page appears.
  4. Select a data standard.
    The data standards in the list are associated with the study or submission in which the domain is to be created.
  5. Click Next.
    The Domain Template Selection page appears.
  6. Select one or more domain templates to use to create the domain.
    If a domain already exists in the target folder with the same ID or with the same name as a selected domain template, then a warning message appears. You must specify a valid name or ID before you can proceed.
  7. Click Next.
    The Library Selection page appears.
  8. (Optional) Select a library to assign to the domain.
    The library can be any library in the study or submission. If no libraries exist within the study or submission root folder or within a subfolder of the study or submission root folder, a message appears.
    Note: You can create a domain without assigning a library. Later, you can create a library and assign it to the domain. However, if you use the domain in a job without first assigning a library, the job fails. The job generates errors that indicate you must assign a library. If you attempt to open the domain to view the contents and records, the open fails, and an error message appears.
  9. Click Finish.

Create a Custom Domain

To create a custom domain, perform the following steps:
  1. In the Folders tree, select a study or submission folder, right-click, and then select Newthen selectCustom Domain.
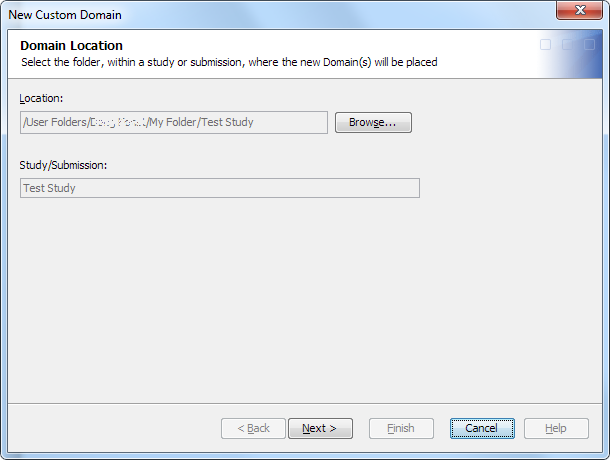
    The New Custom Domain wizard appears.
    New Custom Domain wizard
  2. To change the default location of the domain, click Browse, and then select a new location.
    By default, the location is set to the folder that you selected in step 1.
  3. Click Next.
    The Data Standard Selection page appears.
  4. Select a data standard.
    The data standards in this list are associated with the study or submission in which the domain is to be created.
  5. Click Next.
    The General Information page appears.
  6. Enter a name and an identifier, and then click Next.
    Note: The name and identifier cannot be the same as the name or identifier of a domain template in the data model.
    The Domain Information page appears.
  7. (Optional) Specify the property values for the new domain.
  8. Click Next.
    The Library Selection page appears.
  9. (Optional) Select a library to assign to the domain.
    The library can be any library in the study or submission. If no libraries exist within the study or submission root folder or within a subfolder of the study or submission root folder, a message appears.
    Note: You can create a domain without assigning a library. Later, you can create a library and assign it to the domain. However, if you use the domain in a job without first assigning a library, the job fails. The job generates errors that indicate you must assign a library. If you attempt to open the domain to view the contents and records, the open fails, and an error message appears.
  10. Click Next.
    The Column Group Selection page appears.
  11. Select one or more conditional column groups to use in the new domain.
    Column groups are groups of columns that are available to all new domains in a data standard. This page displays the core column groups that are available to all new domains in the data standard.
    Note: Column groups can differ depending on the selected data model.
  12. Click Next.
    The Column Selection page appears.
  13. Using Add and Remove, move columns between the list Available Columns and the Selected Columns list.
    You can add columns individually or as a group.
  14. (Optional) To customize column properties, perform the following steps:
    1. Click Next.
      The Column Elaboration page appears.
    2. Edit the properties for selected columns.
      The Selected Columns table displays all of the selected columns and their properties. Not all properties can be edited. The properties vary by data model.
    3. (Optional) To change the column order, select a column, and then click Move Up or Move Down.
    4. (Optional) If two or more columns are keys, change the key order by clicking Order Keys.
      The Order Domain Keys dialog box appears. Select a key, and then click Move Up or Move Down to adjust its order. Click OK to save the key order.
  15. Click Finish.

Create a Custom Domain from an Existing Domain

CAUTION:
Use this process to create a custom domain instead of using the standard SAS Data Integration Studio copy-and-paste method.
The copy-and-paste method does not copy important domain metadata.
To create a custom domain using an existing domain, perform the following steps:
  1. In the Folders tree, select a study or submission folder, right-click, and then select Newthen selectCustom Domain From Existing.
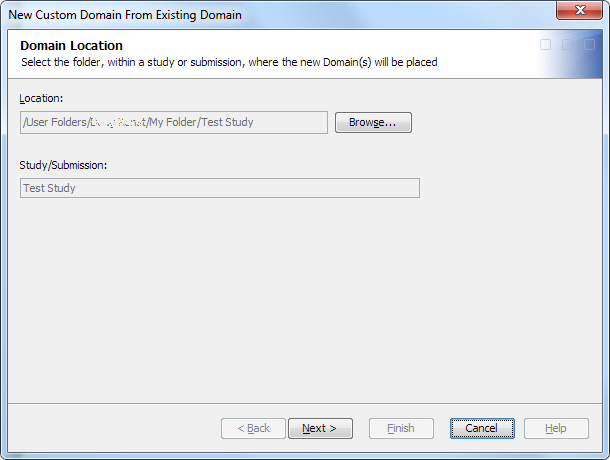
    The New Custom Domain From Existing Domain wizard appears.
    New Custom Domain From Existing Domain wizard
  2. To change the default location of the domain, click Browse, and then select a new location.
    By default, the location is set to the folder that you selected in step 1.
  3. Click Next.
    The Data Standard Selection page appears.
  4. Select a data standard.
    The data standards in this list are associated with the study or submission in which the domain is to be created.
  5. Click Next.
    The Domain Selection page appears.
  6. Select a domain.
    The Available Domains by Study/Submission list displays the studies and submissions and their domains for the selected data standard. Expanding a study or submission node displays all of the domains in the study or submission. Both standard and custom domains can be selected.
  7. Click Next.
    The General Information page appears.
  8. Enter the name and identifier for the new domain, and then click Next.
    The Domain Information page appears.
    Note: The name and identifier cannot be the same as the name or identifier of a domain template in the data model.
  9. Specify the property values for the new domain, and then click Next.
    The Library Selection page appears.
  10. (Optional) Select a library to assign to the domain.
    The library can be any library in the study or submission. If no libraries exist within the study or submission root folder or within a subfolder of the study or submission root folder, a message appears.
    Note: You can create a domain without assigning a library. Later, you can create a library and assign it to the domain. However, if you use the domain in a job without first assigning a library, the job fails. The job generates errors that indicate you must assign a library. If you attempt to open the domain to view the contents and records, the open fails, and an error message appears.
  11. Click Next.
    The Column Elaboration page appears.
  12. Specify the properties for selected columns.
    The Selected Columns table displays all of the selected columns and their properties. Not all properties can be edited. The properties vary by data model.
  13. (Optional) To change the column order, select a column, and then click Move Up or Move Down.
  14. (Optional) If two or more columns are keys, change the key order by clicking Order Keys.
    The Order Domain Keys dialog box appears. Select a key, and then click Move Up or Move Down to adjust its order. Click OK to save the key order.
  15. Click Finish.

Add Domain Columns

To add domain columns, perform the following steps:
  1. In the Folders tree, select a domain, right-click, and then select Properties.
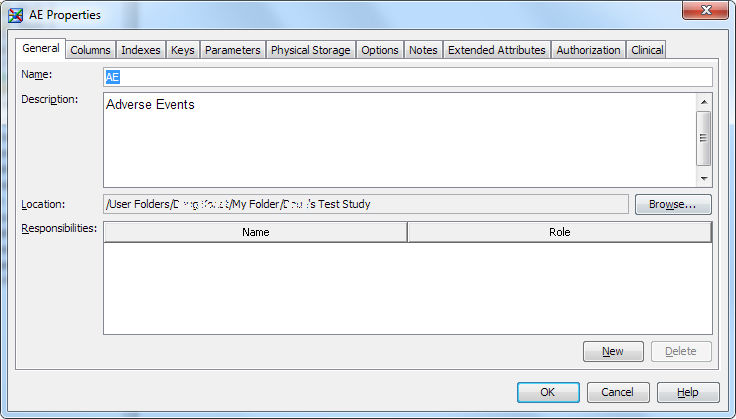
    The Properties dialog box appears.
    Properties dialog box
  2. Click the Columns tab.
    The domain columns are listed.
  3. Click the New Column button New column icon.
    A new entry appears as the last row of the table.
    New entry in the Columns table
  4. Enter a name and description for the column.
  5. Edit the default column characteristics, if necessary.
  6. Click OK, or edit the column’s properties.
  7. Repair the domain column.
    For more information, see Repair a Domain or Domain Column.