Save a Report
Note: In addition
to enabling you to save automatically or manually refreshed reports,
the Save As dialog box is also used to save
report templates (see Creating Report Templates) and static content that can be published to a publication
channel (see Publish a Report to Publication Channels).
-
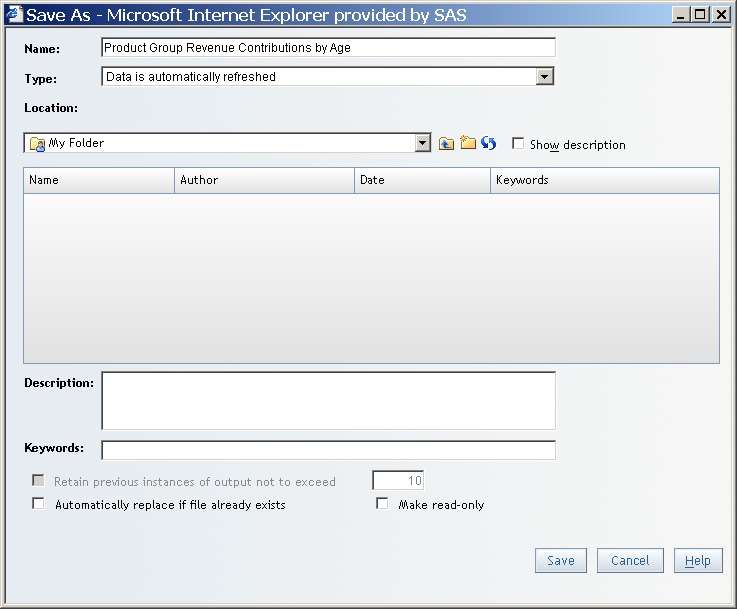
For information about valid names, see Naming Reports, Folders, and Templates.
-
From the Type drop-down list, select either Data is automatically refreshed or Data can be manually refreshed. Automatically refreshed reports always include the most current data in the underlying data source that the user is authorized to see. Manually refreshed reports can be archived and usually render more quickly than automatically refreshed reports.For more information about these options, see Data Refresh: Manual Versus Automatic and Publish a Report to Publication Channels.
-
Navigate to a Location. To create a new folder, click
 . For more information
about the folder options, see Overview of Shared Locations.
. For more information
about the folder options, see Overview of Shared Locations. -
(Optional) Type Keywords. Users can view the report keywords in the Open dialog box or the File Management window before they view the report. They can also search for reports with specified text in the keywords. Separate multiple keywords with a comma. Keywords cannot use these characters:
< > & # / \For information about valid keywords, see Naming Reports, Folders, and Templates. -
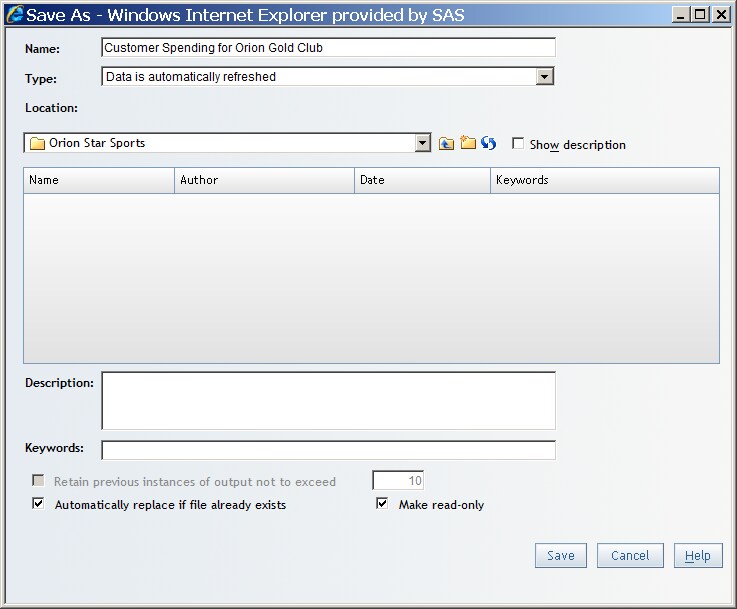
(Optional for manually refreshed reports) Select Retain previous instance of output not to exceed, and then type the number of archived reports that you want to maintain.Note: The ability to archive reports is an advanced feature. You might be authorized to save reports but not to archive reports. For more information, see Archiving Reports.