Publish a Report to Publication Channels
A publication channel is an information repository that
has been established by using the SAS Publishing Framework. It can
be used to publish information to users and applications. (An administrator
creates the publication channels.) If you publish your report to one
or more publication channels, then authorized users and applications
can access your report by subscribing to the channel.
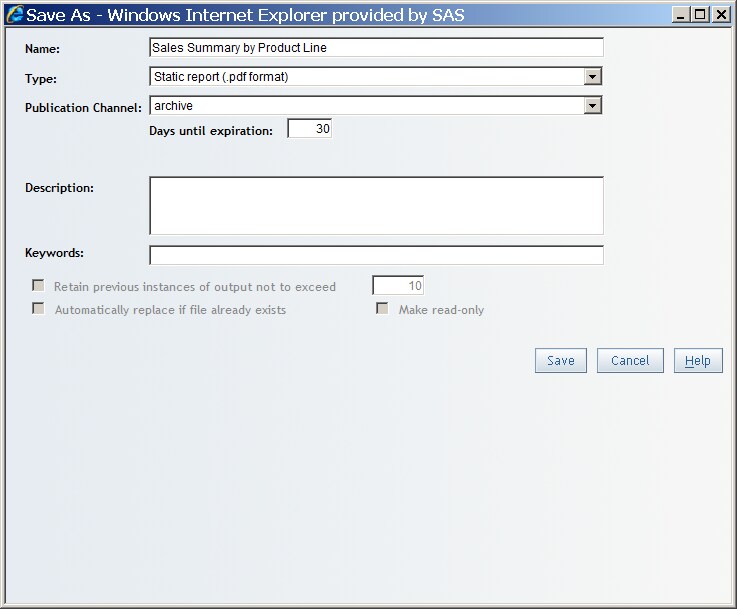
In SAS
Web Report Studio, you can control the life cycle of a published report.
You can specify that a report be deleted from publication channels
after a certain number of days. You can set the report's expiration
date either in the Save As dialog box, in
the Schedule Report Wizard (Step 1), or in
the Recipients and Distribution Rules dialog
box. For more information about the Schedule Report Wizard, see Schedule a Report, Stored Process, or Folder for the First Time. For information about the Recipients and Distribution
Rules dialog box, see Distribute a Report for the First Time.
To publish a report
to one or more publication channels (if they are available), complete
these steps:
-
Type the Name that you want to give to this new report. Names cannot use these characters:
\ / : * ? “ < >
                           | @ # &
For more information about valid names, see Naming Reports, Folders, and Templates. -
(Optional) Type Keywords. Separate multiple keywords with a comma. Keywords cannot use these characters:
<
                           > & # / \
For information about valid keywords, see Naming Reports, Folders, and Templates.