Creating Filters
Create a Filter for an Alphanumeric Category
-
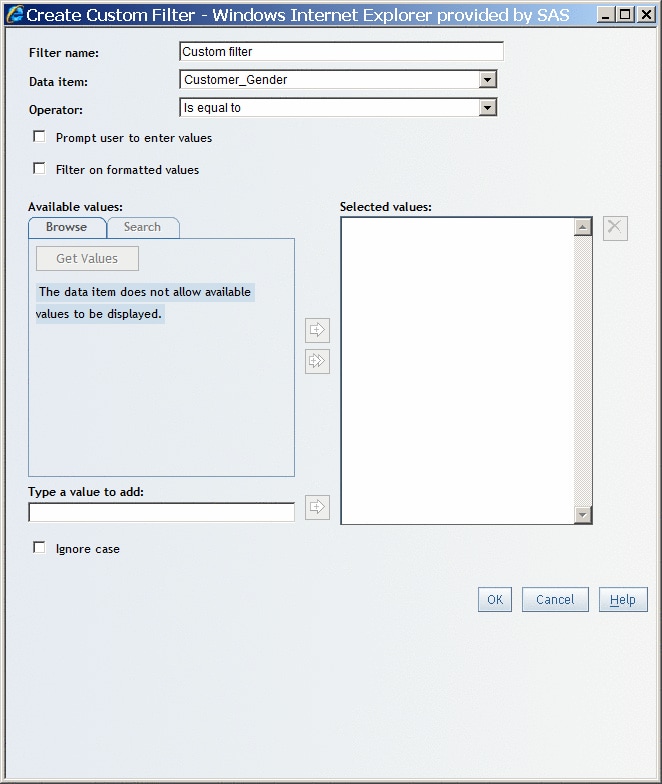
From the Data item drop-down list, select the alphanumeric data item that you want to filter. Recall that alphanumeric categories can be made up of all letters, all numbers, or a combination of the two. They can be physically stored as character or numeric data.(footnote1)
-
(Optional) If the selected data item enables you to filter on formatted values, then you can select the Filter on formatted values option. Regardless of your selection, the results show formatted values.(footnote2)
-
If you selected Is missing or Is not missing, then you have created the filter. For all other operators, see Operators and Required Information.Operators and Required Information
-
You can also select Browse or Search to find available values. For more information, see Browsing or Searching for Filter Values.
-
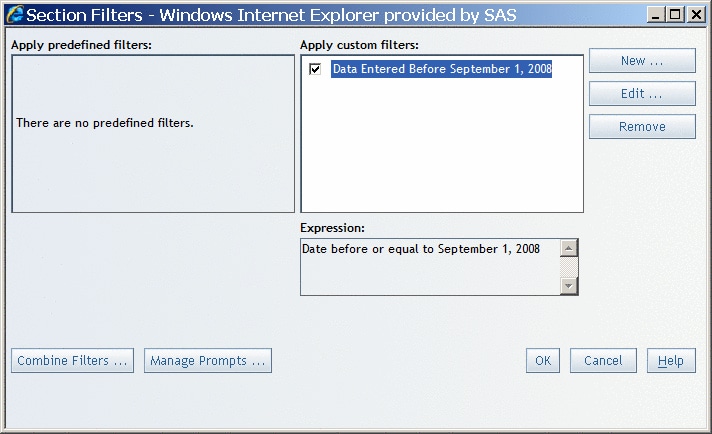
When you access the Create Custom Filter dialog box from the Section Filter dialog box, then the filter that you just created is automatically selected in the Apply custom filters box. When the filter name is selected, the filter expression is shown in the Expression box.TipCustom filters can be saved for future use. To turn off the filter, clear the check box next to the filter name. For more information, see Apply Existing Section Filters.(Optional) New filters are automatically added to the existing filter combination expression. By default, new filters are joined using the AND operator, which means that the query results must match all selected filters. For more information, see Combine Filters.
Create a Filter for a Date, Time, or Timestamp Category
To create
a filter for a date, time, or timestamp category in a relational data
source, complete these steps:
-
If you selected Is missing or Is not missing, then you have created the filter. For all other operators, see Operators, Category Types, and Required Information.
-
When you access the Create Custom Filter dialog box from the Section Filter dialog box, then the filter that you just created is automatically selected in the Apply custom filters box. When the filter name is selected, the filter expression is shown in the Expression box.TipCustom filters can be saved for future use. To turn off the filter, clear the check box next to the filter name. For more information, see Apply Existing Section Filters.
-
(Optional) New filters are automatically added to the existing filter combination expression. By default, new filters are joined using the AND operator, which means that the query results must match all selected filters. For more information, see Combine Filters.
FOOTNOTE 1:The data type is a factor in whether
the data item supports filtering on formatted values. This is true
for the date, time, or timestamp data types, because formatted values
are not permitted for these types even if a format has been applied
to the data item.[return]
FOOTNOTE 2: Filtering on
formatted values can sometimes adversely affect query performance.
If you have questions about whether you should select this option,
contact your data source administrator .[return]