Define a Transaction Table Group
- Activate the Transactions workspace, and select a model.

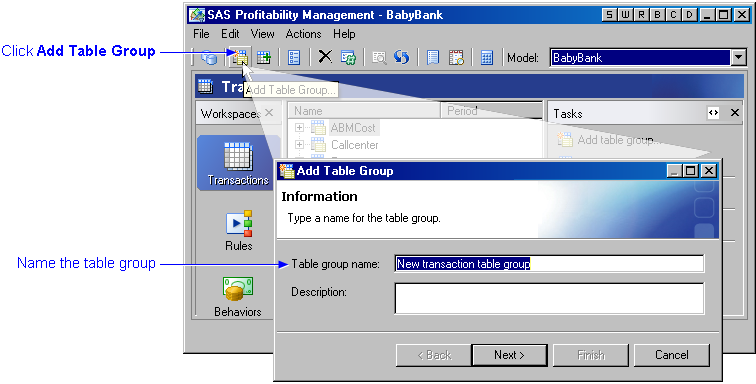
- Click the Add Table Group icon
 . The Add Table Group window opens.
- Name the table group, and click Next.

- Select the transaction table whose layout defines the layout (the required fields) for this group.
- Click Next.

- Associate each source column (in the transaction table) with its corresponding dimension table.
Note: Uncheck the time dimension. Because each transaction table is matched to a single time dimension, you do not have to associate each transaction table with the entire time-dimension table.
- Click Finish.

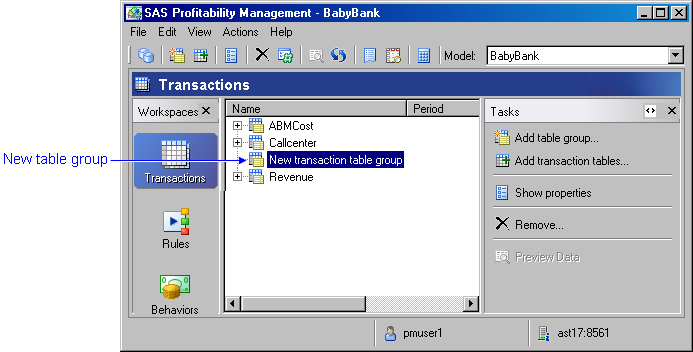
- The transaction table group is added to the model.


