Importing Data
About Importing Data to SAS Studio
You can import these
types of data files into SAS Studio:
-
Microsoft Access database files. To import these files, you must use the SAS LIBNAME statement.
-
delimited files, such as files with comma-separated values.
-
dBASE 5.0, IV, III+, and III.
-
Stata files.
-
Microsoft Excel files. To import XLSB and XLSM files, you must use the SAS LIBNAME statement.
-
JMP files.
-
Paradox DB files.
-
SPSS files.
-
Lotus 1-2-3 files from Releases 2, 3, 4, or 5.
If you are using the
SAS Studio Enterprise Edition or the SAS Studio Basic Edition, your
data file might be saved to your local computer. In this case, you
must upload the file to SAS Studio before you can import it.
Whether data from another locale imports correctly depends on whether the SAS server
supports the locale of the data that is being imported. If you are importing data
that contains characters that are different from the current locale, use a Unicode (UTF–8) server to import
your data. If you do not use a UTF–8 server and the locale of the data is not supported,
unsupported values might appear as questions marks (?) in your imported data. For more information
about how to set the Default text encoding option,
see Setting General Preferences.
Note: You cannot import remote
files (files that are available through FTP file shortcuts).
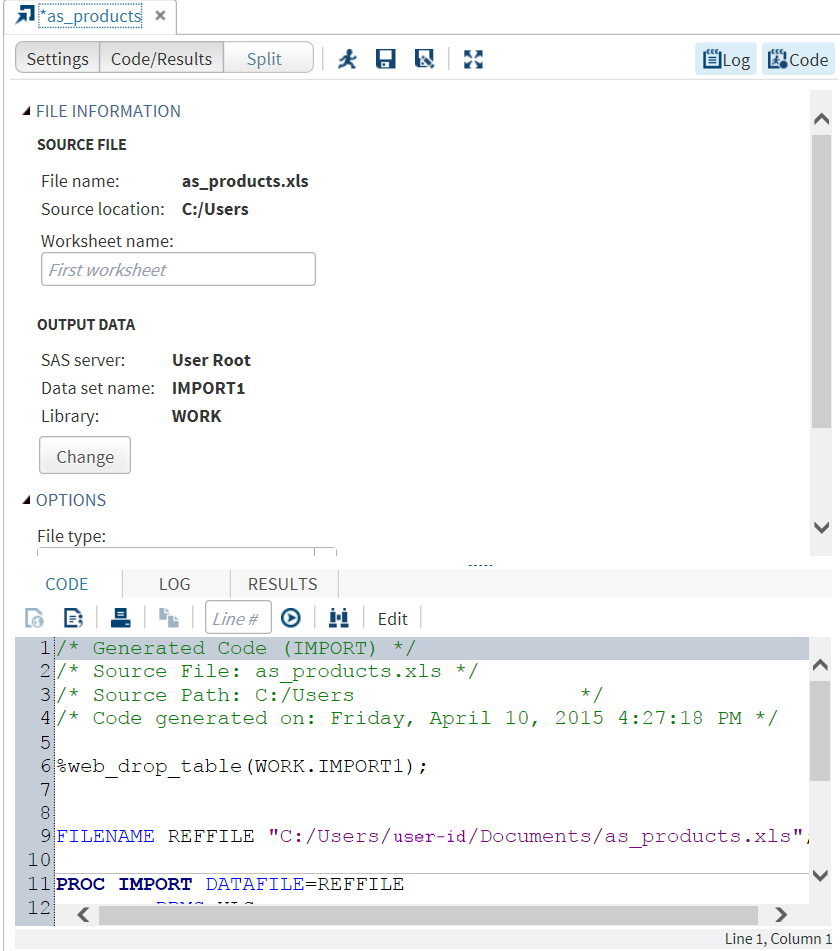
Import an Excel Worksheet
To import an Excel worksheet:
-
Click Server Files and Folders in the navigation pane and browse to find the file that you want to import.
-
To specify the location to save the output data set, click Change. By default, the output data set is saved to the Work library, which is a temporary location. The contents in this library are deleted when you exit SAS Studio.
-
To generate SAS variable names from the data values in the first row of the worksheet, select Generate SAS variable names. If a data value in the first row in the input file is read and it contains special characters that are not valid in a SAS name, such as a blank, then SAS converts the character to an underscore.


Import a Delimited File
Note: For some delimited files
(such as files with a .dat extension), the Import Tool might not be
available. To import these delimited files, save the file as a text
file. Then you can use the Import Tool.
To import a delimited
file:
-
To determine the delimiter for the file, right-click the filename and select View File as Text. The contents of the file open in a text editor. Note the delimiter that is used between values and whether the first row of the data includes headings.
-
After determining the delimiter of this file, click
 and select New Import Data.
The Import Data tab opens in the SAS Studio workspace.
and select New Import Data.
The Import Data tab opens in the SAS Studio workspace.
-
Drag the selected text file from Server Files and Folders in the navigation pane to the Import Data tab. The top of the Import Data tab now shows the properties of the file (such as the filename and location of the saved file), the name of the imported data source, and any options that you can specify. The bottom of the Import Data tab shows the SAS code that has been generated.This example shows importing a text file called FixWidth.txt.
-
To generate SAS variable names from the data values in the first row in the text file, select Generate SAS variable names. If a data value in the first row in the input file is read and it contains special characters that are not valid in a SAS name (such as a blank), SAS converts the character to an underscore.
-
In the Delimiter box, enter the delimiter for the values in the file. The default delimiter is a space. Examples of delimiters are comma (,) and Tab.Note: If you use a hexadecimal value to specify the delimiter, you do not need to select the Quote delimiter check box.
-
(Optional) To start reading data from a specified row in the delimited text file, enter the starting row in the Start reading data at row box. You might want to use this option if you have comments at the top of the text file or the first row of the file is column headings.
-
(Optional) For SAS Studio to determine the appropriate data type and length of the variables, enter a value in the Guessing rows box. The task scans the input data file from row 1 to the number that you specified. By default, the first 20 rows are scanned.

Import a DBMS File
When you import a file
from a database management system (DBMS), the available options depend
on the file type. For a
list of the supported file types, see About Importing Data to SAS Studio.
-
(Optional) To generate SAS variable names from the data values in the first row of the worksheet, select Generate SAS variable names. If a data value in the first row in the input file is read and it contains special characters that are not valid in a SAS name, such as a blank, then SAS converts the character to an underscore.
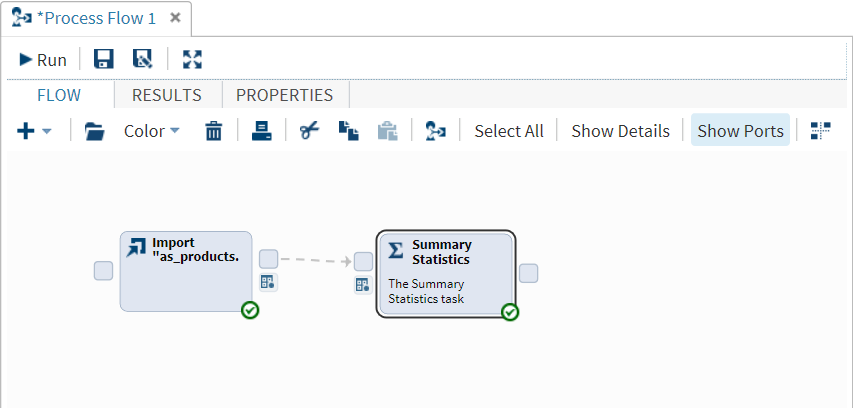
Importing Data in a Process Flow
If you are using the SAS Visual Programmer perspective, you can also import data by
using the process flow. You might want to add an import node if the file that you want to import is updated frequently.
To create the import node, drag the filename that you want to import into the process
flow.
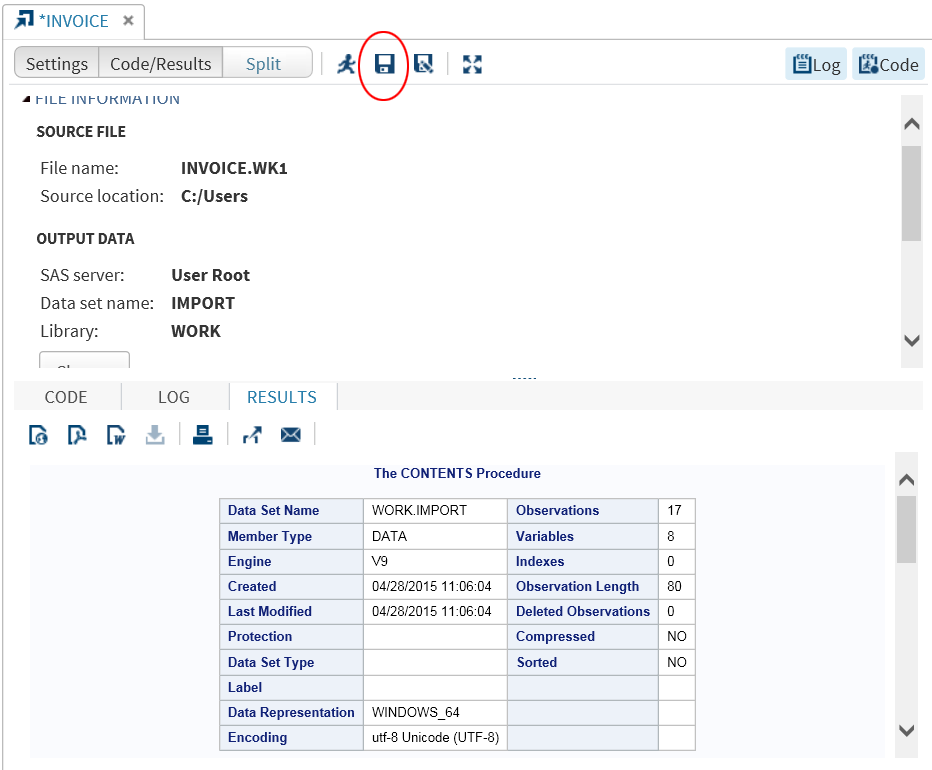
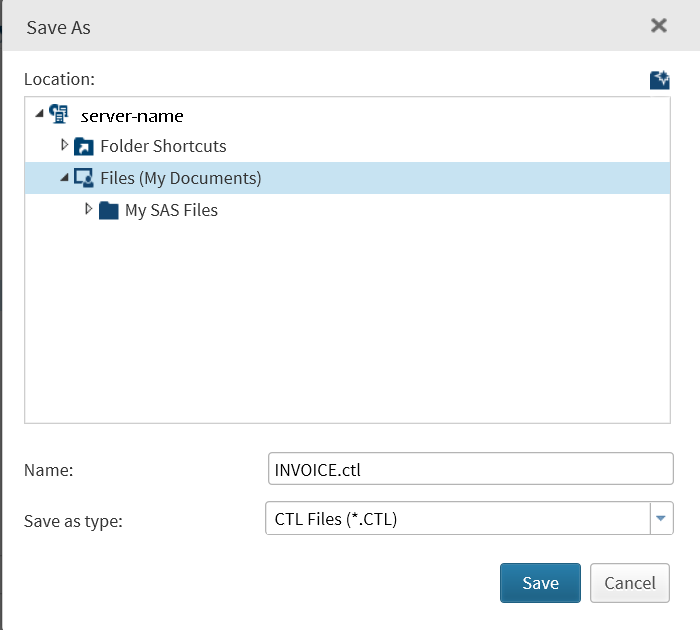
Save the Import Task
You might want to save
an instance of the Import Data tool so that you can share these settings
for importing a specific file with others at your site. SAS Studio
saves these instances as a CTL file. CTL files must be run in the
same operating environment where they were created. For example, if
you create a CTL file using Windows, this CTL file must be run in
Windows.

Copyright © SAS Institute Inc. All rights reserved.