Upgrade SAS Visual Analytics (Non-Distributed SAS LASR)
To upgrade SAS Visual
Analytics with a non-distributed SAS LASR Analytic Server, follow
these steps:
-
Make sure that you have the necessary SAS user account passwords discussed in User Accounts Password Checklist. You are prompted for these passwords during the upgrade process.
-
Log on to the machine using the SAS installer account.
-
Shut down all SAS LASR Analytic Servers using the SAS Visual Analytics Administrator.For more information, see “Operating Servers” in the SAS Visual Analytics: Administration Guide.
-
Shut down all active SAS sessions, daemons, spawners, and servers. It is important to shut down the SAS servers in the inverse order in which they were started. For more information, see Overview of Server Operation in SAS Intelligence Platform: System Administration Guide.
-
On Windows, temporarily disable all encryption, anti-virus, anti-malware, anti-spyware, and firewall software. These types of programs can interfere with the upgrade process and block files as they are being copied and extracted.
-
On Windows, open Windows Explorer, and navigate to the highest-level directory in your SAS Software Depot. Right-click
setup.exe, and select Run as administrator. On Linux, navigate to the highest-level directory in your SAS Software Depot, and runsetup.sh.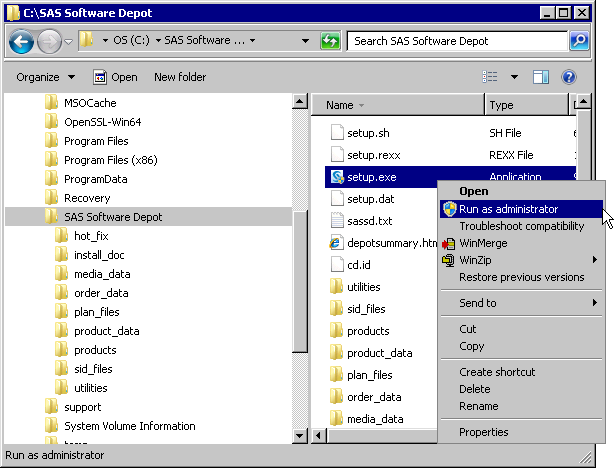
-
 Choose Language
-
From the drop-down list, select the language that you want the deployment wizard to use when it displays text, and click OK.
-
-
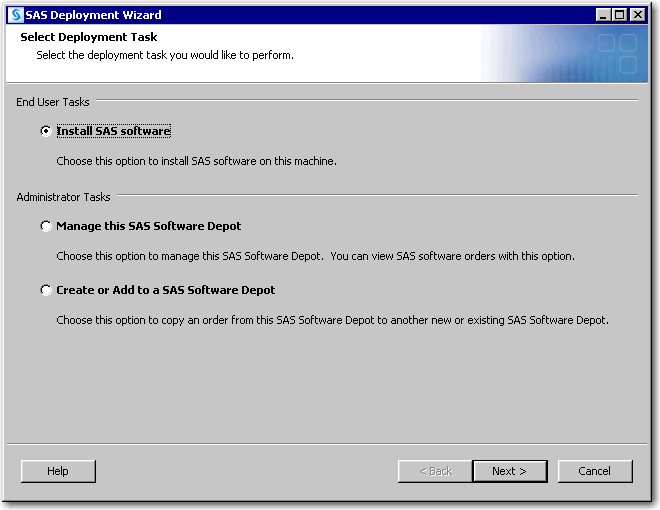 Select Deployment Task
-
Select Install SAS Software, and click Next.
-
-
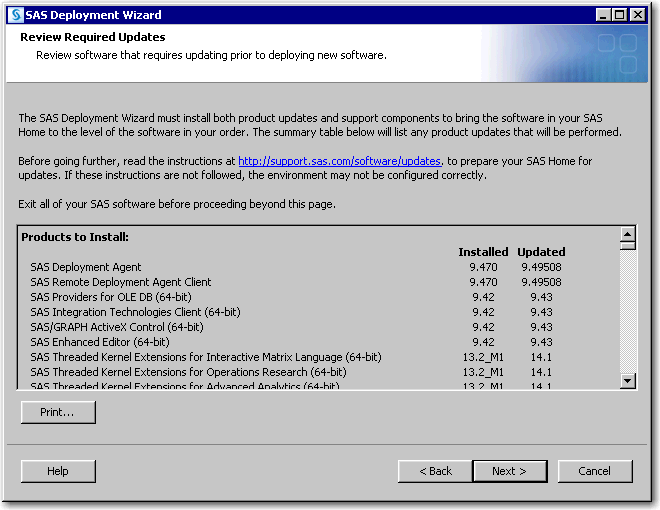 Review Required Updates page
-
Review the SAS products that the deployment wizard plans to upgrade, and click Next.
-
-
 Specify SAS Installation Data File
-
Click Browse, locate your SAS installation data file, and then click Next.
-
-
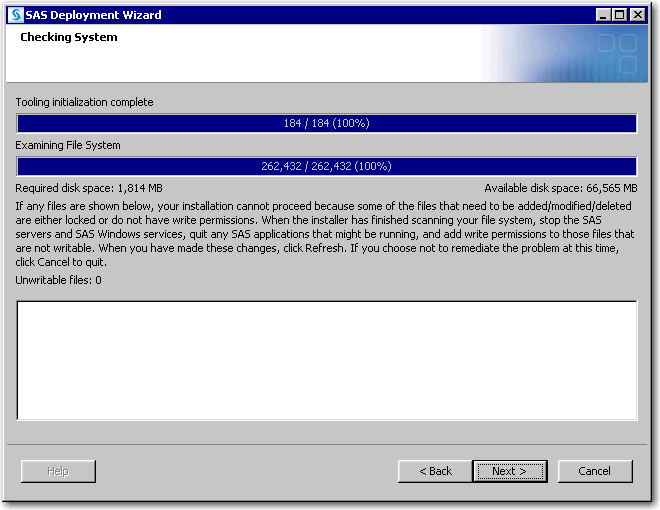 Checking System
-
Wait while the SAS Deployment Wizard checks your system. When it is finished, click Next.
-
If the wizard lists any files in the text box, then while the wizard is running, quit SAS and add Write permission to the files listed. When you are finished, click Next.
-
-
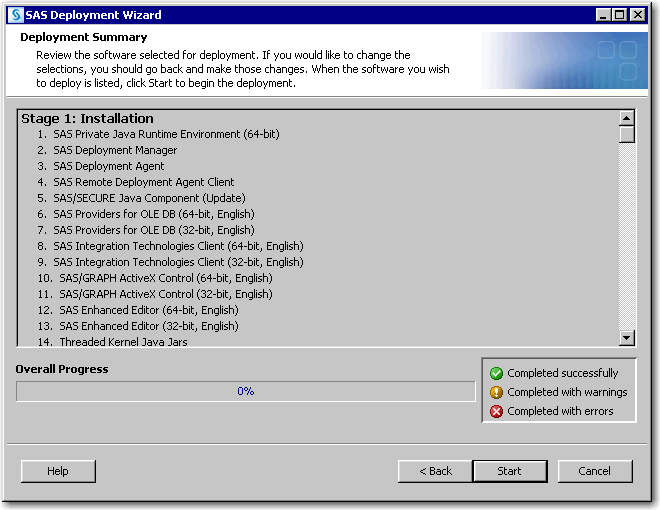 Deployment Summary
-
When you see the Deployment Summary page, the deployment wizard has finished collecting installation and configuration input. This is the last opportunity to go back and change any information that you have provided in previous pages before the wizard begins writing to your system.Make one of the following choices:
-
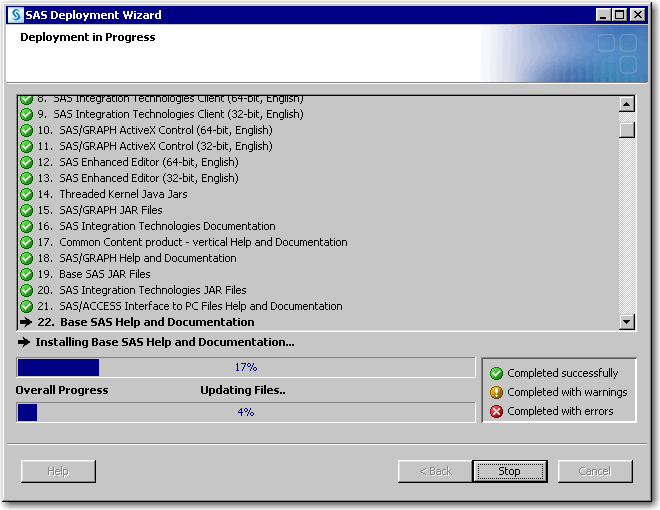
Click Start to begin upgrading SAS files on the current machine.The deployment wizard launches the upgrade process and provides an ongoing status update.
-
Click Back to navigate to earlier wizard pages to change upgrade information previously entered.
-
Click Cancel to terminate the wizard session. Note that you will lose upgrade information previously entered.
On Linux, when you are upgrading the server tier, you will be instructed to run a script as root. As the message in the upgrade explains, certain SAS products and features use functionality that requires SAS to check user ID authentication and file access authorizations. This, in turn, necessitates that certain files within your SAS installation have setuid permissions and be owned by root.On Windows, the deployment wizard checks to make sure that your machine contains the minimum system requirements necessary to run SAS 9.4. Sometimes it is necessary to reboot your machine after the wizard has installed certain system components. When this occurs, after you log back on to the machine, the wizard continues to the next configuration step in your SAS deployment process. -
-
-
 Deployment Complete
-
Green check marks next to every item on this page indicate that the installation phase of your upgrade completed successfully. Click Next.
-
If you received errors during your installation, then contact SAS Technical Support at mailto:support@sas.com. Attach to your e-mail the files listed in “Review SAS Deployment Tool Documents, Reports, and Logs,” in the Intelligence Platform: Installation and Configuration Guide.
-
-
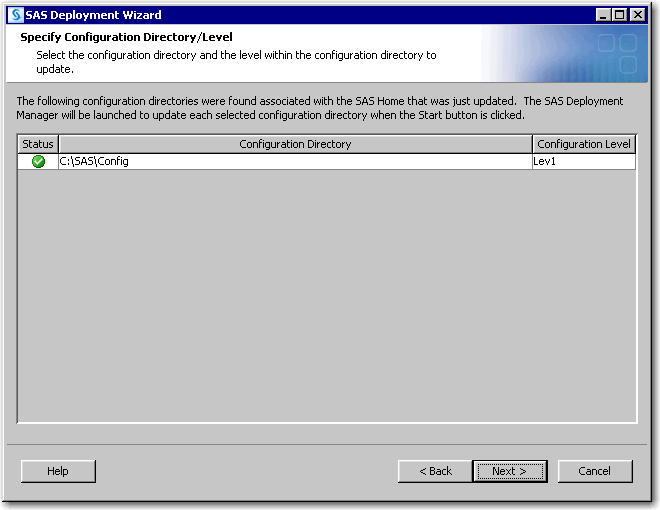
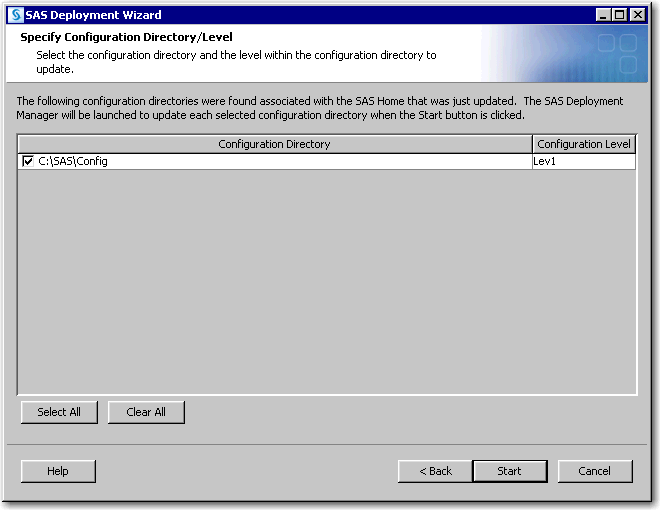 Specify Configuration Directory/Level page
-
Select the configuration directory that you want to upgrade (if more than one), and click Start.
The configuration phase of the upgrade process starts. You should see the splash page for the SAS Deployment Manager.Note: The SAS Deployment Wizard page remains displayed while the SAS Deployment Manager performs the upgrade configuration. The Specify Configuration Directory/Level page appears with a right-pointing arrow in its Status column and a progress indicator at the bottom.
 Note: Do not close this SAS Deployment Wizard page while the SAS Deployment Manager is running.
 -
-
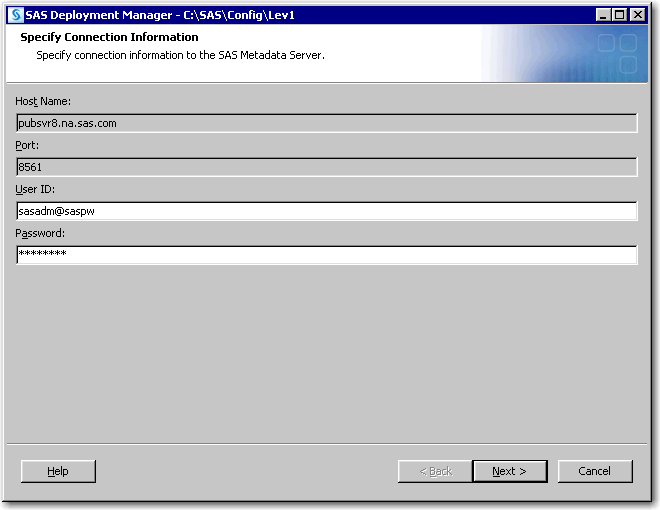 Specify Connection Information page
-
In User ID, enter the metadata identity for the SAS Unrestricted Administrator.Note: Refer to the information recorded in User Account Credentials Required to Upgrade SAS Visual Analytics.
-
In Password, enter the metadata password for the SAS Unrestricted Administrator identity, and click Next.
-
-
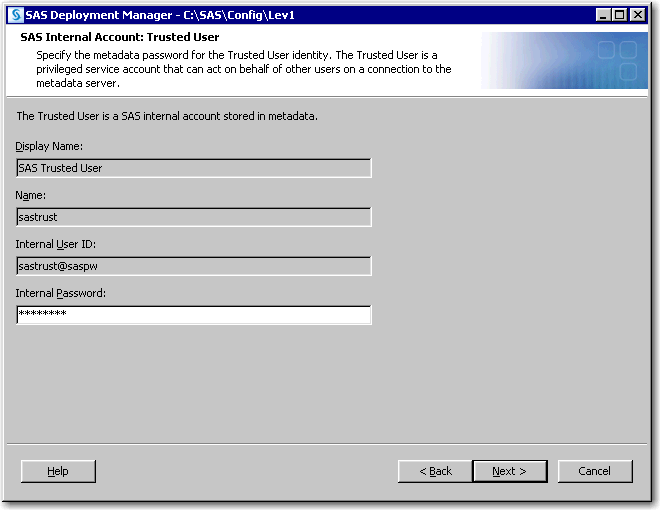 SAS Internal Account: Trusted User
-
In Internal Password, enter the metadata password for the SAS Trusted User account, and click Next.Note: Refer to the information recorded in User Account Credentials Required to Upgrade SAS Visual Analytics.
-
-
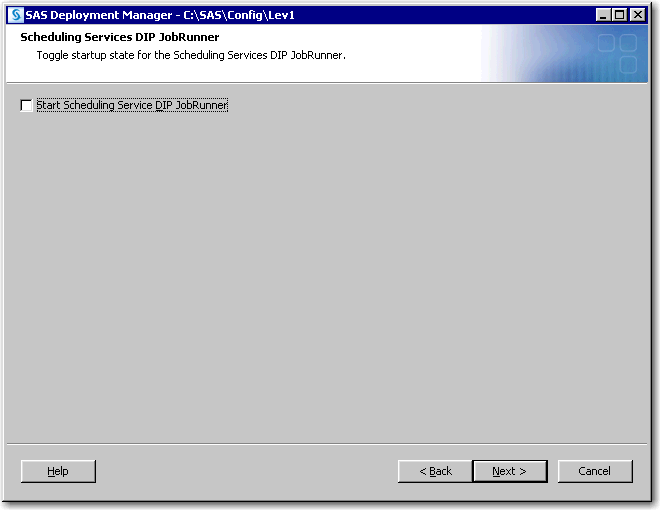 Scheduling Services DIP JobRunner
-
Do not change the default information that is displayed on this page. Click Next.
-
-
 Web Applications: White List of Sites Allowed to Link to this SAS Installation
-
In URLs White List, enter a comma-delimited list of additional known hosts and domains to trust in the following form:
http|https://host[:port]|domain/,
                                             ...
The valid URLs whitelist can include just a list of host names to trust. The valid URLs whitelist can also include wildcards such as '*' for host name and domain.Note: The port number must be specified if the whitelisted site uses port numbers other than the standard 80 for HTTP or 443 for HTTPS.For example:https://myserver:443/,http://example.comFor security reasons, you must list any host name URLs for any site that could redirect browsers to your solution. This might include corporate sites linking to your solution for reporting purposes or single sign-on servers.For example, if https://corporatePortal.company.com/ links to your server, then enterhttps://corporatePortal.company.com/as one entry. This field enables you to add additional known hosts and domains to a preset list automatically created by the SAS configuration process.For more information, see Configuring the Cross Domain Proxy Servlet through a Whitelist in SAS Intelligence Platform: Middle-Tier Administration Guide. -
Select Enter advanced options for URL white list handling to display an additional page in which you can specify advanced options for the filter.
-
-
 SAS Web Infrastructure Platform Database: JDBC Properties
-
In Password, specify the password for the SAS Web Infrastructure Platform Database user, and click Next.Note: Refer to the information recorded in User Account Credentials Required to Upgrade SAS Visual Analytics.
-
-
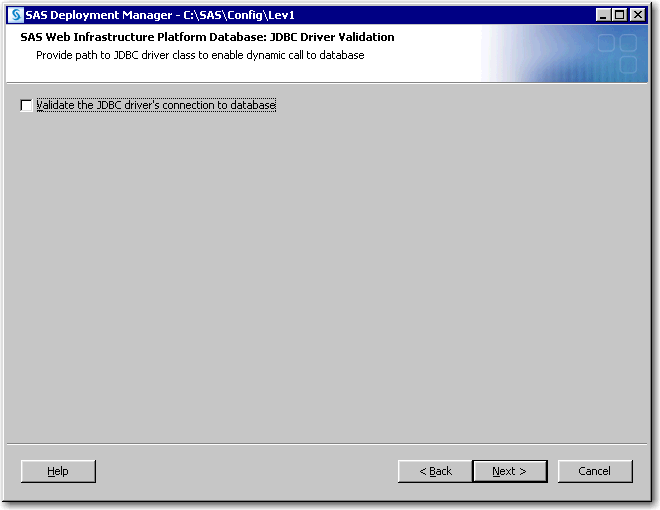 SAS Web Infrastructure Platform Database: JDBC Driver Validation
-
Do not change the default information that is displayed on this page. Click Next.
-
-
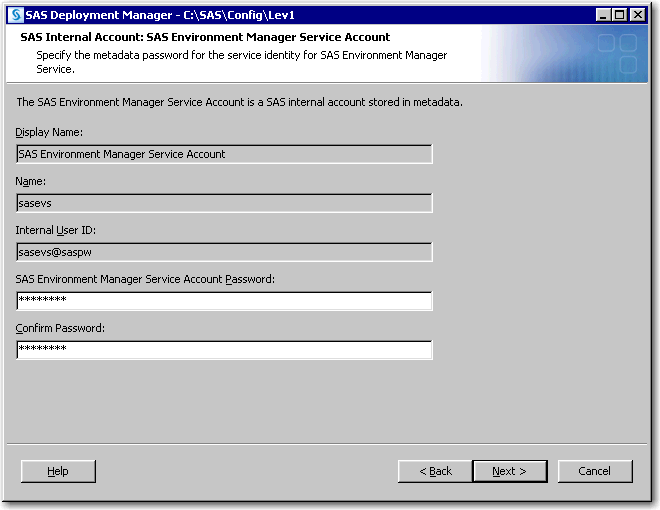 SAS Internal Account: SAS Environment Manager Service Account
-
In SAS Environment Manager Service Account Password, specify the metadata password for the SAS Environment Manager service account, and click Next.Note: Refer to the information recorded in User Account Credentials Required to Upgrade SAS Visual Analytics.
-
-
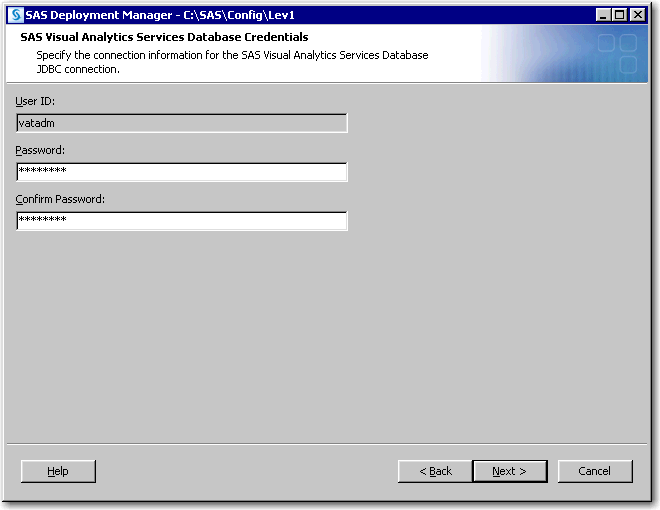 SAS Visual Analytics Services Database Credentials
-
In Password, specify the password for the user account that SAS uses to create a JDBC connection to the SAS Visual Analytics Services database, and click Next.Note: Refer to the information recorded in User Account Credentials Required to Upgrade SAS Visual Analytics.
-
-
 SAS Visual Analytics Sample Reports
-
Click Next.
-
-
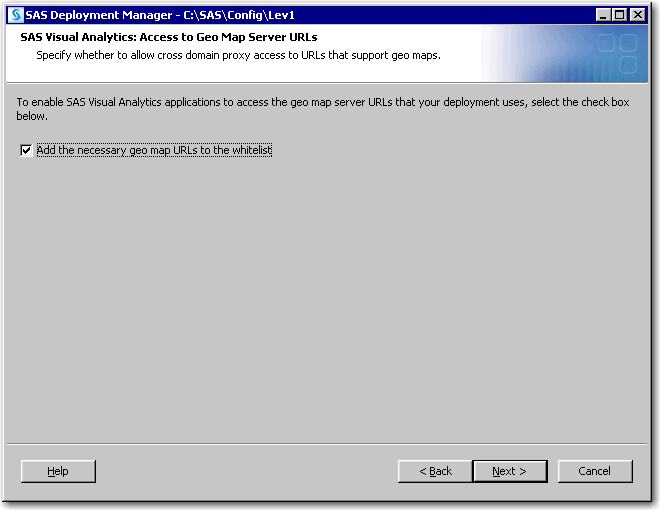 SAS Visual Analytics: Access to Geo Map Server URLs
-
Do not change the default information that is displayed on this page. Click Next.
-
-
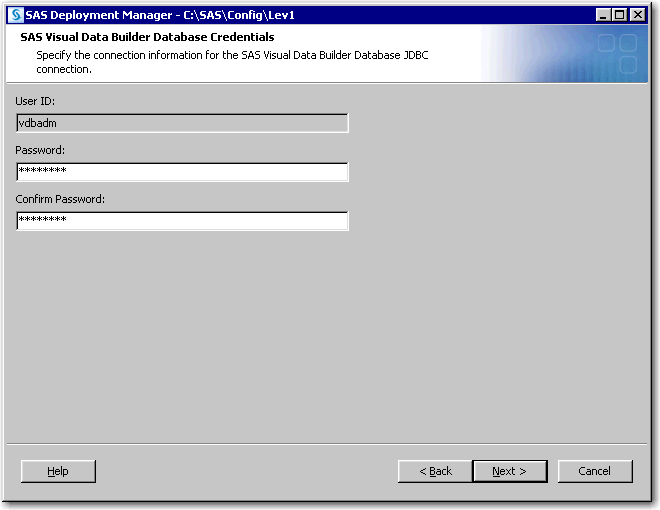 SAS Visual Data Builder Database Credentials
-
In Password, enter the password for the user account that SAS uses to create a JDBC connection to the SAS Visual Data Builder database, and click Next.Note: Refer to the information recorded in User Account Credentials Required to Upgrade SAS Visual Analytics.
-
-
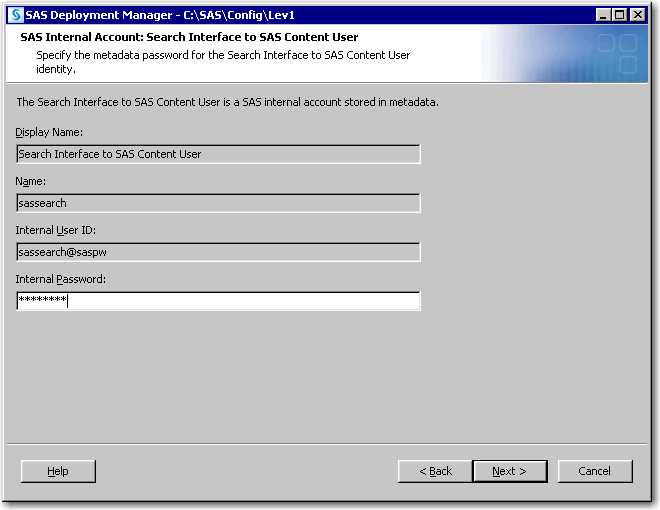 SAS Internal Account: Search Interface to SAS Content User
-
In Internal Password, specify the metadata password for the internal user account that permits access to SAS content that is provided to SAS Information Retrieval Studio for indexing, and click Next.Note: Refer to the information recorded in User Account Credentials Required to Upgrade SAS Visual Analytics.
-
-
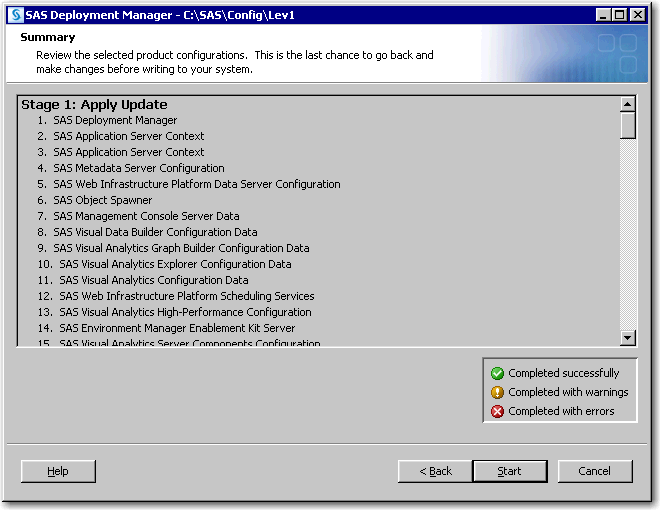 Summary (SAS Deployment Manager)
-
When you see the Summary page, the SAS Deployment Manager has finished collecting upgrade configuration input. This is the last opportunity to go back and change any information that you have provided in previous pages before the SAS Deployment Manager begins upgrading your system.Make one of the following choices:
-
Click Start to begin performing the upgrade on the current machine.The SAS Deployment Manager launches the upgrade process and provides an ongoing status update.
-
Click Back to navigate to earlier SAS Deployment Manager pages to change upgrade information previously entered.
-
Click Cancel to terminate the SAS Deployment Manager session. Note that you will lose upgrade information previously entered.
CAUTION:If you encounter a situation in which the SAS Deployment Manager reports a configuration failure, leave the error message displayed and do not continue. Consult additional documentation and, if necessary, contact SAS Technical Support. Moving past an error most often results in having to delete your deployment and start over.On Linux, when you are upgrading the server tier, you will be instructed to run a script as root. As the message in the upgrade explains, certain SAS products and features use functionality that requires SAS to check user ID authentication and file access authorizations. This, in turn, necessitates that certain files within your SAS deployment have setuid permissions and be owned by root.On Windows, the SAS Deployment Manager checks to make sure that your machine contains the minimum system requirements necessary to run SAS 9.4. Sometimes it is necessary to reboot your machine after the deployment manager has upgraded certain system components. When this occurs, the deployment manager prompts you to log back on to the machine and continues to the next step in your SAS upgrade process. -
-
-
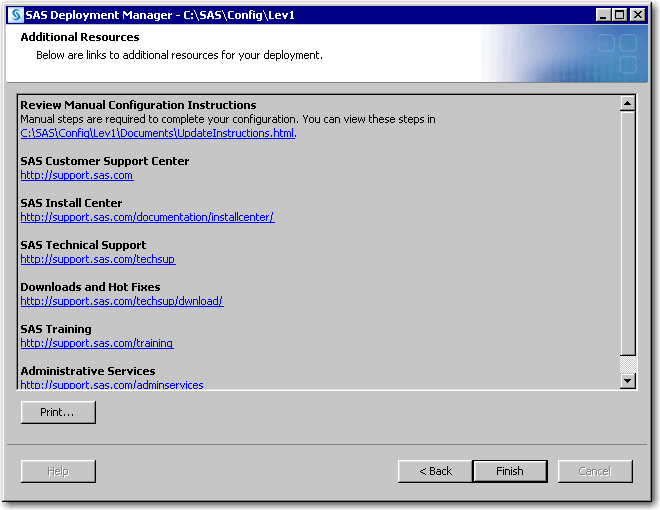 Additional Resources (SAS Deployment Manager)
-
Use the links displayed to review more information about your SAS deployment.
-
Click Finish to close the SAS Deployment Manager.
-
-
 Specify Configuration Directory/Level (Finished) page
-
A green check mark indicates that your upgrade completed successfully. Click Next.
-
If you received errors during your upgrade, then contact SAS Technical Support at mailto:support@sas.com. In your e-mail, attach the files listed in Review SAS Deployment Tool Documents, Reports, and Logs in SAS Intelligence Platform: Installation and Configuration Guide.
-
-
 Additional Resources
-
Be sure to review UpdateInstructions.html to see if there are post-upgrade steps that you must perform.
-
Click Finish to close the SAS Deployment Wizard.
-
-
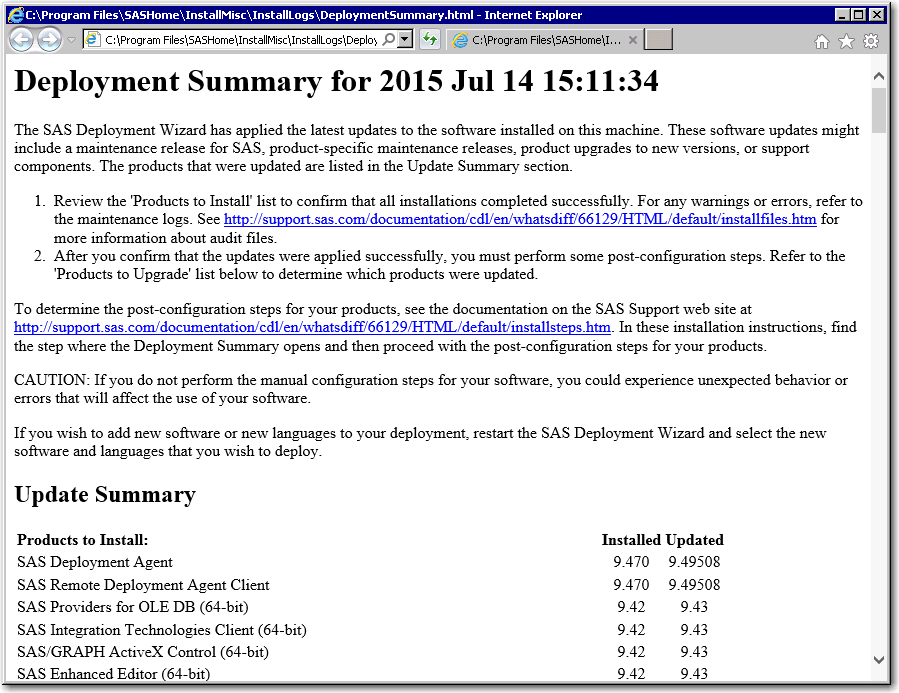 Deployment Summary report
-
Review the Deployment Summary report for a list of SAS products that were upgraded and information about next steps.
-
-
Proceed to the step Perform any manual post-upgrade deployment steps.
Copyright © SAS Institute Inc. All Rights Reserved.
Last updated: September 19, 2017