Creating and Viewing Reports

If the Create and View Reports component is associated with an activity, you can create reports and also view reports. The reports can be created by using the Workflow 
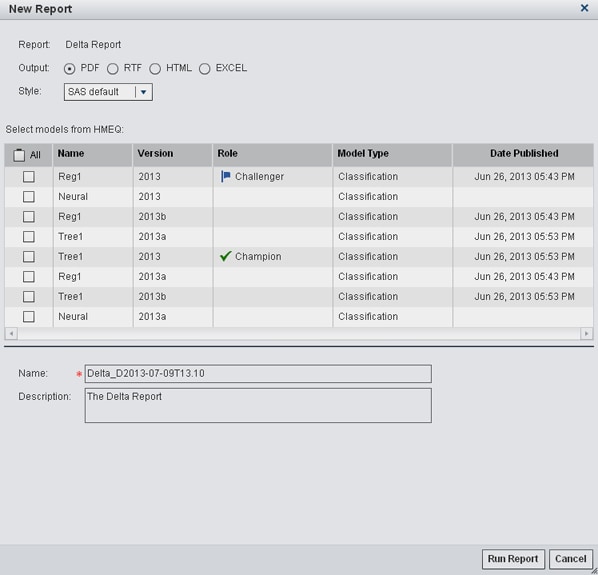
Console as well as by using the New Report wizard in the SAS Model Manager client application.
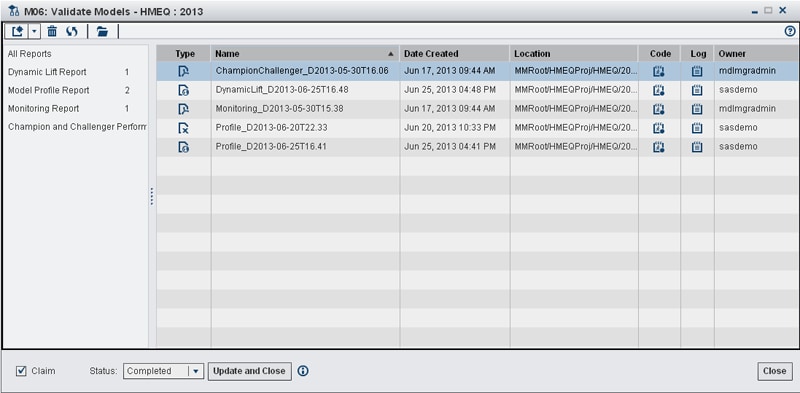
Here is an example of the Validate Models activity that uses this component.
Create and View Reports
To create a report:
  1. Click New report and select a type of report. The New Report window appears.
    New Report window
  2. Select an output type. The default is PDF.
  3. Select a style for the report. When the SAS default option is selected, the default style and themes are used when generating the report. For example, the SAS default style for the HTML output type is HTMLBLUE.
  4. From the list, select the models that you want to include in the report.
  5. Specify a name and description if you do not want to use the default values.
  6. Specify the report options for the selected report type. Some reports have additional options that can be set. Click More options to view the additional report options.
    Here is an example of the More Options window for the Probability of Default Model Validation Report
    New Report — More Options window
  7. Click Run Report. The new report is generated and appears in the default viewer for the selected output type.
To view a report:
  1. Select a type of report from the left navigation menu.
  2. Right-click a report from the list and select Open to view the report.
    Note: You can also view the SAS code and SAS log if the report is not displayed.
To view the SAS code or SAS log for a report, select a report from the list and click on the icon in the Code or Log column.
For more information, see Validating Models Using Reports.