To insert
one or more stored processes into a report layout, complete these
steps:
-
Perform
one of these tasks to insert a stored process object:
-
Drag the stored process tool from
the toolbar into a specific cell.
-
Click

on the horizontal toolbar.
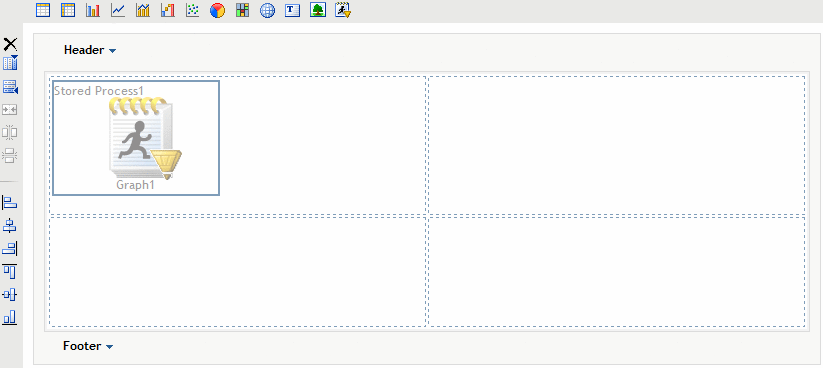
An empty placeholder object for a stored process is
placed in the next available cell in the layout grid.
-
Right-click
on the stored process, and then select
Edit to open the
Insert a Stored Process dialog
box.
-
Select
a folder
Location and navigate to the stored
process that you want to use.
Note: Only stored
processes appear in the
Insert a Stored Process dialog box. No other types of data sources appear.
-
(Optional)
To sort the list of stored processes, click
Name,
Date, or
Description.
-
Select
the stored process that you want to use.
-
Click
OK. The name of the stored process appears in the stored
process object.
A Stored Process Object in the Layout Grid
-
(Optional)
To insert another stored process, repeat steps 1 through 6.
-
(Optional)
Specify group break parameters for the stored process.
For more information,
see Add Group Breaks.Note: You cannot
complete this step if no stored process has been assigned to the stored
process report object, if there are no group breaks in the section
that contains the stored process, or if the stored process does not
contain any parameters.
-
Right-click
on the stored process, and then select
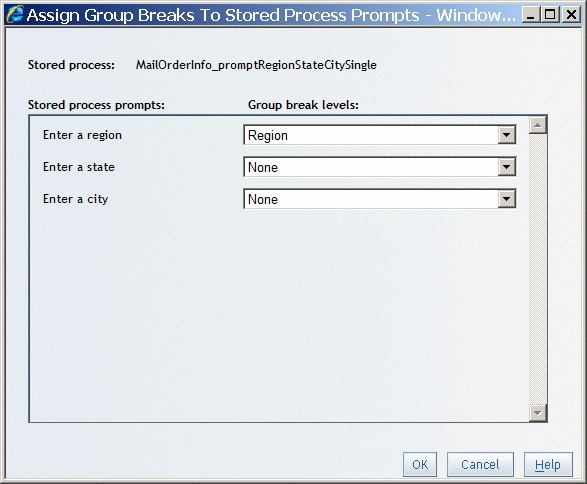
Assign Group Breaks to open the
Assign Group Breaks To Stored Process Prompts dialog box.
-
Specify
the
Group break levels. Note that a group
break value can be passed only to a compatible prompt. For example,
a group break value on a character item can be passed only to a text
prompt. A group break value on a date category can be passed only
to a date prompt, and so on.
Assign Group Breaks To Stored Process Prompts Dialog Box
-
-
(Optional)
Add other report elements (for example, images or text) that are independent
of the inserted stored processes.

