


|
|
Setting Up a COM/DCOM Server |
|
To establish a DCOM session, you must ensure that DCOM is enabled on the server machine and on each client machine. Perform the following steps on each machine:
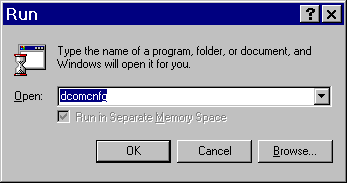
From the Windows Taskbar, click Start ![]() Run.
Run.
dcomcnfg, as shown in the illustration.
Click OK. The Distributed COM Configuration Properties dialog box will appear.
Select the Default Properties tab.
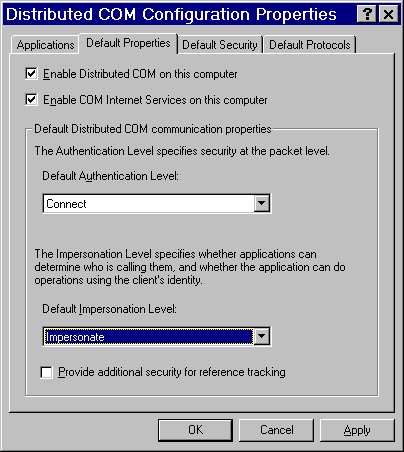
Note: The dialog box might look slightly different than the illustration, depending on the version of Windows you are running and which Service Pack you have applied.
Select Enable Distributed COM on this computer.
Specify the Authentication Level. If you want the setting to be used by all DCOM objects on the system, you can select it on the Default tab. If you want to specify a particular setting for the SAS client or server object, use the Applications tab to override the default.
Select an Authentication level of Connect to provide a good balance between security and system performance. If your application receives events, set the authentication level to (None) on the client machine. More restrictive security levels can be required based on the needs of your site and your users. For a description of additional levels, consult the Windows NT Help.
Note: Currently, event output from the SAS server sent to client applications cannot be encrypted due to Microsoft COM restrictions.
Select an Impersonation Level of Impersonate if you want to allow the server to use the client's ID to access system objects.
This completes the steps necessary to enable DCOM on the clients and servers.
|
|
Setting Up a COM/DCOM Server |
|