DataFlux Data Management Studio 2.6: User Guide
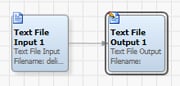
Macro variables are often used instead of hard-coded file names so that jobs, profiles, and other objects are portable across environments. They can also be used to change a job's output without updating the job. For example, in the following data job, the Text Input 1 node reads a delimited text file that is specified with a hard-coded path name, such as C:\sources_external\delim_com.dat. Similarly, the Text Output 1 node writes output to a delimited text file that is specified with a hard-coded path name.
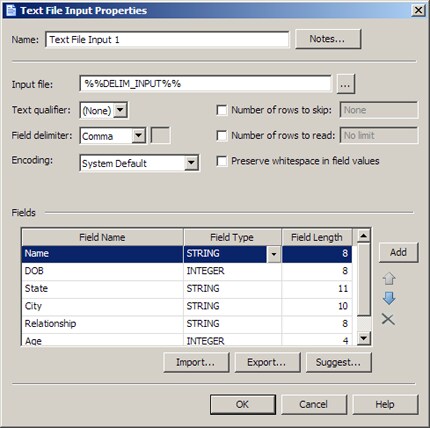
You could replace the hard-coded path name in Text Input 1 node with a macro variable, such as %%DELIM_INPUT%%, as shown in the next display.
The macro variable would be replaced at run-time with the file path that is specified in the definition for the macro variable. By changing the file that is specified in the macro variable definition, you could change the output of the job without updating the job.
In order to focus on how macro variables are created and how they can be used to specify file names, assume that the job flow above has been created, and that only the following tasks remain:
The easiest way to add a macro variable definition is to use the Macro Files folder in the Administration riser. Macro variable definitions added here are stored in the macros.cfg file in your user profile directory by default. Perform the following steps:
DELIM_INPUT=C:\sources_external\delim_com.datPerform the following steps to use a macro in a data job:
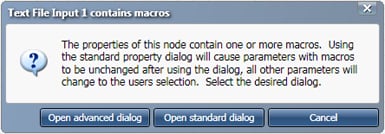 Click Open advanced dialog to see the properties shown in the following display:
Note that the macro variable is populated for the Filename property.
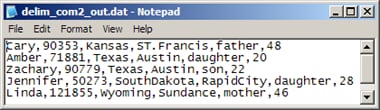
You can confirm the macro variable worked by running the job. Perform the following steps:
|
Documentation Feedback: yourturn@sas.com
|
Doc ID: dfU_T_Macros_InJobs.html |