DataFlux Data Management Studio 2.5: User Guide
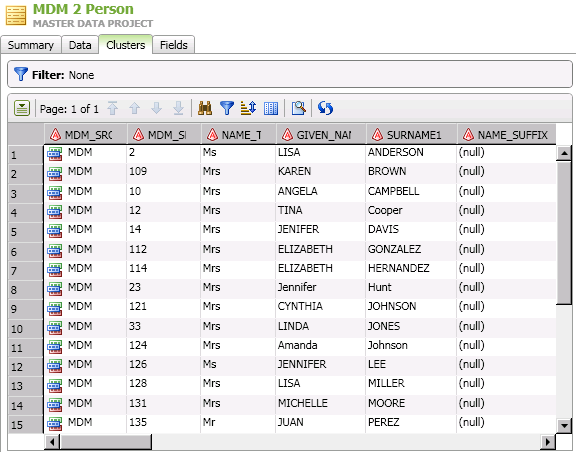
You can work with the clusters identified in your master data projects in the Clusters tab of the master data project dialog. The tab contains a list of the clusters, a list of the clustered records for a selected cluster, and the designated surviving record for that cluster. Perform the following tasks:
The clusters identified in the master data project are displayed in a list, as shown in the following display:

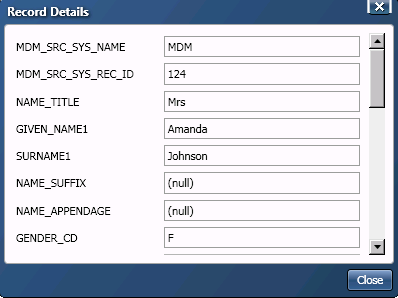
The clusters are displayed as rows in a table that comes with tools to search, filter, sort, select, and refresh the clusters. For example, you can click Record Details to review the fields in a selected cluster. The Record Details dialog is shown in the following display:

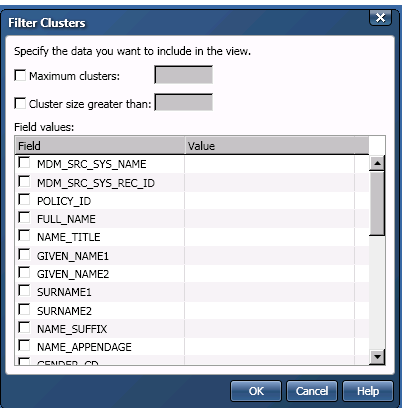
You can also click Filter Clusters to specify filtering criteria by selecting a field and entering a value. The Filter Clusters dialog is shown in the following display:

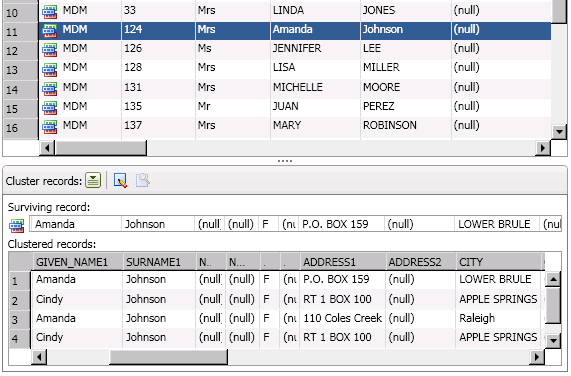
Once you have selected a cluster, you can examine the surviving record and the clustered records. The following display shows a cluster highlighted in the clusters list, its related surviving record, and its clustered records:

The interface makes it easy to compare the surviving record generated by the master data project to the other records in the cluster.
If you decide that you need to edit the surviving record, click Edit Surviving Record. Then, you have the following options:

The following display shows a NAME_TITLE value that is being edited in the highlighted cell:

Note that you should change the surviving record edits before you end your session in the Clusters tab. A pencil icon is displayed next to the cluster row when the record has been changed but not saved.
|
Documentation Feedback: yourturn@sas.com
|
Doc ID: dfDMStd_T_MDM_Cluster.html |